
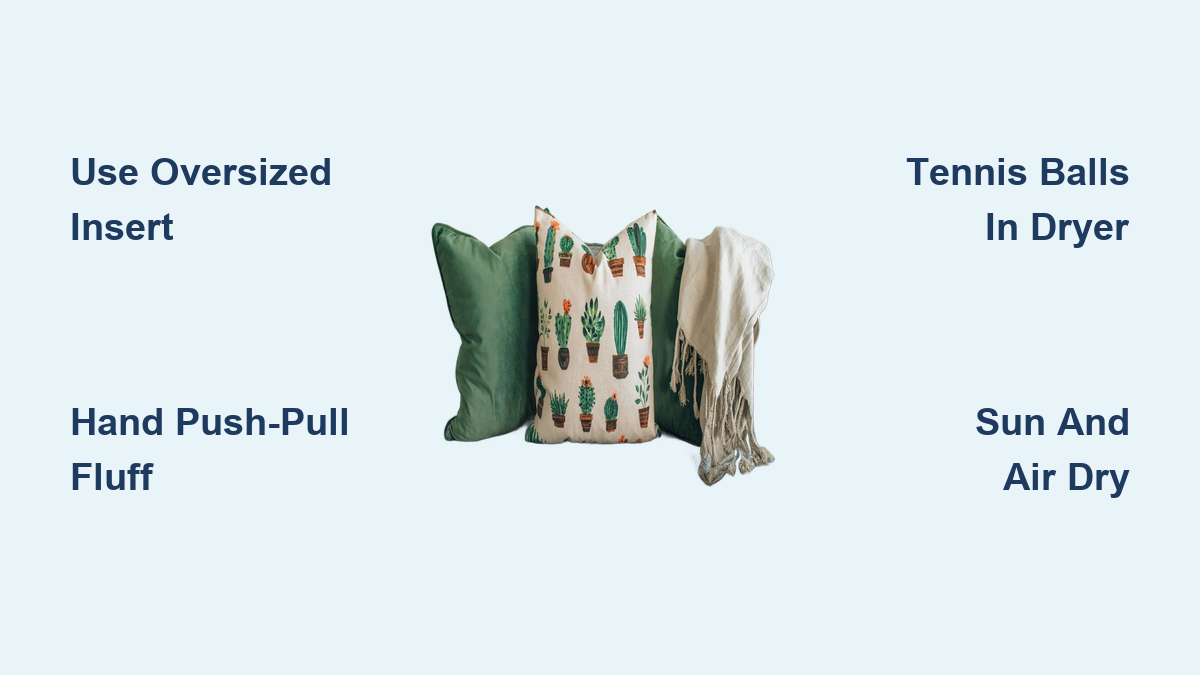
Nothing ruins a beautifully styled couch or bed like flat, lifeless throw pillows. A limp cushion can make even the most thoughtfully decorated space feel neglected. But here’s the good news: fluffing a throw pillow is quick, easy, and instantly transforms your room from drab to designer-ready. Whether your pillows have gone flat from daily use, arrived vacuum-packed, or just need a refresh, the right fluffing technique restores loft, eliminates lumps, and brings back that plush, inviting look. In this guide, you’ll learn how to fluff any type of throw pillow, from feather and down to polyester and foam, using proven methods from interior stylists and care experts.
Choose the Right Insert for Maximum Fluff
The secret to a perpetually plump pillow starts before fluffing. It begins with selecting the proper insert.
Pick High-Loft Fill for Lasting Fullness
Down and feather inserts offer the best bounce-back and natural resilience. They respond dramatically to airflow and hand fluffing, regaining volume after compression. Down alternatives made from high-resilience microfiber are excellent for allergy sufferers and mimic real down’s softness. Avoid low-density polyester fill if you want lasting plumpness, since it mats down easily and rarely recovers.
Size Your Insert to Achieve an Overstuffed Look
For a luxurious, hotel-style appearance, use an insert 1 to 2 inches larger than the cover. A 20×20 inch insert in an 18×18 inch cover pushes fabric outward, eliminating sag and ensuring corners stay full. If you prefer a slightly softer look, go half to one inch oversized. Never use an undersized insert, because it will always look flat no matter how much you fluff.
Check for Quality Construction
Look for inserts with a tight-weave liner to prevent feather leakage. Reinforced stitching and double-stitched seams prevent blowouts during aggressive fluffing. Brands like West Elm and Cloth & Stitch offer premium oversized inserts tailored for unique cover sizes, making professional styling effortless.
Hand Fluffing: The Fastest Way to Revive Any Pillow
Hand fluffing is the most accessible and effective method for daily maintenance and quick revitalization.
Use the Push-Pull Technique for Instant Loft
Grasp opposite corners of the pillow and rhythmically push and pull for 10 to 15 seconds. This accordion-like motion forces air into the fibers, separating clumps and restoring volume. Rotate the pillow 90 degrees and repeat on the other two sides. This works especially well on feather and down inserts, which thrive on airflow.
Try the Diagonal Clap and Punch Method
Hold two diagonal corners and gently clap the pillow against itself. This redistributes fill toward the center. Follow with fist punches to break up dense lumps and shift settled material. Avoid excessive force, since it can compress fibers instead of fluffing them.
Massage Lumps Away with Your Fingertips
Lay the pillow flat and use circular motions to knead any hard spots. This is critical for down and feather inserts, which naturally shift with use. For synthetic fills, fingertip massage helps re-loosen matted microfibers and restore some volume.
Fluff Bolster and Cylindrical Pillows Differently
Without corners, cylindrical pillows need end-to-end treatment. Hold both ends and perform push-pull motions along the length. Rotate frequently and punch along the body to ensure even distribution. Repeat until the pillow feels uniformly firm and full.
Dryer Fluffing: Deep Restoration for Flat Pillows
When hand fluffing is not enough, the dryer delivers deep revival, especially for long-flattened or vacuum-packed inserts.
Restore Loft with Tennis Balls in Socks
Place one pillow in the dryer with a clean sock containing a tennis ball or use wool dryer balls. The ball acts as an internal agitator, breaking up clumps and fluffing fibers. Use low heat or air-fluff with no heat for 15 to 20 minutes. This method works wonders on down, feather, and synthetic fills.
Warning: Never use high heat, because it can melt polyester, degrade down, or damage foam permanently.
Revive Memory Foam with Care
Memory foam does not fluff like fiberfill, but it benefits from air-fluff cycles. Use no heat and include two tennis balls in socks to gently agitate the surface. Avoid aggressive squeezing or high temperatures, which can permanently warp the foam structure.
Speed Up Expansion of Vacuum-Packed Pillows
Vacuum-packed inserts arrive pancake-flat but regain fullness in 24 to 72 hours. To accelerate the process, tumble dry on low heat for 20 minutes if the care label allows. Immediately follow with hand fluffing to maximize loft. Most premium inserts are designed to fully expand after this treatment.
Natural Revival: Sun and Air Refresh
Sunlight and fresh air do more than fluff. They also sanitize and deodorize your pillows naturally.
Sun-Dry to Remove Moisture and Odors
Lay the pillow flat on a clean towel or drying rack in direct sunlight for 30 to 60 minutes. UV rays kill dust mites and bacteria, while warmth helps fibers expand. Flip halfway through for even exposure. This method is ideal for washable cotton, down, and microfiber inserts.
Note: Avoid sun exposure for delicate or dark-colored fabrics that may fade or become damaged.
Air Out After Washing or Storage
Pillows stored in closets or used in humid environments can absorb moisture. Simply airing them out for a few hours restores freshness and slight loft. Pair with hand fluffing for best results after any storage period.
Fix Lumps and Uneven Fill Distribution

Lumpy pillows ruin the clean lines of a well-styled space, but they are fixable with the right approach.
Knead Out Clumps by Hand
Lay the pillow on a firm surface and use your fingertips to massage hard spots in circular motions. Focus on corners and edges where fill tends to settle. For stubborn clumps, repeat the tennis ball dryer cycle, then hand-fluff immediately while the fill is warm and pliable.
Prevent Permanent Matting with Regular Fluffing
Frequent fluffing prevents fibers from compacting permanently. Feather and down inserts need daily or weekly fluffing in high-use areas. Synthetic fills benefit from weekly attention to maintain shape and prevent irreversible matting.
Insert the Pillow Correctly for a Polished Look
Even the fluffiest insert looks bad if inserted poorly. Follow these steps for professional results.
Push Corners In First
Grasp one corner of the insert and push it into the corresponding corner of the cover. It will not go all the way at first, and this is normal. Use your elbow to drive it deeper in a circular motion for better control.
Work Opposite Sides Evenly
Flip the cover and insert the opposite corner. This prevents twisting and ensures balanced tension. Repeat on the remaining two corners systematically for even distribution.
Shake and Align Before Closing
Once fully inserted, shake the pillow gently to settle the fill. Flatten and adjust until corners are sharp and fabric lies smooth. Zip or button securely. A second person can help by holding the opening wide or giving the pillow a final shake for perfect alignment.
Design Tip: A properly inserted pillow has no wrinkles, bunching, or visible gaps. The corners are crisp and full, creating that coveted designer look.
Style with Fluff: The Karate Chop and Other Looks
How you fluff influences your room’s aesthetic and overall design feel.
Achieve the Designer-Ready Karate Chop
After fluffing, deliver a firm downward chop with the side of your hand at the pillow’s center. This creates a clean V-shape that signals intentionality and polish. Designers use this technique to style staged interiors, minimalist rooms, and luxury bedding displays.
Pro Test: If the pillow stands upright after the chop, it is fully fluffed and insert-sized correctly. This is the hallmark of professional styling.
Opt for a Relaxed, Lived-In Fluff
Gently shake and plump without creating a center crease. This soft, organic look suits cozy living rooms, farmhouse styles, and family-friendly spaces. It emphasizes comfort over perfection and invites relaxation.
Design Insight: There is no right way to fluff. Your preference sets the mood and reflects your personal style. Whichever pillow fluffing style you prefer, embrace it fully.
Maintain Fluffiness with Smart Habits
Long-term fullness comes from consistent care and smart daily habits.
Rotate and Flip Weekly
Turn pillows over and rotate their positions weekly to prevent permanent indentations from sitting or leaning. This simple habit extends the life of both insert and cover significantly.
Wash Inserts Every 6 to 12 Months
Feather and down inserts can be machine washed in cold or warm water with mild detergent. Dry on low heat with tennis balls to restore volume. Synthetic fills should be spot-cleaned or dry-cleaned unless the label says otherwise.
Replace Inserts When Needed
Replace your insert if it stays flat after aggressive fluffing, if lumps or thin spots will not resolve, if odors persist after washing, or if feathers poke through excessively. Most feather inserts last 5 to 10 years with proper care, while polyester fills may need replacing every 1 to 2 years.
Store Off-Season Pillows Properly
Keep spare or seasonal covers in breathable cotton bags, not plastic, to prevent mildew and mustiness. Store inserts in a dry, cool place away from direct sunlight to maintain their quality between uses.
Best Fluffing Practices by Pillow Type
Different pillow types require different approaches for optimal results.
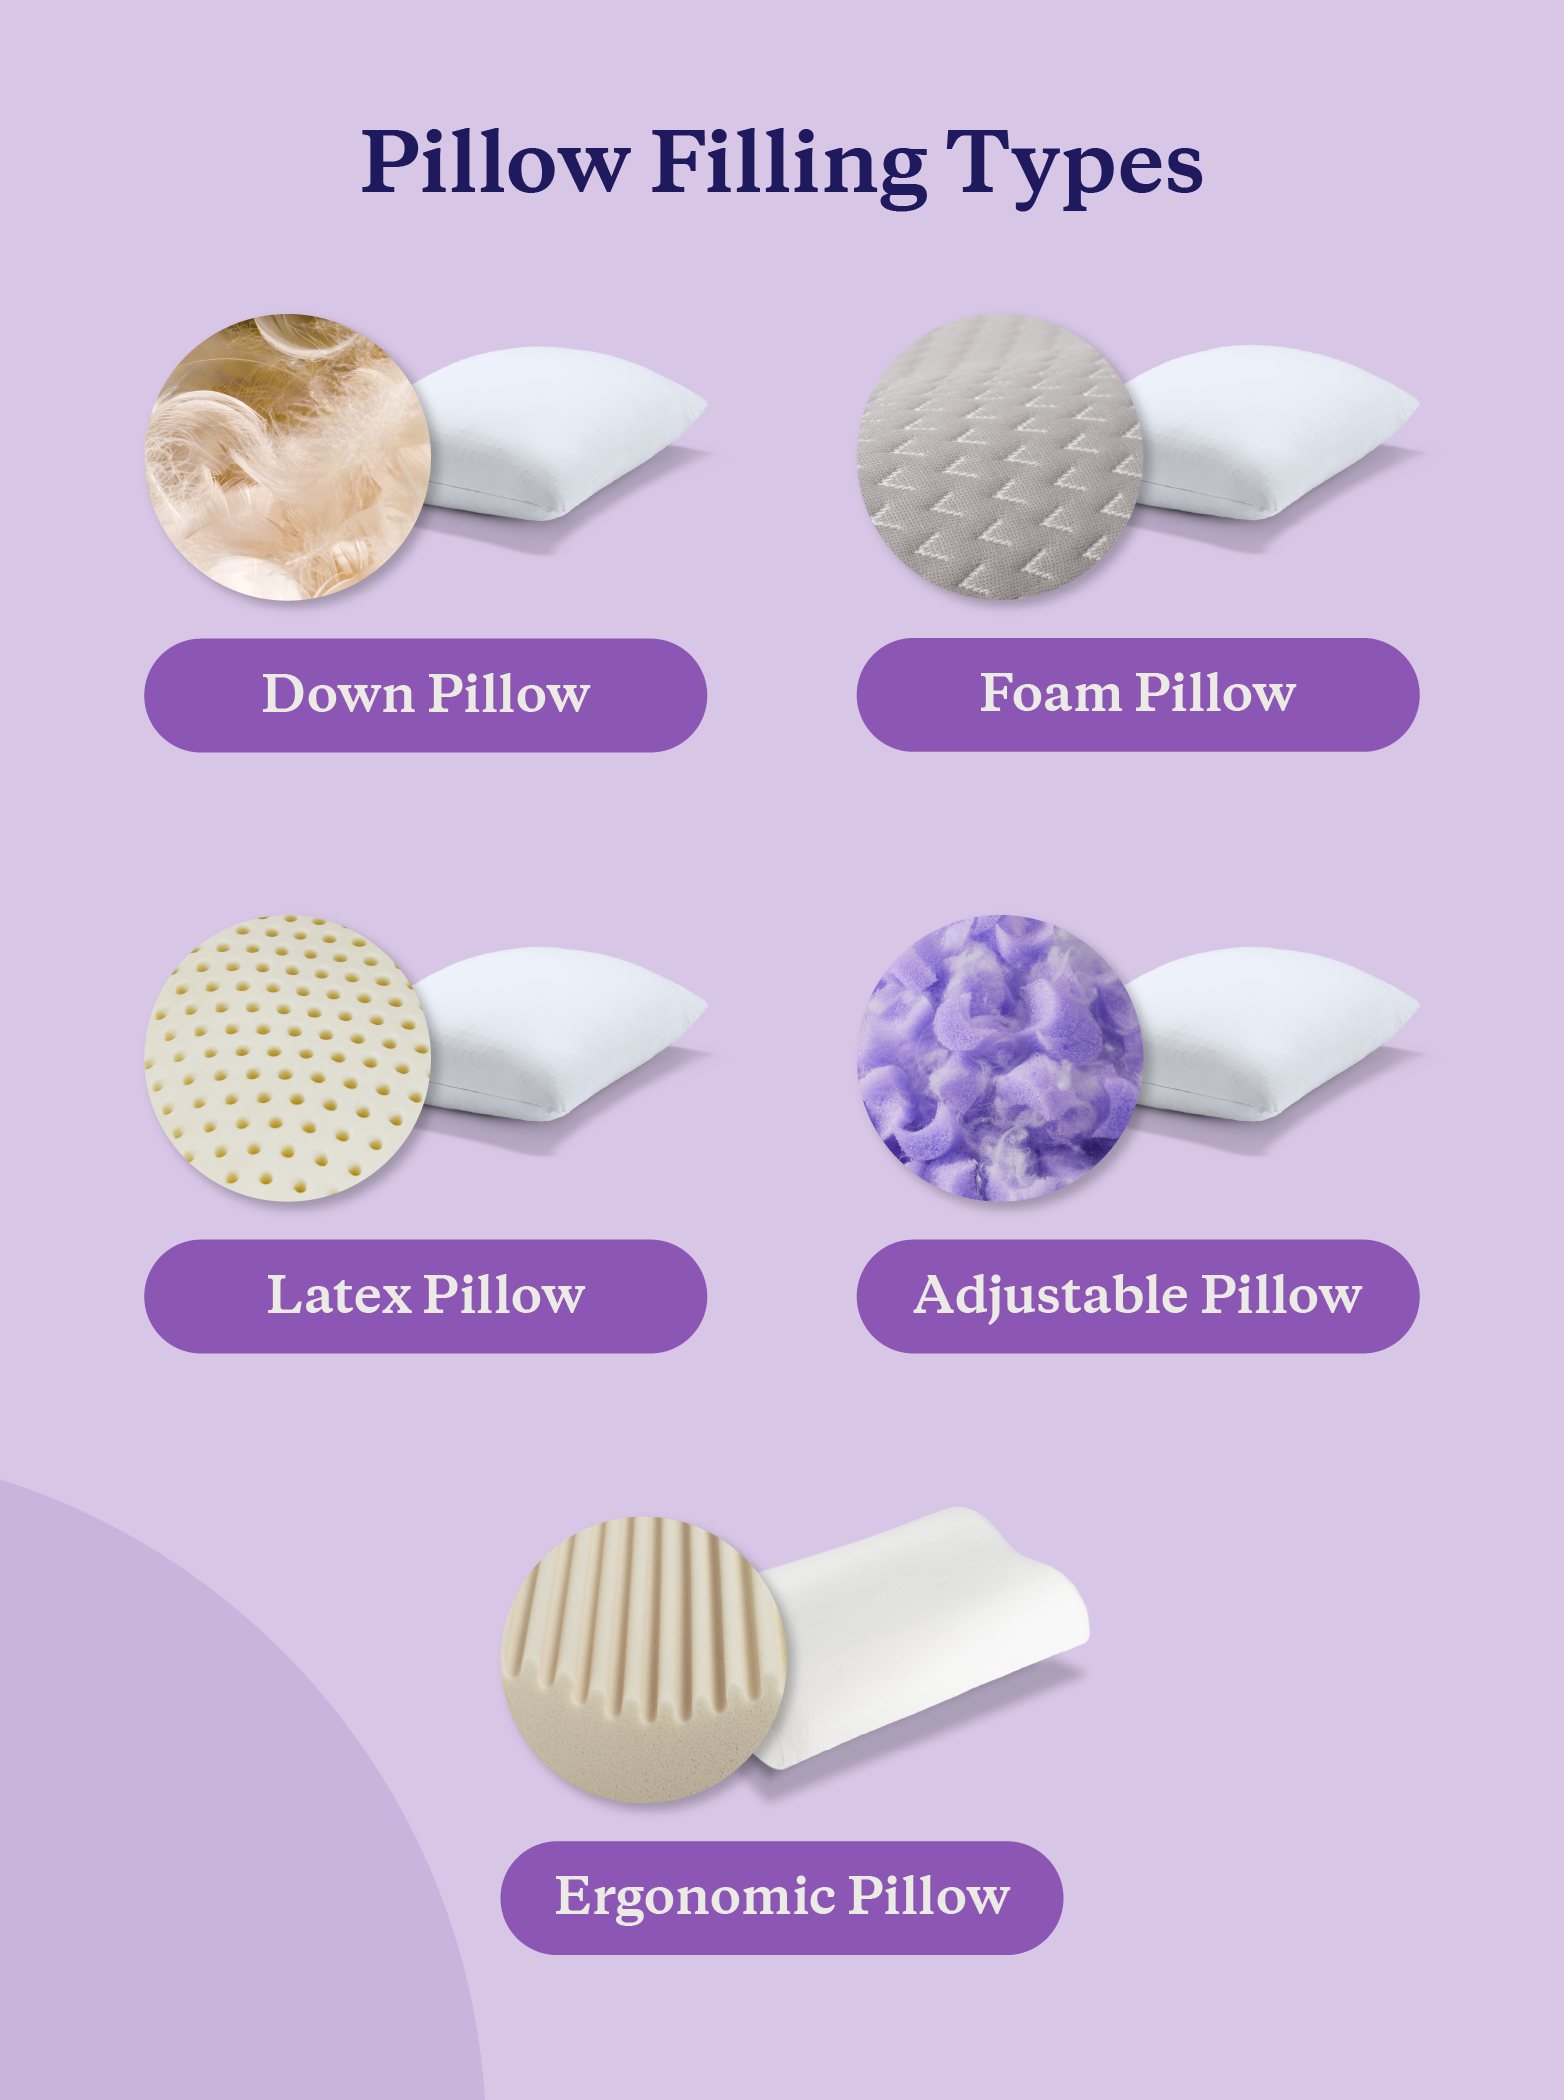
Down and Feather: Hand push-pull combined with dryer using tennis ball. Fluff daily and wash annually for best performance.
Down Alternative: Shaking combined with open-palm slaps provides moderate bounce. Less resilient than natural down but still responsive to care.
Polyester Fill: Hand massage with low-heat dryer cycle. Prone to matting and may not recover fully once compacted.
Memory Foam: Air-fluff cycle only with no heat. Avoid high temperatures or aggressive squeezing that can damage the foam structure.
Vacuum-Packed: Low-heat dry followed by hand fluffing. Full loft typically returns within 24 to 72 hours with proper treatment.
Bolster: End-to-end push-pull with punching motion. Rotate frequently for even wear and distribution.
Frequently Asked Questions About Fluffing Throw Pillows
How do I fluff a throw pillow without a dryer?
Hand fluffing is highly effective for all pillow types. Use the push-pull technique by grasping opposite corners and rhythmically bringing your hands together and apart for 15 seconds. Rotate and repeat on all sides. Follow with fist punches to break up clumps and fingertip massage to address any remaining lumps.
Why does my throw pillow keep going flat?
Several factors cause flatness, including compression during shipping, prolonged use without rotation, moisture retention, or fill settling. Low-quality inserts made from polyester fiberfill also tend to mat down permanently. Investing in high-loft down or feather inserts and fluffing regularly prevents this issue.
Can I put a throw pillow in the dryer to fluff it?
Yes, you can use the dryer to fluff throw pillows. Place the pillow in the dryer with a tennis ball inside a clean sock or use wool dryer balls. Set the dryer to low heat or air-fluff with no heat for 15 to 20 minutes. Always check the care label first, and never use high heat on polyester or memory foam.
How long does it take for a vacuum-packed pillow to fluff up?
Vacuum-packed inserts typically regain full loft within 24 to 72 hours naturally. To speed this up, tumble dry on low heat for about 20 minutes if the care label permits, then follow with hand fluffing for maximum volume.
How often should I fluff my throw pillows?
Fluff high-use throw pillows daily or at least several times per week. Weekly fluffing is sufficient for pillows in lower-traffic areas. Regular fluffing prevents permanent fiber compaction and extends the life of your inserts significantly.
What is the best insert size for a fluffy throw pillow?
For maximum fullness, use an insert 1 to 2 inches larger than your cover. For example, a 20×20 inch insert in an 18×18 inch cover creates that luxurious, overstuffed look. If you prefer a slightly less full appearance, go half to one inch larger instead.
Key Takeaways for Fluffing Your Throw Pillows Like a Pro
Fluffing a throw pillow is not just about aesthetics. It restores comfort, improves hygiene, and extends the life of your investment. Start with a quality insert made from down, feather, or high-resilience synthetic fill, and choose a size 1 to 2 inches larger than your cover for that plush, overstuffed look. Use hand fluffing techniques like the push-pull method and diagonal clap for daily maintenance, and turn to dryer fluffing with tennis balls when deeper restoration is needed. Remember to rotate and flip weekly, wash inserts every 6 to 12 months, and store off-season pillows in breathable bags. Whether you prefer the crisp precision of a karate-chopped cushion or the casual charm of a relaxed fluff, the techniques in this guide give you complete control over your pillow’s appearance. Invest in quality inserts, fluff regularly, and enjoy a space that always feels thoughtfully styled and inviting.