
Turning a shirt into a pillow is a simple, meaningful way to breathe new life into old or sentimental clothing. Whether it is Dad favorite flannel, a band T-shirt from high school, or a button-down dress shirt you cannot bear to donate, making a pillow using a shirt transforms fabric into a functional keepsake. This guide walks you through every step, from choosing the right shirt to adding personalized touches.
You will create a huggable memory pillow, a stylish throw pillow, or a heartfelt gift in under an hour. Both sewn and no-sew methods are covered, with clear instructions for beginners and experienced crafters alike.
Choose the Right Shirt for Your Pillow Project
Best Fabric Types for Different Uses
Not all shirts work the same for pillow projects. Cotton T-shirts are ideal for soft, huggable memory pillows, especially those with logos or sentimental prints. Their stretch makes them forgiving to sew but requires stabilization. Button-down shirts offer structure and clean lines perfect for decorative throw pillows. The placket, yoke, and pockets add visual interest. Denim shirts create bold, durable pillows but need heavy-duty needles.
Avoid shirts with holes, stains, or thinning fabric. Even minor wear can compromise seams. If sentimental value outweighs condition, reinforce weak areas with patches before cutting.
Size and Design Considerations
Larger shirts give more fabric, especially useful for 18 inch by 18 inch or 20 inch by 20 inch inserts. For T-shirts, center the graphic on the front panel. On button-downs, highlight the yoke or pocket. For plaid or striped shirts, pin front and back layers together before cutting to match pattern lines across seams.
Wash and iron the shirt first. This removes shrinkage risk and flattens wrinkles for accurate cutting.
Gather Essential Tools and Materials
Required Supplies
You do not need a craft room to start. Here is what you will need:
- Shirt (clean, pre-washed)
- Pillow insert (16 inch, 18 inch, or 20 inch square; choose 1 to 2 inches smaller than cover)
- Polyester fiberfill (for permanent stuffing)
- Thread (color-matched cotton 50 weight)
- Scissors or rotary cutter
- Measuring tape and fabric marker
- Pins or Wonder Clips
- Iron and pressing surface
For sewn pillows, you need a sewing machine (or needle), stretch needle (75/11 ballpoint for T-shirts), and backstitch capability. For no-sew pillows, you need heavy-duty fusible webbing like Dritz Stitch Witchery.
Optional Upgrades
Fusible interfacing (Shape-Flex) prevents knit fabric from stretching. Grosgrain ribbon reinforces T-shirt hems. Decorative trim like pom-poms, lace, or fringe can be added inside seams. Iron-on patches customize with names, dates, or messages.
Cut Fabric to the Correct Size
Measure for Perfect Fit
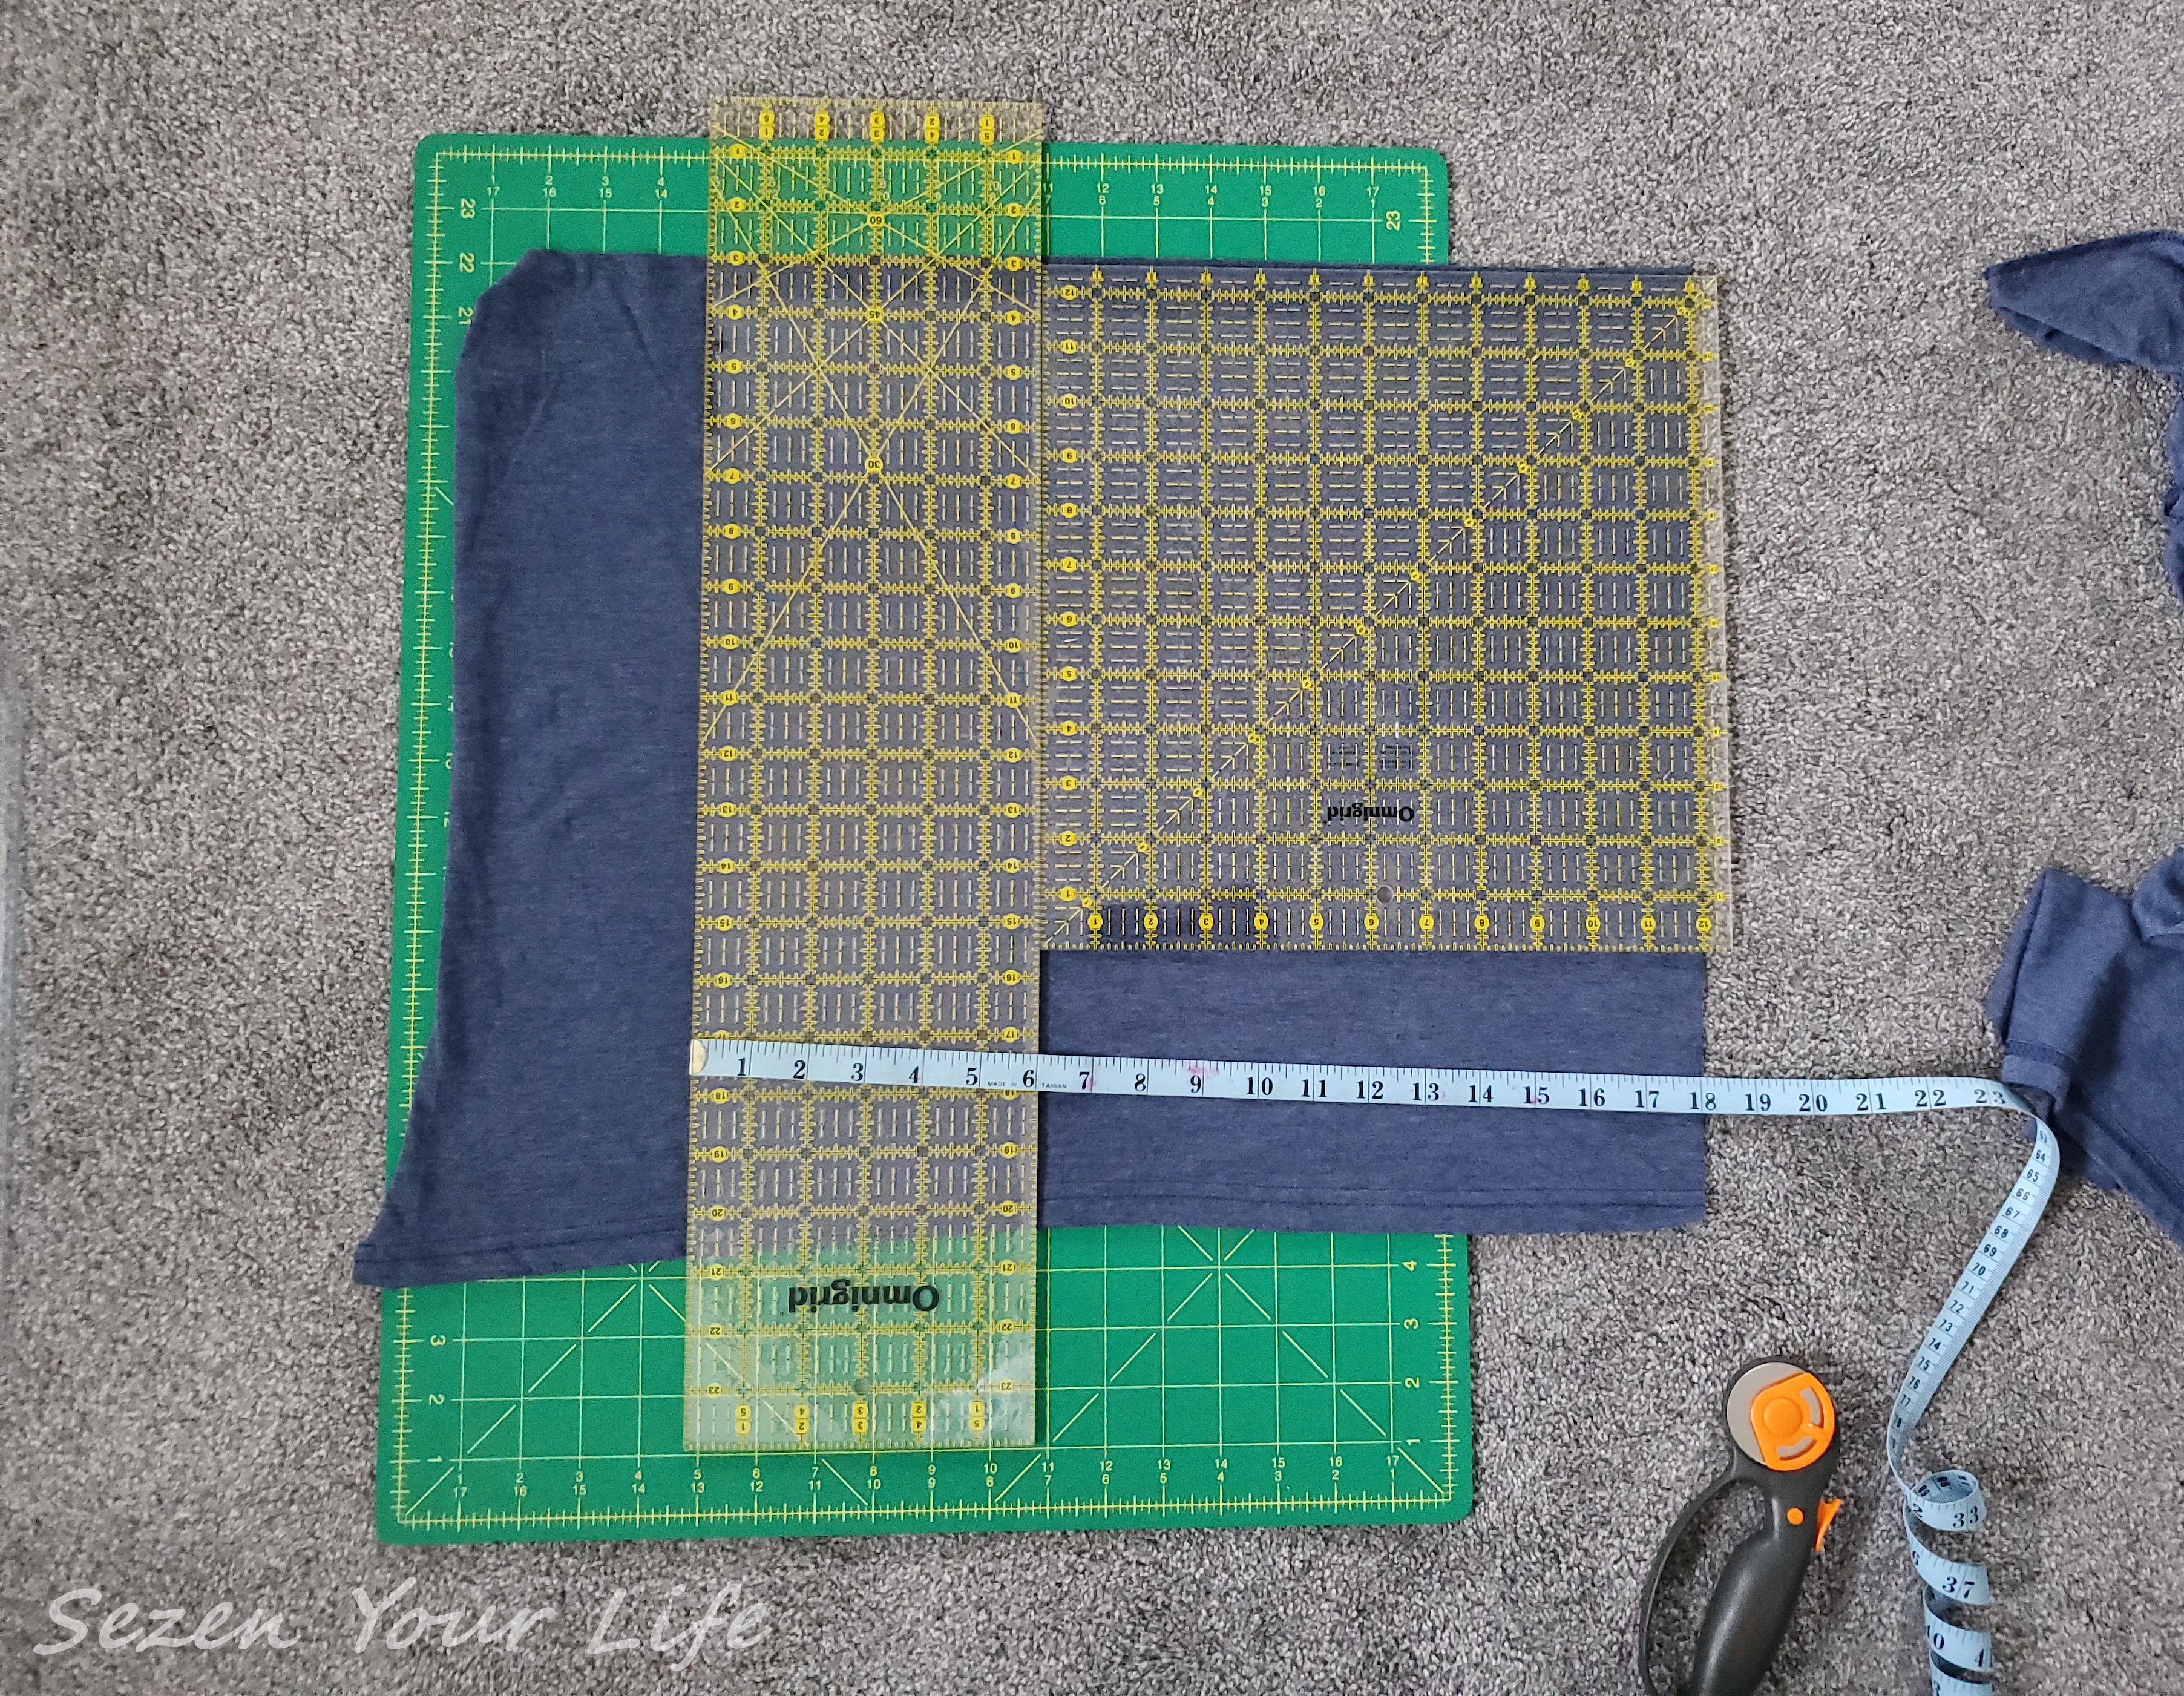
Standard pillow inserts are 16 inch, 18 inch, or 20 inch square. To allow for seams, cut fabric 1 to 2 inches larger. For example, an 18 inch insert requires 19 inch by 19 inch fabric (with half-inch seam allowance) or 20 inch by 20 inch (with one-inch allowance). A slightly tight fit creates a plump, full look.
Cutting Instructions by Shirt Type
For button-down shirts, lay the shirt flat and buttoned. Cut off the collar along shoulder seams. Cut underarms to remove sleeves. Cut front and back into identical squares or rectangles, aligning yoke or pocket centrally. Flip the back piece to maintain grain direction.
For T-shirts, cut open side seams from hem to armpit. Cut across below the collar (remove neckband if desired). Use the graphic as a centerpiece and cut front panel to size. Save the bottom hem for envelope back closure.
Select Your Preferred Closure Method

Envelope Back for Washable Covers
The envelope closure is ideal for removable inserts. It lets you wash the cover and swap styles. The top panel should be full width with height equal to approximately three-quarters of the front. The bottom panel should be the same width but shorter, including the original hem. Overlap should be at least 5 inches to hide the insert.
Use the shirt original hem on the bottom flap. It is fray-resistant and adds structure.
Button Placket and Hidden Slit Options
Leave the button-down placket open. After sewing all sides, insert the pillow through the buttoned front. Button it closed for a secure fit. For a seamless look, remove buttons and seal with fusible tape.
For no-sew T-shirt methods, cut a 3 to 4 inch slit in the back panel. Insert pillow form, then seal edges with fusible webbing. Fold the flap down and iron flat.
Sew a Pillow Cover Step by Step
Prepare and Pin Layers
Iron fusible interfacing to the wrong side of the front panel if using knit fabric. This prevents stretching. Place front and back panels right sides together. For envelope backs, pin the bottom panel first, then the top, ensuring more than 5 inches of overlap.
If adding trim like lace or pom-poms, place it between layers along one edge inside the seam line.
Stitch with Strong Seams
Use a half-inch seam allowance. Sew around all four sides, leaving a 3 to 4 inch gap for turning. Reinforce corners with backstitching. For T-shirts and knits, use a zigzag stitch to handle stretch. Trim corners diagonally to reduce bulk.
Turn, Press and Finish
Turn the cover right side out through the opening. Use a crochet hook or point turner to push out corners fully. Press seams flat with an iron. Fold the seam allowance inward on the opening and pin. Topstitch around the entire perimeter to close and add durability.
Create a Huggable T-Shirt Pillow
Close the Neck Hole
Wash and iron the T-shirt first. With the shirt wrong side out, cut a square from the bottom hem to cover the neck hole. Pin it in place over the opening, right side down. Stitch close to the ribbing with a zigzag stitch. Trim excess fabric.
Sew One Sleeve Shut
Use a double row of stitching for strength. This seals one end before stuffing. You can optionally leave one sleeve open for later access.
Stuff with Fiberfill
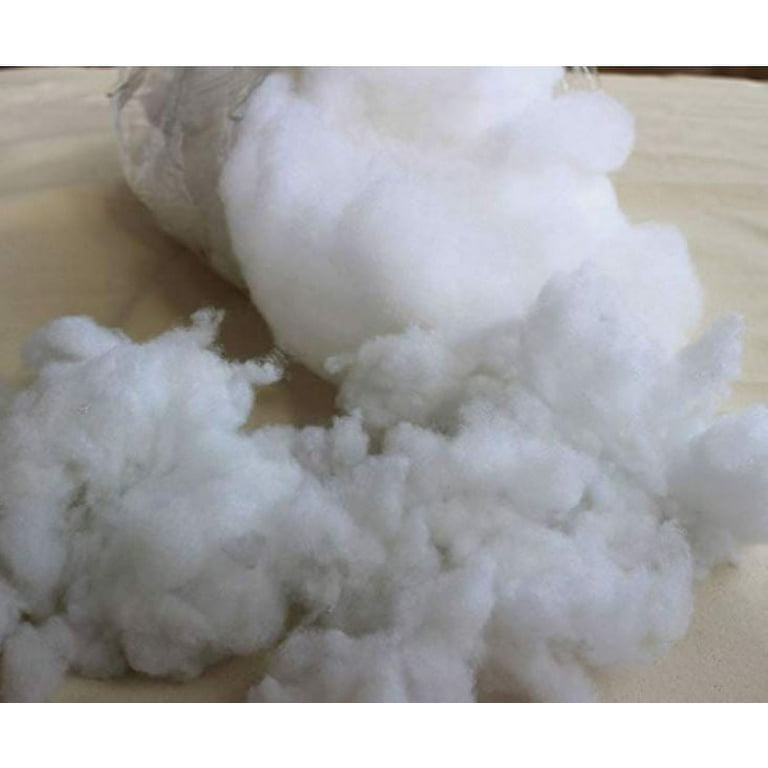
Turn the shirt right side out. Insert polyester fiberfill gradually through the open sleeve. Add small handfuls, shaping the pillow as you go. Avoid overstuffing. Aim for soft, huggable firmness. Once fully stuffed, sew the remaining sleeve shut with the same double-stitch method. Hug the pillow to distribute filling evenly.
Make a No-Sew Pillow with Fusible Bonding
Fuse Button-Down Covers
Iron the shirt flat. Cut two identical squares 1 inch larger than the insert. Align layers right sides together. Insert fusible webbing between layers along all edges. Iron each side for 5 to 10 seconds on cotton setting, applying firm pressure. Turn right side out. Insert pillow through the open placket. Button up.
The adhesive weakens with washing. Spot clean only.
Bond T-Shirt Pillows
Cut the front panel to size. Cut two overlapping back rectangles (include a 4 inch slit in one). Align back flaps and place front over back. Apply fusible webbing to top and bottom edges. Iron thoroughly on high cotton setting. Insert pillow through the back slit. Fold the flap down and iron closed.
Pick the Perfect Insert or Stuffing
Removable Inserts for Longevity
Use a polyester or down-alternative pillow form (Fairfield brand recommended). The cover becomes machine washable. You can easily replace or swap inserts. They hold shape longer than fiberfill.
Choose an insert 1 to 2 inches smaller than the cover for a full, plush look.
Fiberfill for Permanent Stuffing
Ideal for T-shirt memory pillows. Poly-Fil is soft, non-allergenic, and resists clumping. Add in small batches, shaping as you go to prevent lumps. Overstuff slightly because fiberfill compresses over time.
Customize Your Shirt Pillow
Highlight Shirt Features
Center pockets on the front for texture and nostalgia. Use yokes as a design focal point. Align logos or band names centrally. For plaid shirts, match lines across seams for a professional finish.
Add Personal Touches
Iron-on patches apply names like “Love You, Grandpa” or pet silhouettes. Embroidered initials or dates near the corner add meaning. Decorative trim like pom-poms along the edge creates visual interest. Custom tags tell the story: “Made from Dad Work Shirt, 1998 to 2015.”
Troubleshoot Common Problems
Fix Fraying Edges
Lightweight or knit fabrics fray easily. Prevent this by using fusible interfacing. Finish edges with grosgrain ribbon. Seal with fusible webbing for no-sew projects.
Prevent Uneven Stuffing
Lumps happen when fiberfill is not distributed well. Stuff in small batches, pushing filling into corners with your fingers. Rotate and hug the pillow to even it out.
Stop Weak Adhesive Bonds
Fusible tape fails if not heated enough. Iron each edge 5 to 10 seconds on cotton setting with firm pressure. Use heavy-duty Dritz Stitch Witchery for best results.
Avoid Neck Hole Puckering
On T-shirts, use a stretch needle (75/11 ballpoint) and zigzag stitch. Cut the neck patch slightly larger than the hole and stretch slightly while sewing.
Care and Maintenance
Wash Removable Covers Safely
Remove the insert first. Hand wash or use gentle machine cycle with mild detergent. Air dry or tumble dry low. Re-fluff the insert to restore shape.
Spot Clean Permanent Pillows
Do not soak. Use a damp cloth with mild soap. Avoid wetting fiberfill because it can cause clumping or mildew.
Protect No-Sew Bonds
Never machine wash. Spot clean only. Iron on low heat, avoiding sealed edges to prevent melting adhesive.
Creative Uses and Gift Ideas
Create Memory Keepsakes
Turn a loved one shirt into a huggable memorial pillow. Ideal for grieving families, pet loss tributes, and graduation gifts from childhood clothes.
Upcycle for Sustainability
Reduce textile waste by repurposing unworn shirts. Thrift store finds cost $1 to $5. Compare to store-bought pillows at $25 to $50. This project saves money and resources.
Gift with Meaning
Perfect for birthdays, Father Day, or sympathy gifts. Add a patch: “This is a shirt I used to wear. Love, Uncle Wayne.”
Frequently Asked Questions About Making a Pillow from a Shirt
What type of shirt works best for making a pillow?
Cotton T-shirts create soft, huggable pillows ideal for memory keepsakes. Button-down shirts work best for decorative throw pillows with clean lines. Flannel offers warmth and rustic appeal. Avoid thin or damaged fabrics that may compromise seams.
Do I need sewing skills to make a pillow from a shirt?
No. Both sewn and no-sew methods exist. The no-sew approach uses fusible webbing and an iron, perfect for beginners. Sewn pillows are more durable and machine washable.
How do I prevent the fabric from fraying?
Use fusible interfacing on knits. Finish raw edges with grosgrain ribbon. For no-sew methods, apply fusible webbing along all seams. Wash removable covers inside out on gentle cycle.
Can I wash a shirt pillow?
Sewn pillows with removable inserts can be machine washed (remove insert first). Permanent stuffed pillows require spot cleaning only. No-sew pillows should never be machine washed.
How do I center a design or logo on the pillow?
Cut the front panel after centering the graphic. Use fabric chalk to mark alignment points. Pin front and back layers together before cutting to ensure pattern matching, especially with plaids or stripes.
Key Takeaways for Making a Pillow from a Shirt
Making a pillow using a shirt is more than a craft project. It is a way to preserve stories, reduce waste, and create something truly personal. Start with a clean shirt in good condition. Cut fabric 1 to 2 inches larger than your insert for proper seam allowance. Use envelope closure for washable covers or button placket for button-down shirts.
Whether you sew or fuse, stuff or insert, the result is a soft, meaningful object that honors the past and fits perfectly on your couch. The process takes under an hour and requires minimal tools. Follow these steps and turn fabric into memory. You will be amazed at how little time it takes to make something that lasts a lifetime.