
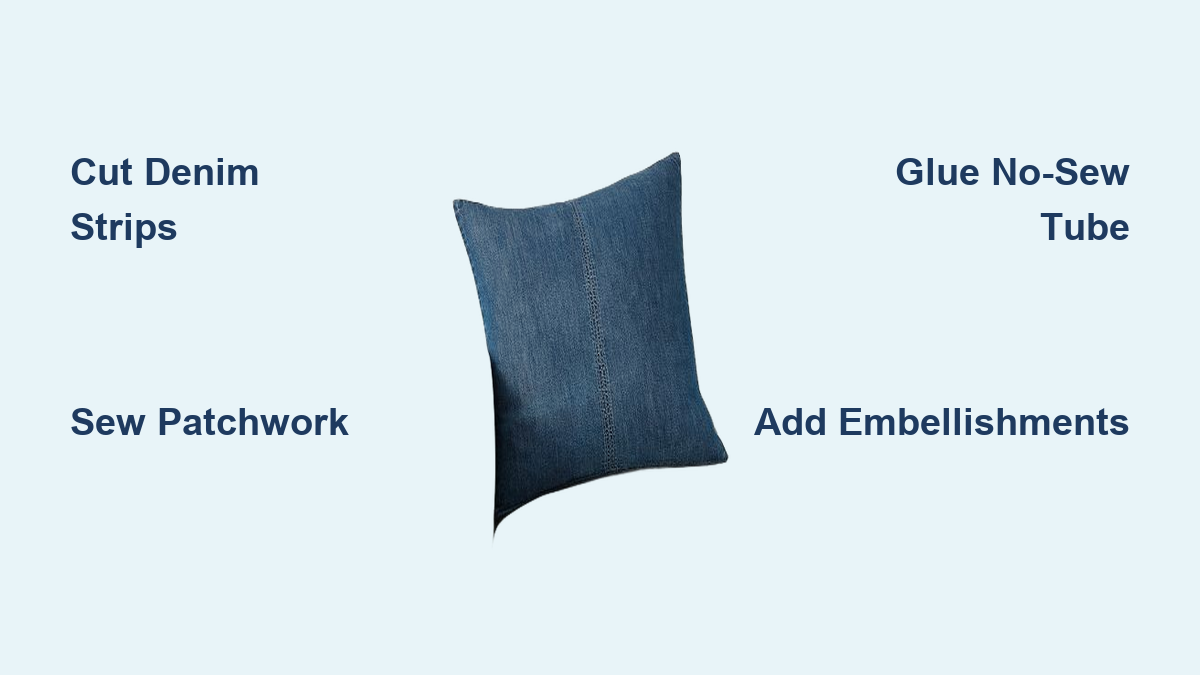
Tired of old jeans taking up space in your closet? Turn that worn denim into a stylish, eco-friendly throw pillow in under two hours. Repurposing jeans into home décor is a sustainable way to reduce textile waste while creating durable, personalized accent pieces for your sofa, bed, or kids’ room. Whether you’re a sewing pro or a craft beginner, making a pillow out of jeans is an easy DIY project that delivers big visual impact. From patchwork designs to no-sew tube pillows, this guide covers every method, material, and trick you need to transform discarded denim into a custom cushion.
Cut and Prep Denim Panels for Your Pillow
Before sewing or gluing, you need flat, usable fabric from old jeans. Start by laying the jeans flat and cutting open the inner leg seams and crotch seam to unfold the legs into wide panels. This gives you two long denim strips per leg, plus the front panel with pockets, which is perfect for creative pillow fronts.
Open Seams for Flat Fabric
Use a seam ripper to split the inseam from crotch to ankle. This unlocks wide, flat panels without stretching or distortion. The original side seams can stay intact for a vintage look or be cut apart for larger pieces. Preserve high-wear areas like pockets, belt loops, or back yoke details for visual interest, as these add instant character to your pillow front.
Measure Pillow Size Accurately
Standard throw pillows are 16″ x 16″ or 18″ x 18″. Add 1 to 2 inches to each side for seam allowances or stuffing depth. For an 18-inch finished pillow, cut fabric to 19 to 20 inches. Create a paper template from newspaper or cardboard in your target size and place it on the denim to optimize layout and avoid holes or stains.
Pro Tip: Diagonal cuts on denim fray more dramatically than straight cuts, ideal for a rugged, textured look in patchwork designs.
Wash and dry the denim first if it is pre-worn. This pre-shrinks the fabric and encourages natural fraying. Iron flat for clean cutting.
Make a Patchwork Denim Pillow Front
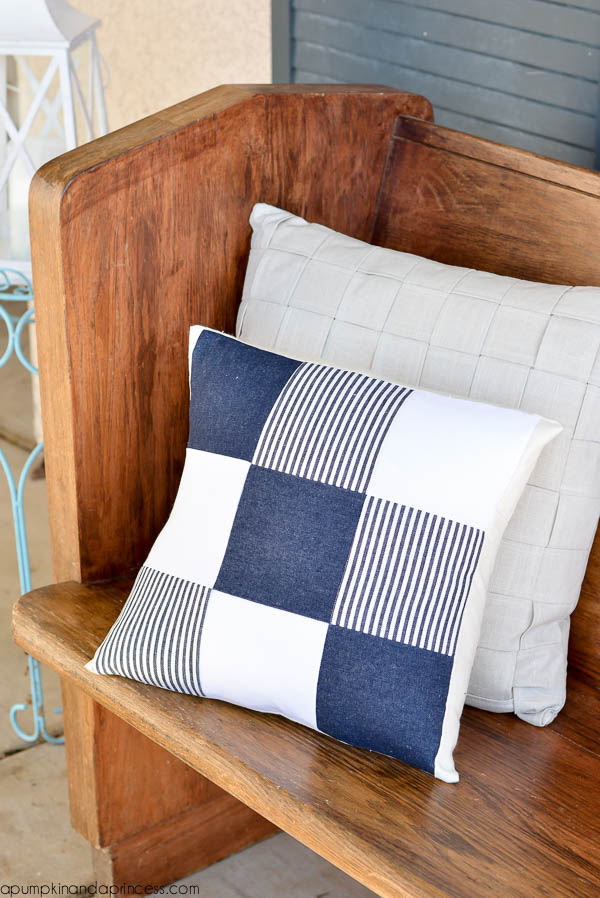
A patchwork denim pillow front gives a modern, rustic look using scraps from one or more jeans. The key is layering diagonal strips with intentional overlap to create zigzag seams that fray beautifully over time.
Cut and Arrange Diagonal Strips
Cut 3 to 6 rectangular strips from denim legs, each about 4 inches longer than your pillow width. Slice each rectangle diagonally to form triangles. Alternate the direction of the cuts, some left-leaning and others right-leaning, to create a dynamic zigzag pattern. Lay out the triangles on a table, placing top and bottom triangles first, spaced to match pillow height, then filling the center with overlapping strips.
Sew and Fray the Seams
Pin each seam in place with edges overlapping by at least 1 centimeter. Sew a straight stitch about 1 centimeter from the edge, then go over it with a narrow zigzag stitch directly on the raw edge. After sewing, rub the seams with a damp cloth or toss the panel in the washing machine to speed up the frayed effect.
Design Rule: Embrace uneven lines and mixed denim shades. These imperfections add charm and authenticity to your pillow.
Assemble Your Sewn Pillow Cover
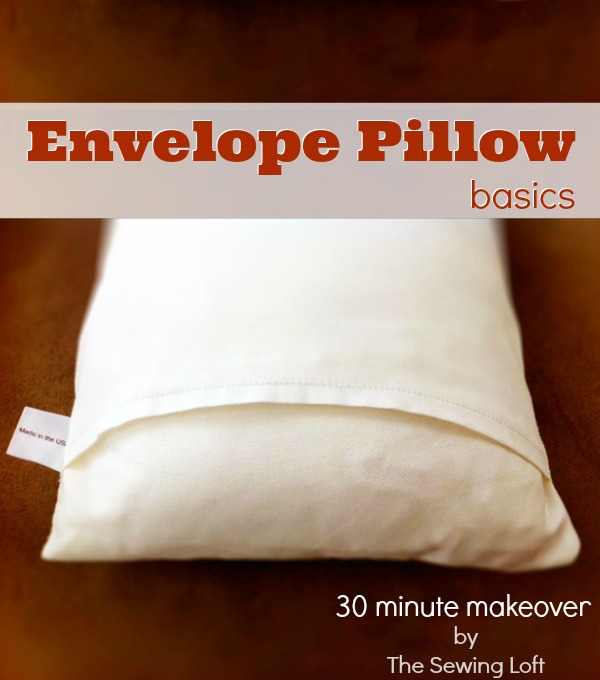
Now that your front is ready, it is time to build the full cover. Choose a closure method based on how often you will remove the insert.
Use Envelope Back for Easy Access
An envelope-style back lets you swap inserts without unzipping. Cut two back panels: one full-size piece and one narrower piece about two-thirds the width. Overlap should be at least 4 inches so the cover stays closed. Place front and back pieces right sides together, pin around the edges, and sew with a half-inch seam allowance, skipping the back where the overlap sits.
Trim corners diagonally to reduce bulk. Turn right side out and use a chopstick to push out corners. Press with an iron for crisp edges.
Install Snaps for Small Overlaps
If your overlap is less than 4 inches, add snaps. Sew or press snap halves onto the inner edges of both back panels. They keep the cover secure while maintaining a clean look. For a more permanent touch, use a centered zipper inserted along the bottom edge.
Expert Tip: Use original jeans seams on the back. Cut a leg section 2 inches wider, fold the seam edge under, and stitch for a textured, no-waste border.
Create a No-Sew Pillow With Hot Glue
No machine? No problem. You can make a sturdy, decorative pillow using just a pant leg and a hot glue gun.
Cut and Seal the Bottom
Pick a clean, intact pant leg. Measure your desired pillow length and add 1 to 2 inches. For a 16-inch pillow, cut the leg to 17 to 18 inches. Even both ends with a ruler and fabric marker, cutting straight across to avoid lopsided edges. Turn the leg inside out, apply a continuous bead of hot glue along one open end, and press the edges together firmly. Let dry completely.
Stuff and Close the Top
Turn the tube right side out. Begin stuffing with polyfill, pushing it into the corners with a pencil or spoon. Do not overfill; aim for firm but flexible. For a clean finish, use the reverse cuff method: fold the top edge inward about 1 to 2 inches, apply hot glue along the inner edge of the fold, and press down to seal, hiding the raw edge.
Time-Saver: Slightly overstuff before sealing to counteract glue shrinkage and maintain fullness.
Finish Edges and Add Trim
Clean edges elevate your pillow from crafty to custom. Choose finishing methods based on your build style.
Apply Bias Tape or Topstitching
For sewn pillows, use bias tape to bind the edges. Attach it to the back first, wrap it over the front, and topstitch in place. Reclaimed tape from old garments works perfectly. Alternatively, reinforce edges with double rows of straight stitching, using contrasting thread like red or yellow for a bold decorative touch.
Seal and Edge No-Sew Pillows
Hot glue is your primary tool for no-sew pillows. For a polished look, add rope or cord edging: cut thick cotton rope to match pillow perimeter, apply hot glue along one edge, and press the rope into place. Continue around all four sides to add texture and hide any glue seepage.
Warning: Avoid machine washing no-sew pillows. Glue can crack or dissolve in water.
Choose the Right Closure for Your Pillow
Your closure affects both function and aesthetics. Pick one that matches your use case.
Compare Closure Options
| Closure | Best For | Durability |
|---|---|---|
| Envelope back | Easy insert removal | Medium |
| Snaps | Minimal overlap | High |
| Zipper | Frequent washing | High |
| Buttons and loops | Decorative appeal | Medium |
| Hot glue | Permanent no-sew | Low |
Snaps are ideal when you cannot achieve a 4-inch overlap. They are easy to install and nearly invisible. For daily-use sofa cushions, opt for zippers or double-stitched envelopes.
Add Felt Stars and Embellishments
Personalize your pillow with simple, eye-catching details.
Attach Felt Stars Quickly
Cut star shapes from felt scraps. Red, white, or yellow pop nicely on blue denim. Use a template for consistency. Position stars on the front, center, corner, or scattered. Secure with hot glue for no-sew versions or hand-stitch with matching thread for sewn versions.
Design Tip: Use burlap or cotton if you do not have felt. Layer with twine or buttons for farmhouse charm.
Try Other Custom Touches
Sew vintage or embroidered patches over seams. Add names, quotes, or doodles with fabric paint. Lightly sand areas or create bleach spots for a vintage style. Combine denim with lace, plaid, or leather scraps for added texture.
Try Creative Design Variations
Go beyond basic squares. Use unique denim features to stand out.
Make a Pocket-Front Pillow
Use the jeans front panel with one or both pockets intact. This creates a 3D effect and a faux storage look. Pair with a solid back in denim or contrasting fabric like canvas or burlap. The pocket can even hold small items like remotes or books.
Build a Cuff-Style Pillow
Use the pant leg original hem as a built-in border. Cut a 16 to 18-inch section, seal one end with glue or stitching, stuff, then fold the top cuff inward and secure. The result is a cylindrical pillow with rugged, finished edges on both ends.
Mix Denim Shades for Texture
Combine light, medium, and dark washes from different jeans. This adds depth to patchwork and highlights stitching. Use back yoke pieces or belt loops as appliqué accents for extra visual interest.
Care for Your Denim Pillow
Keep your pillow looking great with proper maintenance.
Spot Clean Only When Possible
Most denim pillows, especially no-sew or embellished ones, should be spot cleaned. Use a damp cloth with mild soap for stains. Avoid soaking or machine washing unless the pillow is fully sewn with strong seams and no hot glue or felt elements present.
If machine washing is necessary, place the pillow in a pillowcase and run a cold, gentle cycle. Air dry only, as heat damages glue and shrinks denim.
Maintain Shape and Fluff
Fluff the pillow daily to prevent stuffing from clumping. Rotate it regularly to avoid uneven wear. For flat spots, unzip and add more polyfill as needed.
Fix Common Problems Fast
Even simple projects can hit snags. Here is how to solve them.
Not Enough Denim? Mix Fabrics
One pair may not cover a large pillow. Use multiple jeans or supplement the back with canvas, cotton, or upholstery fabric. Patchwork actually benefits from mixed sources. Just keep shades similar for cohesion.
Stuffing Lumpy or Corners Flat?
Use a chopstick or pencil to push polyfill into corners during stuffing. Work slowly and layer the fill evenly. Slightly overstuff sewn pillows, as they settle over time.
Glue Seeping Through Fabric?
Apply hot glue in thin, controlled beads. Wipe excess quickly with a damp cloth, but be careful because it is hot. Let each section cool before moving on.
Fraying Too Much?
Pre-wash denim pieces before sewing to remove excess shrinkage. Then seal seam edges with zigzag stitch or Fray Check if you want less texture.
Frequently Asked Questions About Making Pillows From Jeans
Can I make a pillow out of jeans without sewing?
Yes, you can create a no-sew pillow using a single pant leg and a hot glue gun. Cut the leg to your desired length, seal one end with hot glue inside out, turn right side out, stuff with polyfill, and seal the top using the reverse cuff method. This approach works well for beginners or those without sewing equipment.
How many pairs of jeans do I need for one pillow?
One pair of jeans typically provides enough fabric for a standard 16-inch or 18-inch pillow. You may need additional pairs for larger pillows or more complex patchwork designs. Using multiple pairs actually enhances patchwork patterns by providing varied denim shades.
What size pillow can I make from one pair of jeans?
From one pair of jeans, you can typically make a 16-inch or 18-inch square pillow. The front panel with pockets works for the pillow front, while the leg panels provide backing material. For larger sizes, supplement with additional fabric or use multiple jeans.
How do I prevent the denim from fraying too much?
Pre-wash your denim pieces before sewing to remove excess shrinkage and minimize future fraying. Seal seam edges with a narrow zigzag stitch directly on the raw edge, or apply Fray Check if you want to limit the frayed texture. For a controlled look, use straight cuts instead of diagonal cuts.
Can I wash my denim pillow in the washing machine?
You can machine wash sewn pillows without hot glue or felt elements. Wash inside a pillowcase on a gentle cycle with cold water. Air dry only to prevent shrinkage and glue damage. Spot cleaning is recommended for no-sew pillows or those with embellishments.
Key Takeaways for Making Pillows From Old Jeans
Transforming old jeans into a pillow is more than a craft project. It is a statement of style and sustainability. With just a few tools and an hour or two, you can create a durable, unique piece that breathes new life into discarded denim. The two main construction methods, sewn and no-sew, both produce excellent results. The sewn approach offers durability and professional-looking finishes with envelope backs or zippers. The no-sew method provides a quick, beginner-friendly option using hot glue and a pant leg.
Whether you sew a patchwork showpiece with frayed zigzag seams or glue a quick tube pillow, the result is a functional work of art. Embrace imperfections like uneven lines and mixed denim shades, as these add character and authenticity. Start small, experiment with textures and closures, and let your creativity guide you. Your next favorite throw pillow is already in your closet, waiting to be remade into something beautiful and practical for your home.