
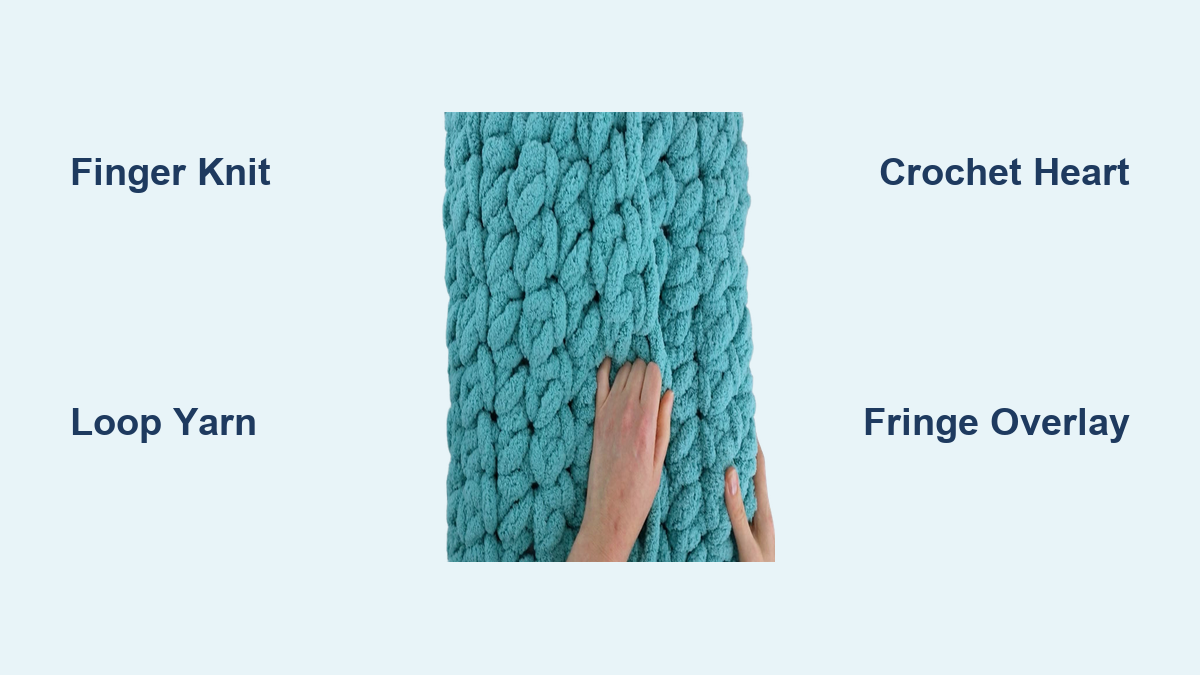
Imagine transforming a single skein of soft, chunky yarn into a cozy, handmade pillow that adds warmth and texture to your living room. Making a pillow with yarn requires no knitting needles, no sewing machine, and no prior craft experience. Whether you want a washable cover, a boho accent, or a heartfelt handmade gift, you can create a beautiful yarn pillow in under an hour to a few hours for under $20.
This guide covers five proven methods to make a pillow with yarn, from finger knitting jumbo yarn to attaching fringe on an existing cover. Each approach is beginner-friendly, uses minimal tools, and delivers professional-looking results. You will learn exactly what materials to buy, how to avoid common mistakes, and how to finish with clean seams and secure closures.
Choose Your Yarn Pillow Method
Match Skill and Tools to Project
Not all yarn pillows are made the same. The best method depends on your available time, tools, and desired look. Here is a quick comparison to help you decide.
| Method | Tools Needed | Time | Best For |
|---|---|---|---|
| Finger Knit Flat Square | Fingers, scissors | 3 to 5 hours | Washable, durable pillow covers |
| Finger Knit Round Pillow | Fingers, scissors | Under 1 hour | Fast, seamless accent pillows |
| Loop Yarn Pillow | Scissors only | 30 to 60 minutes | Kids, no-skill crafting |
| Crocheted Heart Pillow | Hook, clip, scissors | 1 to 2 hours | Romantic gifts, shaped decor |
| Yarn Fringe Overlay | Hook, scissors | 1 to 2 hours | Upcycling plain pillows |
All methods use affordable, widely available materials and allow full creative control over color, texture, and size.
Pick the Right Yarn for Your Pillow
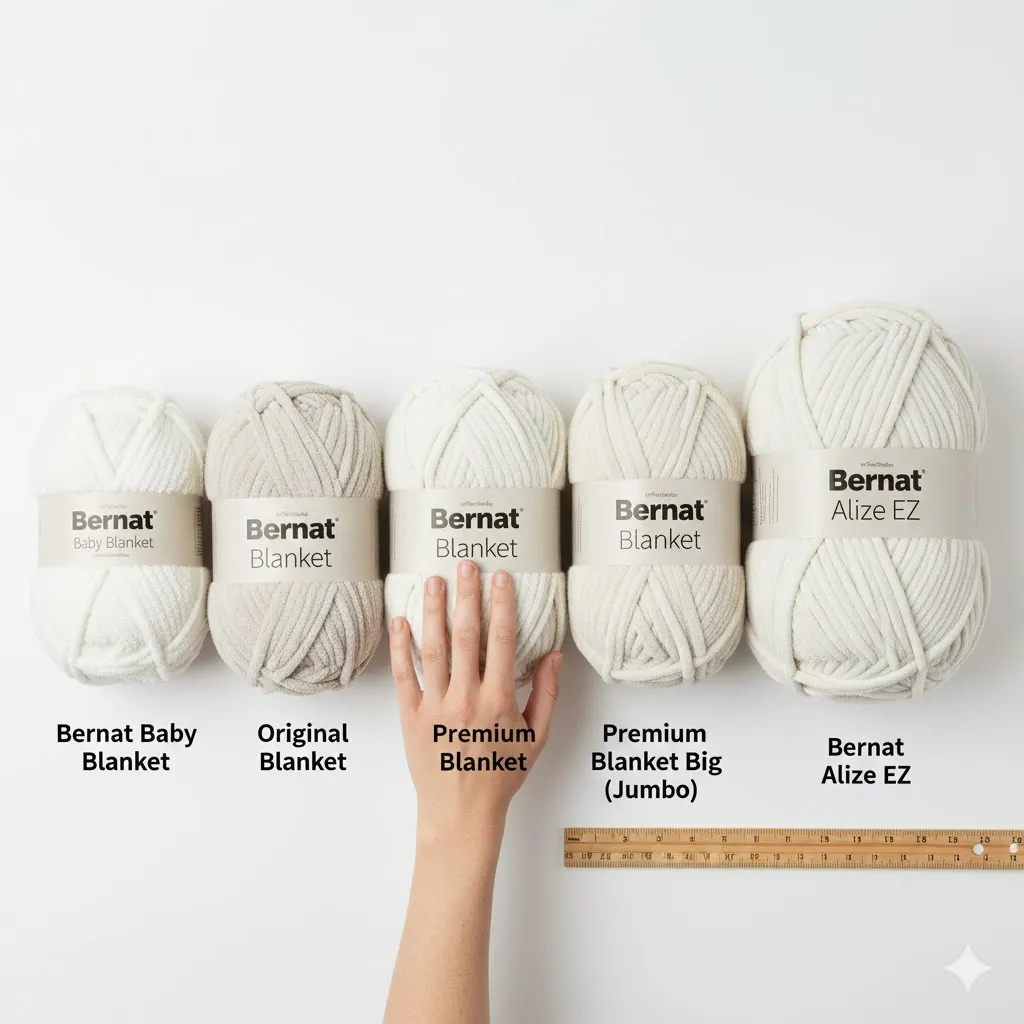
Use Jumbo, Chunky, or Loop Yarn
The type of yarn you choose defines your pillow texture, speed of completion, and washability. Selecting the right one makes a significant difference in your final result.
Jumbo Yarn (Size 7)
Jumbo yarn works best for finger-knit square and round pillows. Bernat Blanket Big is a recommended brand because one skein makes a full 16-inch by 16-inch cover. This yarn is machine washable and ultra-soft. You need one skein for a flat pillow or 1.5 skeins for round or larger sizes.
Loop Yarn (Pre-Looped)
Loop yarn is best for no-skill, fast projects. Recommended brands include Bernat Alize Blanket EZ and Lion Brand Off the Hook. This yarn requires no stitches. You simply stack loops on top of each other. For a 20-inch square pillow, you need three balls of Bernat Alize.
Chunky Crochet Yarn (Size 6)
Chunky yarn works well for shaped pillows like hearts. Use acrylic or blend fiber. You need approximately 1.5 skeins for two heart pieces.
Decorative Thick Yarn
Decorative thick yarn is perfect for fringe overlays. Mix colors for a boho effect. Using scraps saves money while creating visual interest.
Pro Tip: Variegated yarn hides minor tension imperfections and adds visual interest to your finished pillow.
Stuff Your Pillow Right
Choose a Washable, Plush Filling
The right stuffing ensures your pillow looks full and holds its shape over time. Using quality fill prevents lumps and extends the life of your creation.
| Type | Best For | Notes |
|---|---|---|
| Polyfill (Polyester Fiberfill) | All knitted and crocheted pillows | Easy to find, soft, machine washable |
| Scrap Yarn | Eco-friendly builds | Repurpose leftovers. Pack evenly to avoid lumps |
| Fabric-Stuffed Ball | Round pillows | Prevents stuffing from poking through loose stitches |
Avoid overstuffing. It distorts stitches and makes seaming significantly harder.
Finger Knit a Flat Square Pillow Cover
Create a Washable Cover in 5 Steps
This method creates a cozy, ribbed pillow cover that fits a standard 16-inch by 16-inch insert and can be machine washed. The result is a durable, removable cover that protects your pillow insert.
Start with a Slip Knot and 9 Loops
Make a slip knot and place it on your index finger. Add eight more loops across your fingers for a total of nine. Keep the working yarn on the opposite side after each row to track direction. Maintain 1.5 to 2 inch loop height for even tension.
After each row, move the yarn ball to the opposite side to prepare for the return pass. This simple habit prevents confusion and keeps your tension consistent.
Knit 28 to 30 Rows for Full Wrap
Insert your finger through each loop from below. Pull new yarn through to form a fresh loop. Flatten your work after every row to prevent twisting. Stop when the piece wraps completely around your pillow insert, typically around 28 to 30 rows.
Leave Long Tails for Seaming
Do not cut the yarn at the end. Leave two full yarn lengths per side, approximately 12 to 18 inches. Make the final loop larger for easy threading later.
Seam with Criss-Cross Stitch
Thread yarn through a tapestry needle. Work through inner loops only, not the outer edge. Criss-cross the needle across the seam for strength. Make two passes per side and reinforce corners. Leave the bottom edge open for removable insert if desired.
An open base lets you remove the insert for machine washing. This design feature significantly extends the life of both your cover and your pillow insert.
Finish and Insert Pillow
Tuck loose ends inside the seam. Minimize weaving to allow easy removal. Insert your pillow form before closing the last side.
Make a Finger-Knit Round Pillow
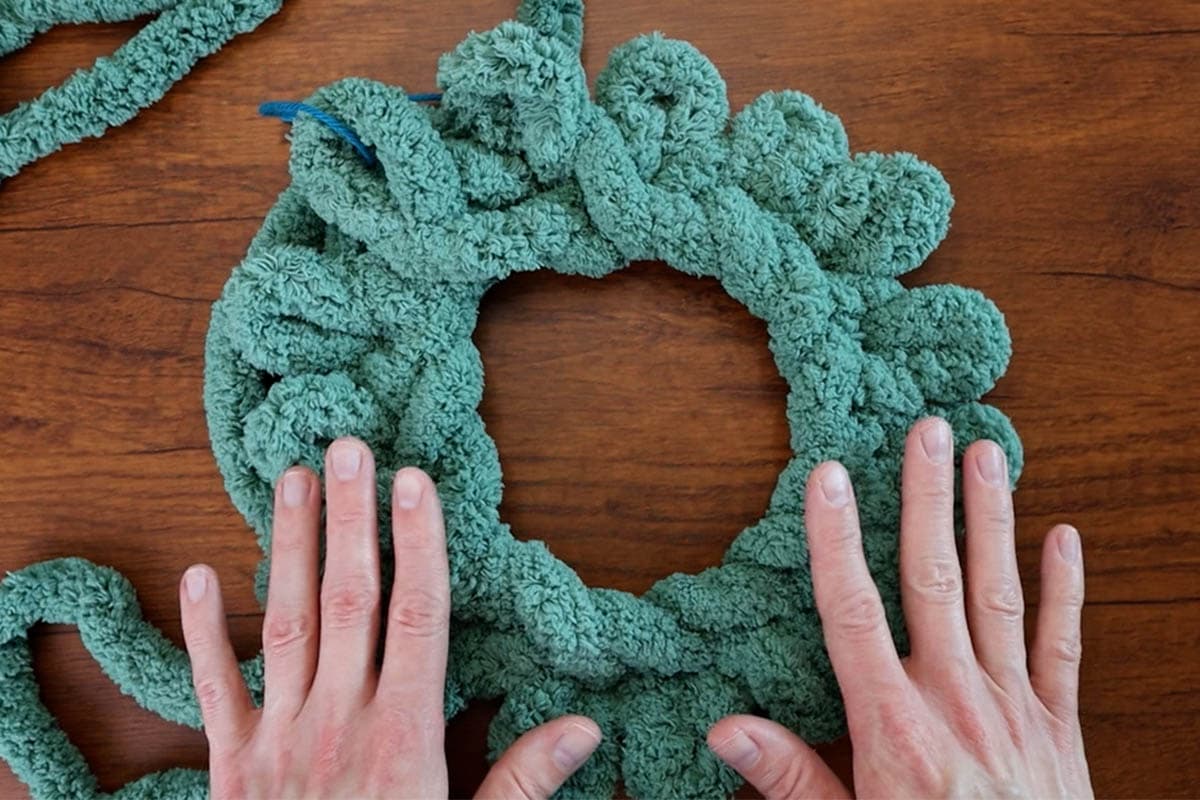
Finish a Seamless Accent Pillow in Under an Hour
This no-tools method creates a plush, circular pillow perfect for couches or gifts. The seamless construction eliminates visible seams for a professional look.
Build a 16-Chain Foundation
Make a slip knot with an 18-inch tail, which you will use later for cinching. Create 16 chains, each about 2 inches long. Lay flat in a circle, untwisted. Overlap the last chain over the first and pull a loop through both to start Row 1. Insert a contrasting yarn snippet as a stitch marker.
Knit 3 Rows in a Spiral
Work around the circle, pulling a loop through each chain. You will have 15 stitches due to the overlap. Maintain 2-inch loops to prevent gaps. Move the marker at the end of each row.
Fold and Knit Rows 4 to 12
Fold the circle in half with the marker at the far right. Knit across one side, then flip and knit the other. Keep tension even. Do not leave slack between sides.
Cinch the First Side Closed
Cut the yarn, leaving a long tail. Thread the tail through all live loops around the edge. Pull gently to close. Do not yank. Feed the tail into the center and tie a knot inside on a secure loop.
Stuff and Close the Other Side
Fill with polyfill. Do not overstuff. Use the 18-inch starting tail to whip stitch the open end. Pull every 3 to 4 stitches to gradually close the hole. Knot securely inside and tuck ends.
Custom Size Tip: Start with 12 chains for a smaller pillow or 20 plus chains for a larger one. Adjust row count accordingly.
Build a Loop Yarn Pillow (No Skills Needed)
Stack Loops into a Textured Throw Pillow
Perfect for kids or beginners, this method requires no knitting, no hook, and no stress. The pre-looped yarn does all the work for you.
Thread Loops to Build a Square
Start by tying the first loop closed or knotting it. Thread each new loop through the previous one. Continue until you reach 16 inches by 16 inches or your desired size. Tie off the end with a secure knot.
Make Front and Back Panels
Repeat to create a second identical square. Use the same color or contrast for a bold look.
Join Panels and Stuff
Align pieces with right sides out. Use whip stitch or slip stitch to sew edges together. Leave a 3 to 4 inch opening. Turn right side out. Fill with polyfill or soft scraps. Hand-sew the opening closed with invisible stitch.
Craft a Crocheted Heart-Shaped Pillow
Shape a Romantic Pillow in 1 to 2 Hours
Ideal for Valentines Day, baby gifts, or nursery decor, this shaped pillow makes a memorable handmade present.
Form the Heart Base with Increases
Make a slip knot and pull up one loop. Work across, increasing in gaps between loops. Continue until you have 12 loops on each side to form the heart base.
Shape Each Side with Decreases
Clip off one side with six loops. Use a safety pin or stitch marker to hold live loops. Knit across, then pull first loop over second to decrease. Repeat across the row. Return and repeat until two loops remain, then pull through and cut.
Make a Matching Second Piece
Repeat the entire process for the back. Match stitch count exactly for symmetrical results.
Join with a Border and Stuff
Align both hearts. Use a continuous loop border, pulling yarn through two loops at a time, swinging around, and forming a new loop. Work around the entire edge. Stuff firmly, packing curves and corners. Pull final tail tight and tie beginning and ending tails together inside.
Personalize It: Add an embroidered name or fabric patch to make this pillow a one-of-a-kind gift.
Decorate with Yarn Fringe (No Knitting)
Upgrade a Plain Pillow in 2 Hours
Turn a boring burlap or woven pillow into a boho masterpiece with this simple fringe technique.
Cut Strands Double the Desired Length
For 6-inch fringe, cut 13 to 14 inch strands. Cut all at once for consistency.
Attach with Lark’s Head Knots
Push a small crochet hook up through a horizontal thread. Fold a strand in half and hook the center loop. Pull the loop through, approximately 1 inch. Pull ends through the loop and tighten. This is a lark’s head knot. Repeat every 1 to 2 inches.
Sketch a color pattern first. Try gradients or blocks for visual interest.
Layer and Trim for Style
Add new color rows a few lines above for depth. Trim fringe after all strands are attached. Use straight cut for clean lines, angled cut for gradual slope, or random lengths for textured look.
Mistakes are easily fixed. Just pull out the knot with no damage to your pillow.
Care for Your Yarn Pillow
Wash, Dry, and Maintain Properly
Different methods require different care routines. Following the right instructions keeps your pillow looking fresh for years.
| Method | Washing | Drying |
|---|---|---|
| Jumbo Yarn | Machine wash cold | Tumble dry low |
| Loop Yarn | Machine wash cold | Tumble dry low |
| Crocheted | Hand wash only | Lay flat to dry |
| Fringe | Spot clean only | Air dry |
Never use high heat. It can melt synthetic fibers and ruin your pillow.
Fix Common Mistakes Fast
Avoid Twists, Gaps, and Loose Seams
Twisted work happens when you skip flattening. Flatten after every row. Gaps in round pillows result from inconsistent loop height. Keep loops at 2 inches for even texture. Loose seams require double-pass criss-cross stitching for durability. Uneven fringe should be trimmed only after all strands are attached. Skipped loops should be fixed within one row. Do not let them stack.
Pro Check: Always inspect alignment before stuffing to catch problems early.
Customize Your Design Like a Pro
Mix Colors, Shapes, and Textures
Use variegated yarn to hide tension flaws. Combine methods like finger-knit cover with fringe accents. Try ombre loop yarn for modern gradient effect. Add buttons to flat pillows for decorative closure.
Use a tray or book on your lap to stabilize loop yarn projects. This work surface tip makes the process much more comfortable.
Frequently Asked Questions About Making a Pillow with Yarn
How long does it take to make a pillow with yarn?
Time varies by method. Loop yarn pillows take 30 to 60 minutes. Finger-knit round pillows take under an hour. Flat finger-knit squares take 3 to 5 hours. Crocheted heart pillows and fringe overlays take 1 to 2 hours.
What yarn is best for making a pillow?
Jumbo yarn like Bernat Blanket Big works best for finger-knit pillows. It is soft, washable, and one skein makes a full 16-inch by 16-inch cover. Loop yarn like Bernat Alize Blanket EZ is best for no-skill projects.
Do I need knitting needles to make a yarn pillow?
No. Finger knitting uses only your hands. Loop yarn requires no tools at all. Fringe decoration uses only a small crochet hook. Only the crocheted heart method requires a traditional hook.
Can I wash my yarn pillow in the machine?
Jumbo yarn and loop yarn pillows are machine washable in cold water with tumble dry low. Crocheted pillows should be hand washed and laid flat to dry. Fringe pillows should be spot cleaned only.
How do I stop my yarn pillow from getting lumpy?
Use polyfill instead of scrap yarn for even stuffing. Avoid overstuffing, which strains seams. For round pillows, consider a fabric-lined stuffing ball to prevent filling from showing through stitches.
Key Takeaways for Making a Pillow with Yarn
Making a pillow with yarn is one of the most accessible, rewarding crafts available. With just yarn, scissors, and your hands, you can create durable, stylish pillows that last for years. Choose finger knitting for speed and durability, loop yarn for zero-skill projects, crochet for shaped decor, or fringe for upcycling plain pillows. Each method delivers impressive results with minimal investment.
Start with a simple project like the round finger-knit pillow to build confidence. Once you master the basics, experiment with colors, textures, and combinations. Your handmade pillows will add warmth and personality to any room while showcasing your creative skills.