
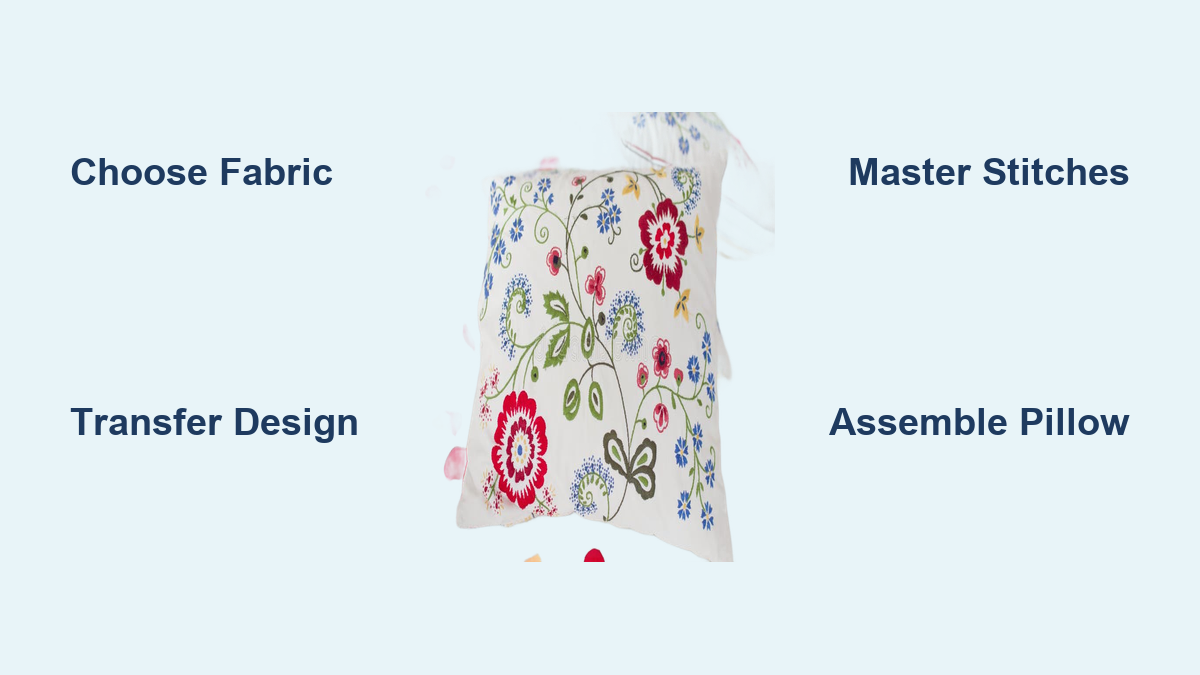
Imagine sinking into your favorite couch, only to notice it is missing that personal touch—something cozy, handmade, and uniquely yours. An embroidered throw pillow can transform any space from ordinary to inviting with just a few stitches. Whether you are a beginner or reviving a vintage craft, learning how to embroider a throw pillow is a simple, rewarding way to blend artistry with home décor. From monograms and floral motifs to seasonal quotes, every design adds charm, character, and conversation. This guide walks you through every step, from selecting fabric and transferring patterns to stitching like a pro and assembling a polished final piece. You will also discover cost-effective methods, expert tips, and creative ways to reuse your work.
Choose the Right Fabric and Pillow Base
The foundation of any embroidered pillow starts with fabric choice. The material affects stitch clarity, durability, and overall look. For hand embroidery, linen is the top pick because its smooth, even weave holds stitches cleanly and gives a vintage, textured finish. If you are using a sewing machine, opt for duck canvas or thick cotton, as they resist fraying and support dense stitching. Cotton-linen blends offer a balance of softness and strength, but they must be pre-washed to prevent shrinkage.
Avoid slippery or loosely woven fabrics unless stabilized. Vintage linens or thrifted embroidered pieces can also be repurposed for a one-of-a-kind look. Just inspect them carefully for fraying or stains first. You can embroider directly onto pre-made pillow covers or napkins for faster results.
Pillow inserts come in standard sizes. The most common are 12″ × 16″ (lumbar), 18″ × 18″, and 20″ × 20″. Inserts cost $5–$15 at craft stores and should match your finished cover size. Always account for seam allowances. Your embroidered piece should be 1/2″ larger than the insert on each side.
Match Fabric to Embroidery Style
Linen works best for hand-stitched floral or monogram designs. Canvas is ideal for machine embroidery with bold, detailed patterns. Vintage fabric is great for sentimental or heirloom projects. Cotton blends are good for beginners because they are easier to hoop and stitch.
Prep Fabric Before Stitching
Always wash, dry, and iron your fabric before starting. This removes sizing (chemical coatings) and prevents future wrinkling or shrinkage. If using embroidery floss, test for colorfastness by soaking a strand in hot water. No dye should bleed. Let it dry completely before use.
Gather Essential Embroidery Tools

A successful embroidery project relies on the right tools. Start with a wooden embroidery hoop (6″–8″ diameter). It keeps fabric taut and prevents puckering. Choose one with a screw clamp for adjustable tension. Next, use a sharp embroidery needle with a large eye. Size 7 or 9 works well for most cotton floss.
Keep your workspace organized with fabric scissors (dedicated only to fabric), thread snips for trimming floss, straight pins or clips to secure layers, and a pin cushion to store needles safely. You will also need measuring tape or a ruler to center your design and a water-soluble pen or chalk for marking alignment lines. Keep a small notebook nearby to track thread colors and stitch sequences.
Do Not Skip the Details
Using separate scissors for paper and fabric maintains blade sharpness. A dull tool can snag delicate linen. Store floss on bobbins or in labeled organizers to avoid tangles. Keep a loupe or magnifier handy if you have difficulty seeing small stitches.
Select and Customize Your Embroidery Design
Design choice sets the tone for your pillow. Popular options include floral motifs, monograms, text phrases, and seasonal themes. Florals like roses or daisies work well with satin stitches and French knots. Monograms offer timeless elegance, perfect for gifts. Text-based designs such as song lyrics or street names add personality but should stay under 15 characters for clarity on standard pillows.
For seasonal décor, consider holiday-specific patterns. Pumpkins work for fall, snowflakes for winter, so you can rotate covers throughout the year.
Use Printable PDF Patterns
Downloadable designs from sites like Urban Threads (about $3 each) offer professional-quality motifs for both hand and machine embroidery. Print your chosen design at actual size and transfer it using one of the methods below. You can resize digital patterns in editing software, but avoid stretching. This distorts proportions.
Coordinate Colors and Trim
Pick thread colors that complement your room’s palette. DMC 6-strand cotton floss ($0.80–$1.20 per skein) is colorfast and widely available. Use 2–3 strands for finer details, 6 for bold fills. Match embroidery thread to piping, fringe, or pom-pom trim for a cohesive look. Order swatches before buying trim to ensure color accuracy.
Transfer Your Design Accurately
A clean transfer ensures your embroidery looks intentional and centered. Choose a method based on your skill level and available tools.
Heat Transfer Pen Method
Print your design, then trace it with a heat transfer pen or pencil using firm pressure. Place the traced side down on your fabric and press with a hot, dry iron (no steam) for 10–15 seconds. Peel off the paper. The image transfers in reverse. This method works best for intricate designs.
Wash-Away Sticker Method
Peel and stick wash-away transfer stickers directly onto fabric. Embroider over the design, then soak the finished piece in warm water. The sticker dissolves completely, leaving no residue. This method is ideal for beginners.
Carbon Paper Method
Place carbon transfer paper (ink side down) on fabric. Lay your printed pattern on top and trace with a pencil. The pressure leaves a faint outline. Remove the paper and check alignment before stitching.
Freehand Drawing Method
For simple shapes or spontaneous creativity, sketch directly with a water-soluble fabric marker. The lines disappear with moisture. Test on a scrap first to ensure they vanish completely.
Center the Design First
Use a ruler to find the fabric’s center. Mark with a light dot or cross. Align your transferred design with this point to avoid off-center results.
Master Key Hand Embroidery Stitches
Once your design is on fabric, it is time to stitch. Use these essential techniques for professional results.
Back Stitch for Crisp Outlines
Perfect for text, stems, and defining shapes. Here is how to do it:
- Make a small straight stitch.
- Bring the needle up ahead of the stitch end.
- Insert it back into the end point of the first stitch.
- Repeat to form a continuous line.
Work one color at a time for efficiency. Keep stitches even in length.
Running Stitch for Textured Borders
Creates dashed lines or subtle borders. Push the needle up and down at regular intervals. Vary spacing for an organic feel. This stitch is great for framing a monogram or adding rhythm to a border.
French Knots for Dimension
Adds texture, ideal for flower centers or snowflakes. Here is how to do it:
- Bring needle up through fabric.
- Wrap floss 2–3 times around the needle.
- Insert needle back down close to the entry point.
- Pull gently to form a knot.
Pro tip: Hold floss taut while wrapping to prevent slipping. Practice on scrap fabric first.
Chain Stitch for Decorative Lines
Forms a linked loop pattern, great for vines or borders. Come up at the starting point, reinsert at the same spot keeping thread under the needle, bring needle up a stitch-length ahead, and pull to form a loop. Repeat. Keep loops consistent for a clean look.
Satin Stitch for Smooth Fills
Used for petals, leaves, or solid shapes. Bring needle up at one edge, push down through the opposite edge to form a central stitch, return up beside the first stitch, go down next to the second, and keep stitches parallel and close together. For larger shapes, use a satin stitch variation. Start with a center line, then stitch “up-beside, down-halfway” on both sides for depth.
Detached Chain Stitch for Leaves
Creates open-loop leaves. Come up at base, go back down nearby leaving a loop, bring needle up at the tip, thread through the loop, pull tight, and secure by going back down opposite side. Avoid over-tightening, which flattens the shape.
Finish and Stabilize Your Embroidery
After stitching, prepare your piece for assembly. Trim excess fabric around the embroidery, leaving a 1″–2″ border. Ensure edges are square. Misaligned cuts lead to uneven pillows. Use a rotary cutter and mat for precision.
Apply interfacing for structure. Iron on Pellon Shape-Flex Interfacing to the back. This prevents distortion, reduces fraying, and adds body to soft fabrics. Follow manufacturer’s heat settings. Interfacing is essential if your pillow will be handled or washed.
Secure thread ends neatly. On the back, weave loose ends under existing stitches for 1″ before trimming. Avoid knots on thin fabric because they can show through. For machine embroidery, use backstitching to lock threads.
Assemble with a No-Sew Ladder Stitch
If you do not own a sewing machine, this method delivers a clean, invisible closure.
Use HeatnBond for Bonding
Cut your backing fabric to match the front. Apply HeatnBond Ultrahold Tape to three edges of the embroidered front. Iron to activate adhesive. Peel off the backing, align the back fabric, and iron again to bond. Leave one edge open for stuffing.
Turn and Stuff
Flip the pillow right-side-out through the open edge. Use a butter knife or chopstick to gently push out corners. Do not puncture fabric. Insert a pre-made pillow form or stuff with polyfill. Adjust firmness by adding more or less filling.
Close with Ladder Stitch
Fold the raw edges inward and pin. Thread a needle with matched thread and use a ladder stitch. Insert needle from inside one edge, cross to the opposite edge and pick up a tiny fold, alternate sides pulling tight after each stitch, and knot securely inside. When done correctly, the seam disappears.
Sew a Durable French Seam with Zipper
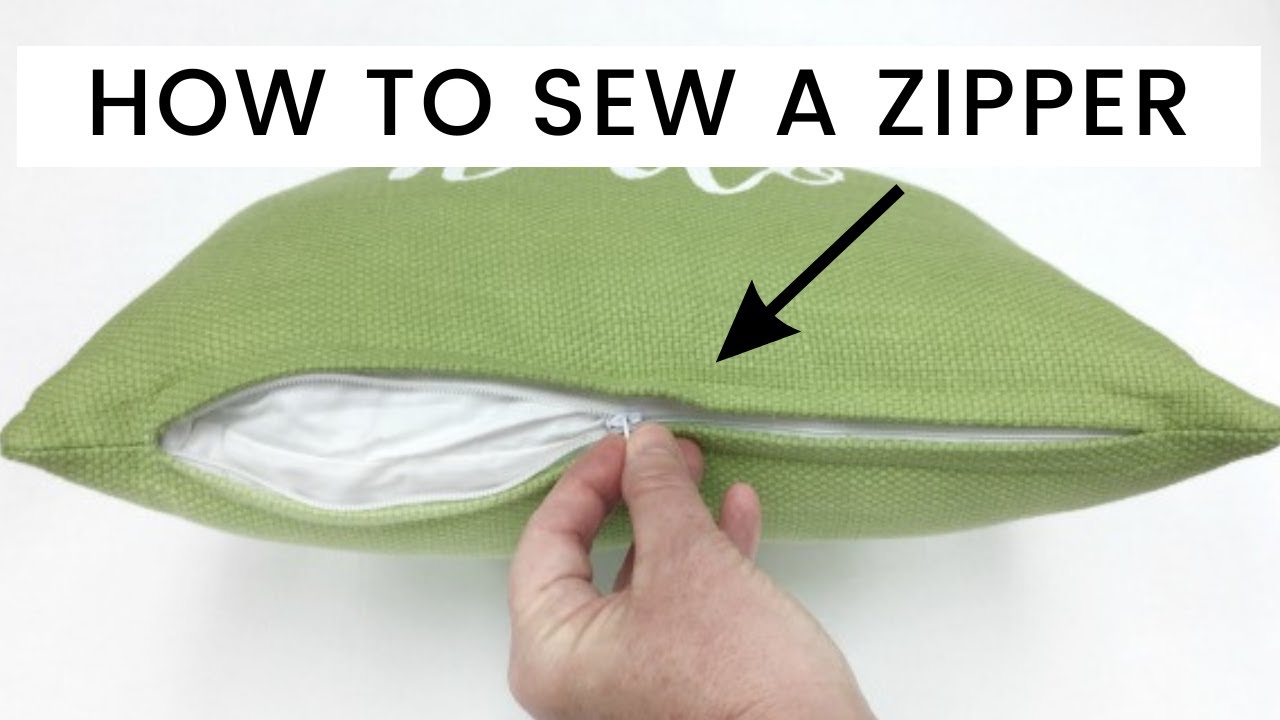
For washable, long-lasting covers, use this professional technique.
Install a Metal Zipper
Choose a metal zipper ($4–$7) slightly shorter than your pillow side. Use a zipper foot on your sewing machine. Hem the bottom edge of both front and back panels, pin the zipper to one panel right sides together, sew with a straight stitch, flip and press, then attach the second panel.
Create French Seams
With right sides out, pin front and back together. Sew around all edges with a 1/8″ seam. Trim seam to 1/8″. Turn inside out so right sides face each other. Sew again with a 1/4″ seam, enclosing the raw edges. Turn right-side-out. The result is a clean, durable finish with no exposed seams.
Stuff and Finalize Your Pillow
Insert your pillow form through the zipper or ladder-stitched opening. Gently “squish” it into place, then fill corners completely for a plump look. For hand-stuffed pillows, distribute polyfill evenly. Avoid lumps by pulling small amounts at a time.
Press for a polished finish. Lightly iron the front. Avoid pressing over embroidery to prevent flattening stitches. Use a pressing cloth if needed. Trim any stray threads. Inspect for loose knots or uneven tension.
Care for Your Embroidered Pillow
Durability depends on construction and materials. If your pillow is hand-sewn or unstabilized, do not machine wash. Blot spills with a damp cloth and mild soap. Air dry flat.
If you used a zipper closure, remove the insert first. Wash on gentle cycle with cold water. Air dry or tumble dry low. High heat can damage floss or interfacing. Always pre-wash fabric and test floss if cleaning is expected.
Repurpose and Expand Your Skills
Your embroidered piece does not have to stay a pillow. Frame it as wall art by leaving the design in the hoop, adding a fabric or cardboard back, and hanging with ribbon. It becomes an instant gallery piece.
Make seasonal covers by creating multiple fronts. Pumpkins work for fall, holly for winter. Reuse the same back and insert. Store off-season covers flat or rolled to prevent creasing.
Gift with meaning by personalizing with names, dates, or inside jokes. A monogrammed pillow makes a heartfelt housewarming or wedding gift.
Frequently Asked Questions About Embroidering Throw Pillows
What is the best fabric for hand embroidery on throw pillows?
Linen is the best choice for hand embroidery because its smooth, even weave holds stitches cleanly and gives a vintage, textured finish. Cotton-linen blends also work well but should be pre-washed to prevent shrinkage.
How long does it take to embroider a throw pillow?
Completion time varies based on design complexity and experience level. A simple monogram or small floral design takes about 3–5 hours for beginners. Larger, detailed designs may take 8–10 hours or more.
Can I machine embroider a throw pillow instead of hand stitching?
Yes, machine embroidery works well with duck canvas or thick cotton fabric. Use a heavyweight tear-away stabilizer behind the fabric to support dense stitching. This method is faster than hand embroidery for complex designs.
How do I transfer my embroidery design onto fabric?
Several methods work well. Use a heat transfer pen for intricate designs, wash-away stickers for beginners, carbon paper for tracing, or a water-soluble pen for freehand sketching. Choose based on your skill level and design complexity.
How do I clean an embroidered throw pillow?
If your pillow has a zipper and French seams, remove the insert and machine wash on gentle cycle with cold water. If it is hand-sewn or unstabilized, spot clean only with a damp cloth and mild soap. Air dry flat.
How much does it cost to DIY an embroidered throw pillow?
Total cost ranges from $13–$25, including pillow insert ($5–$15), fabric ($5–$10), floss ($0.80–$1.20 per skein), and miscellaneous supplies. This is comparable to store-bought versions ($20–$30) while offering full creative control.
Key Takeaways for Embroidering Your Own Throw Pillow
Embroidering a throw pillow costs $13–$25, compared to $20–$30 for store-bought versions. Plus, you get full creative control. Whether you choose hand stitching with a vintage feel or machine precision with a zipper closure, the result is a custom piece that reflects your style. The key steps are selecting the right fabric (linen for hand embroidery, canvas for machine), transferring your design accurately, mastering essential stitches like back stitch and French knots, and choosing a closure method that matches your skill level. With the right tools, a clear design transfer, and a few essential stitches, even beginners can create something beautiful. And once you finish one pillow, you will find yourself dreaming up the next. Maybe a matching set, a holiday rotation, or even embroidered tote bags. Pick a pattern, thread your needle, and start stitching. Your couch and your creativity will thank you.