
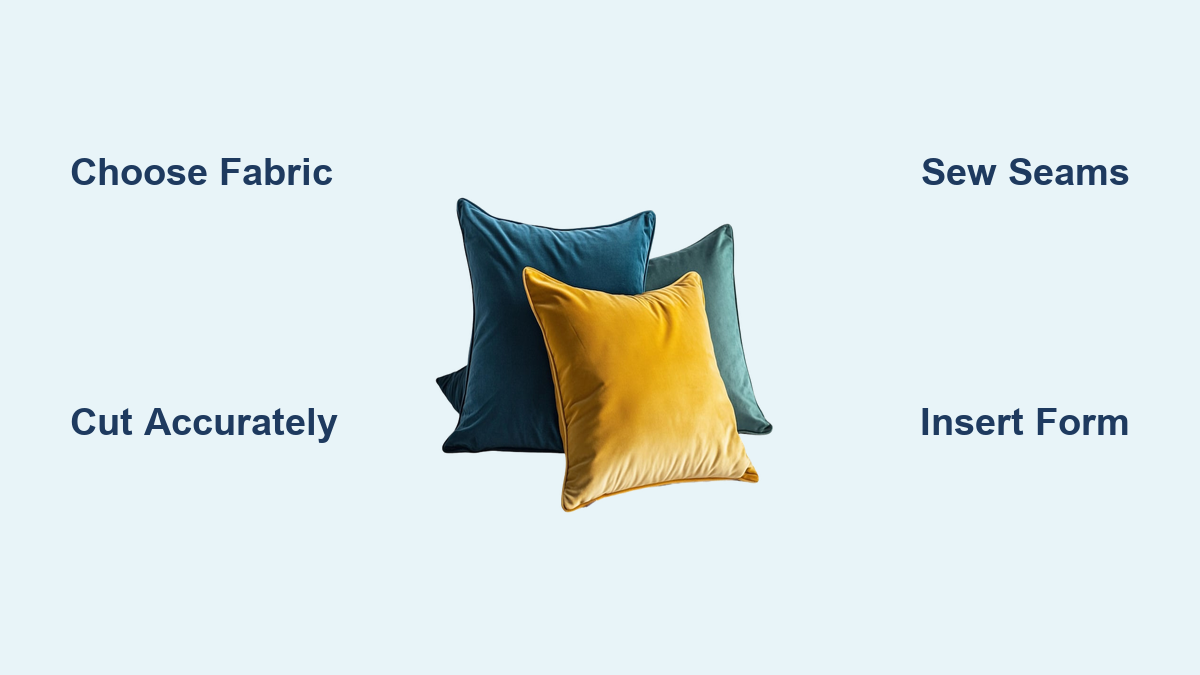
Nothing transforms a room quite like a handmade fabric pillow. Whether you’re sprucing up your couch, crafting a thoughtful gift, or starting your first sewing project, learning how to make a fabric pillow is simple, rewarding, and surprisingly fast. This beginner-friendly guide walks you through every step, from choosing fabric to inserting the pillow form, so you can create a professional-looking cushion in under an hour.
You’ll discover how to sew both permanent and removable covers, work with different fabrics, avoid common mistakes, and explore creative variations like patchwork or quilted designs. Let’s get started.
Choose the Right Fabric for Your Pillow
Selecting the right fabric sets you up for success from the start. The material you choose affects how easy the project is and how your finished pillow looks and feels.
Pick Beginner-Friendly Materials
Start with quilting cotton. It’s affordable, easy to cut, and holds crisp seams, making it ideal for envelope covers, patchwork, and themed designs. If you want something soft and cozy, chenille, fleece, or minky are excellent choices for kids’ pillows or winter decor. For durability and a high-end look, consider upholstery fabric or linen, which stands up to daily use.
Avoid slippery or stretchy fabrics like silk or knits until you’ve built confidence. These require stabilizers or special techniques that can frustrate beginners.
Pre-Wash and Press Your Fabric
Always pre-wash and dry your fabric before cutting. This prevents shrinkage later, which is especially important if your pillow will be washed frequently. After washing, iron the fabric flat to remove wrinkles. A smooth, wrinkle-free surface ensures precise cutting and clean seams.
Pro Tip: Store fabric flat or rolled, not folded, to avoid permanent creases that can affect alignment during cutting and sewing.
Cut Fabric to the Correct Size
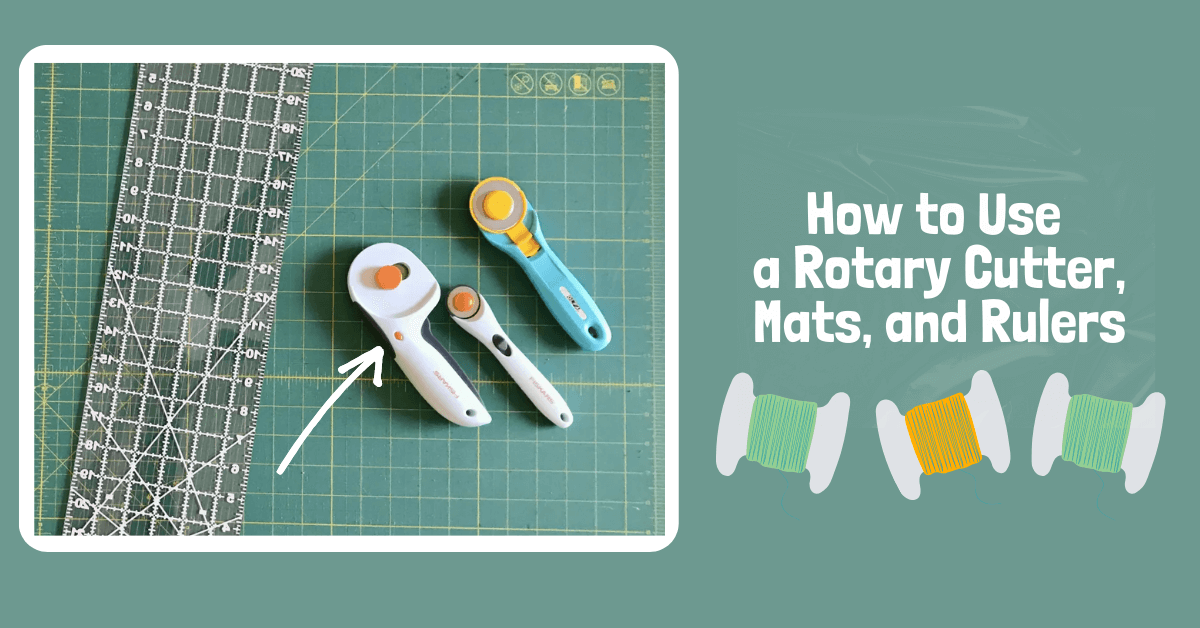
Accurate cutting is essential for a well-fitting pillow cover. Taking time here saves headaches later.
Measure With the Right Seam Allowance
Use the half-inch seam allowance rule: add 1 inch total (half-inch per side) to your desired finished size. For example, to make a 16″ x 16″ finished pillow, cut two pieces at 17″ x 17″. For a snug, plump look, make the cover 1 inch smaller than the insert. This creates a fuller, more luxurious appearance.
Cut Accurately Every Time
Use a rotary cutter, cutting mat, and quilting ruler for straight edges. Pin your two fabric pieces together after cutting to keep them aligned. If using patterned fabric, ensure the design is centered and facing the right direction on both pieces.
For patchwork pillows, cut uniform squares (like 5″ x 5″), assemble them into a grid, then press and trim the final top before attaching to backing.
Sew the Pillow Cover Together
Now comes the actual sewing. Follow these steps for a clean, professional result.
Pin and Align Right Sides Together
Place the two fabric pieces right sides facing each other. Pin or use Wonder Clips around all four edges to prevent shifting. Make sure corners meet precisely and any pattern alignment is correct.
Use coordinating or contrasting thread. Beginners often prefer pink or bright thread to see stitching mistakes easily.
Stitch With a Half-Inch Seam
Using your sewing machine, sew around all four sides with a half-inch seam allowance. Backstitch at the start and end to lock the stitches. Leave a 3 to 4 inch opening on one side for turning and inserting stuffing or a pillow form.
Corner Tip: Stop with the needle down, lift the presser foot, rotate the fabric 90 degrees, then continue. This ensures sharp, square corners.
Trim the Corners
After sewing, trim all four corners diagonally at a 45-degree angle. Cut close to the stitching but do not cut the threads. This reduces bulk and helps corners turn out smoothly and crisply.
Turn and Press for a Clean Finish

Turning the cover right side out and pressing it properly transforms your project from homemade to professional.
Flip the Cover Right Side Out
Reach through the opening and pull the cover inside out. Use a chopstick, point turner, or wooden dowel to gently push out the corners. Apply steady pressure. Don’t stab or tear the fabric.
Iron for a Professional Look
Lay the pillow flat and iron the entire surface. Press the seams flat first, then fold in the raw edges of the opening by half an inch and iron again. This creates a clean, even edge for closing.
Expert Rule: Always press every seam. It makes a huge difference in the final look of your pillow.
Insert the Pillow Form or Add Stuffing
Getting the filling right ensures your pillow looks plump and inviting.
Use a Pre-Made Insert
For a clean, professional result, use a polyester or feather insert. Slide it through the opening and adjust until the corners are fully filled and the fabric is taut.
Test Fit First: Always check that the insert fits snugly before final closure.
Stuff From Scratch
If making your own insert, start by filling the corners first with handfuls of polyester fiberfill. Use a chopstick to push stuffing into tight spots. Continue until the pillow is plump but soft, not rock hard. Tease apart clumps of stuffing to avoid lumps.
Warning: Overstuffing stresses seams and can cause bulging. Less is often better.
Close the Opening Securely
The closure method you choose affects both appearance and functionality.
Hand Sew With Ladder Stitch
For an invisible finish, use the ladder (blind) stitch. Thread a needle with double thread and knot the end. Insert the needle into the folded edge of one side of the opening. Cross to the opposite side and catch a tiny bit of fabric. Repeat, creating a ladder, and pull the thread tight after every few stitches. Knot securely and hide the thread inside the seam.
Practice First: Try this technique on scrap fabric to get the rhythm before working on your actual pillow.
Machine Topstitch for Speed
If the seam won’t be visible (like under a removable cover), topstitch the opening closed. Pin the folded edges together, sew with a one-eighth inch seam allowance, and backstitch at both ends. Re-fluff the pillow to restore shape.
Pro Tip: Sew as close to the edge as possible to minimize visibility.
Make an Envelope Cover (No Zipper Needed)
Envelope covers offer easy removal and washing without zippers.
Cut Overlapping Back Panels
An envelope closure lets you remove and wash the cover easily. Cut the front panel to match insert size. Cut two back rectangles, each half the width plus 2 inches. For example, for a 16″ pillow, cut two back pieces at 10″ x 16″.
Assemble the Back Flaps
Hem the short edges of both back pieces: fold half-inch under, press, and stitch. Place the front panel face up. Lay the back panels face down, overlapping in the center, edges flush with the front. Pin all around the perimeter. Sew a half-inch seam around the entire edge. Trim corners, turn right side out, and insert the pillow.
Bonus: No hand sewing needed, and the overlap hides the opening completely.
Add an Invisible Zipper for a Professional Look
Zippered covers offer a sleek, modern finish and easy removal.
Use the Right Tools
For a sleek look, install an invisible zipper. Use an invisible zipper foot on your sewing machine. Choose a zipper as long or longer than the pillow side.
Sew the Zipper In
Open the zipper halfway. Pin each side of the zipper tape to the right side of one pillow edge. Stitch close to the coil using the zipper foot. Repeat for the other side. Close the zipper, then sew the remaining three sides with a half-inch seam.
Tip: Press seams open after attaching the zipper for a flatter finish.
Create Patchwork or Quilted Pillow Designs
Once you master the basics, try these creative variations.
Design a Pieced Top
Turn fabric scraps into art. Cut fabric into uniform squares (like 5″ x 5″). Arrange them on a table or paper template. Sew into rows, press seams flat, then join rows. Press the full top and trim to size.
Time Saver: Use precut strips like Honey Buns for quick assembly.
Quilt the Layers
For a textured, heirloom look, layer with batting (cotton, polyester, or wool) and backing. Pin or baste all three layers together. Quilt with straight lines, stitch-in-the-ditch, or edge stitching. Use a walking foot to prevent shifting.
Design Tip: Score quilting lines with a butter knife for precision.
Select the Best Stuffing Material
The filling you choose affects comfort, durability, and care.
Compare Filling Options
| Filling | Best For | Care Notes |
|---|---|---|
| Polyester fiberfill | Beginners, washable pillows | Tease apart to avoid lumps |
| Feathers/down | Luxe, moldable feel | Dry clean only |
| Batting | Firm, consistent texture | Layer for density |
| Memory foam scraps | Therapeutic or firm support | Cut to size |
| Fabric scraps | Eco-friendly, budget option | Mix textures carefully |
Pro Insight: Reuse stuffing from old pillows. Just fluff and redistribute.
Avoid Common Pillow-Making Mistakes
Learn from these common issues to ensure your first pillow turns out great.
Fix Puckering and Uneven Seams
If fabric puckers, increase your stitch length or check thread tension. Press seams flat after sewing. They should lie open or to one side, not twist.
Prevent Ladder Stitch Visibility
Use matched thread and pull the stitch tight after each pass. If the closure looks loose, go back and tighten.
Ensure Proper Fit
If the cover is too tight or loose, double-check your seam allowance (always half-inch). Use the 1-inch smaller rule for a plump fit. Test with the insert before final closure.
| Problem | Quick Fix |
|---|---|
| Corners won’t puff out | Push with a chopstick before closing |
| Fabric shifts while sewing | Use more pins or clips |
| Zipper won’t close | Press seams flat, realign before sewing |
| Overstuffed pillow | Remove some filling and re-fluff |
Customize and Care for Your Pillow
Add personal style and keep your pillow looking new for years.
Add Personal Style
Use holiday fabric panels for seasonal decor. Mix textures, like pairing velvet with cotton for contrast. Try strip piecing for a modern look. Use colored thread as a design accent.
Keep It Looking New
Always remove the insert before washing. Machine wash covers in cold water, then air dry or tumble dry low. Store away from sunlight to prevent fading. Rotate pillows weekly to maintain shape.
Longevity Tip: Backstitch at corners and closures. They endure the most stress.
Frequently Asked Questions About Making Fabric Pillows
What is the easiest fabric for beginners to use?
Quilting cotton is the best fabric for beginners. It’s affordable, easy to cut and sew, and holds shape well. It washes nicely and comes in countless colors and patterns.
How much bigger should the fabric be than the pillow insert?
Add 1 inch total (half-inch per side) to your desired finished size. For a plump look, make the cover 1 inch smaller than the insert. This ensures a full, professional appearance.
Can I make a pillow without a sewing machine?
Yes. You can hand sew a pillow using a ladder stitch for the closure. However, a sewing machine produces more durable seams and finishes the project much faster.
How do I stop the corners from looking square and flat?
Trim the corners diagonally after sewing (not through the threads). Turn right side out and use a chopstick to push corners out fully. Press crisply to maintain shape.
What closure type is easiest to remove for washing?
The envelope cover is the easiest to remove and wash. It has overlapping back panels that create a hidden opening. Simply pull the pillow form out, wash the cover, and reinsert.
How do I make my pillow look fuller?
Use a pillow insert 1 inch larger than your cover. Fill corners first when stuffing by hand. Choose polyester fiberfill and tease apart clumps to avoid lumps that create uneven fullness.
Key Takeaways for Making Your Own Fabric Pillows
Making a fabric pillow is one of the most satisfying beginner sewing projects. With this guide, you can create beautiful, custom cushions in any size, shape, or style, perfect for your home or as heartfelt gifts. Start with quilting cotton and a basic envelope cover to build confidence before moving to zippers or patchwork designs.
Remember to always press your seams, test fit the insert before closing, and avoid overstuffing. Choose removable covers for easy cleaning and seasonal updates. Once you master the basics, experiment with patchwork, quilting, or themed fabrics to expand your skills. Happy sewing.