
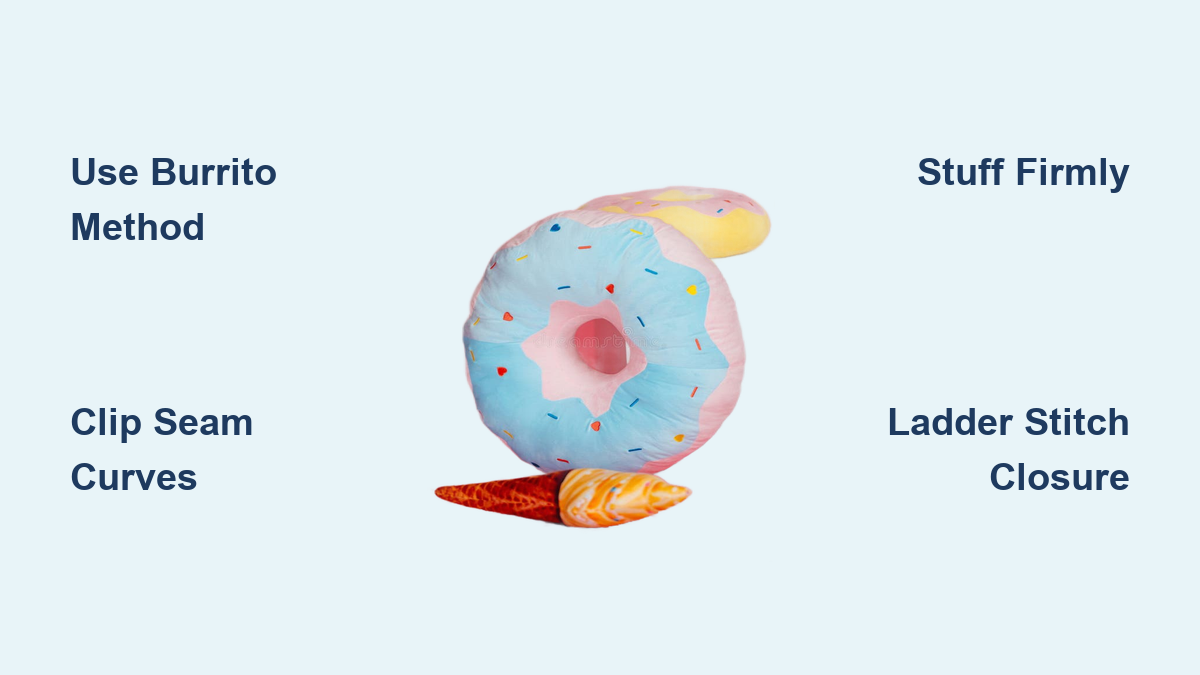
Imagine sinking into a soft, plump donut-shaped cushion that looks good enough to eat, or finally finding relief from tailbone pain after a long day of sitting. Whether you’re crafting a whimsical decor piece for a child’s room or building a therapeutic seat cushion for postpartum recovery, making a donut pillow at home is a simple, cost-effective DIY project that delivers big results. This guide walks you through every step, from choosing the right materials to finishing with professional-looking details.
Choose Your Donut Pillow Style
Your first decision determines everything: is this pillow for fun or function? A decorative donut pillow mimics a real pastry with colorful felt frosting and hand-sewn sprinkles, perfect for kids’ rooms, themed parties, or as a novelty gift. A therapeutic donut pillow, also known as a coccyx or hemorrhoid cushion, relieves pressure on the tailbone during sitting and is ideal for post-surgery recovery, long drives, or office use.
Decorative vs. Therapeutic Design
For decorative pillows, use felt, fleece, or cotton with polyester fiberfill stuffing. These focus on visual appeal with vibrant colors and playful embellishments. For therapeutic cushions, choose a cotton-polyester blend with memory foam filling, ergonomic dimensions (14 to 16 inch outer diameter with a 4 to 6 inch center hole), and a removable, washable cover. You can blend both styles by creating a soft floor cushion with therapeutic proportions and a fun design for kids or teens recovering from injury.
Gather Materials for Your DIY Donut Pillow
The right materials make or break your pillow. For decorative pillows, use felt (non-fraying and easy to cut), fleece (plush and stretchy), or cotton or minky for added texture. For therapeutic cushions, choose a durable cotton-polyester blend that’s machine-washable. Your filling options include polyester fiberfill (lightweight and moldable for decorative pillows), memory foam (firm and pressure-relieving for medical comfort), or a combination of both for balanced support.
Essential Supplies List
You will need fabric scissors or a rotary cutter, a washable fabric marker, pins or temporary basting spray, a hand sewing needle, and a sewing machine with zig-zag and straight stitch capabilities. You’ll also need circular objects for tracing (a laundry basket for the outer circle and a cereal bowl for the inner hole), a blunt tool like a chopstick for turning, and optional Kam snaps or mini pompoms for decoration.
Create a Reusable Donut Template

Start by making a reusable template from cardboard or paper. For decorative pillows, the outer circle should be 12 to 20 inches in diameter (trace a laundry basket or large bowl), and the inner hole should be 4 to 8.7 inches (use a cereal bowl or plate). For therapeutic cushions, aim for a 14 to 16 inch outer diameter with a 4 to 6 inch center hole. Always add a half-inch seam allowance around the outer edge.
Pro Template Tips
Fold your fabric in half before cutting both circles to ensure perfect symmetry, especially helpful for large pillows. Save your template for future projects to maintain consistency. Use a washable marker for temporary lines that disappear after sewing.
Cut Fabric Pieces for Your Pillow
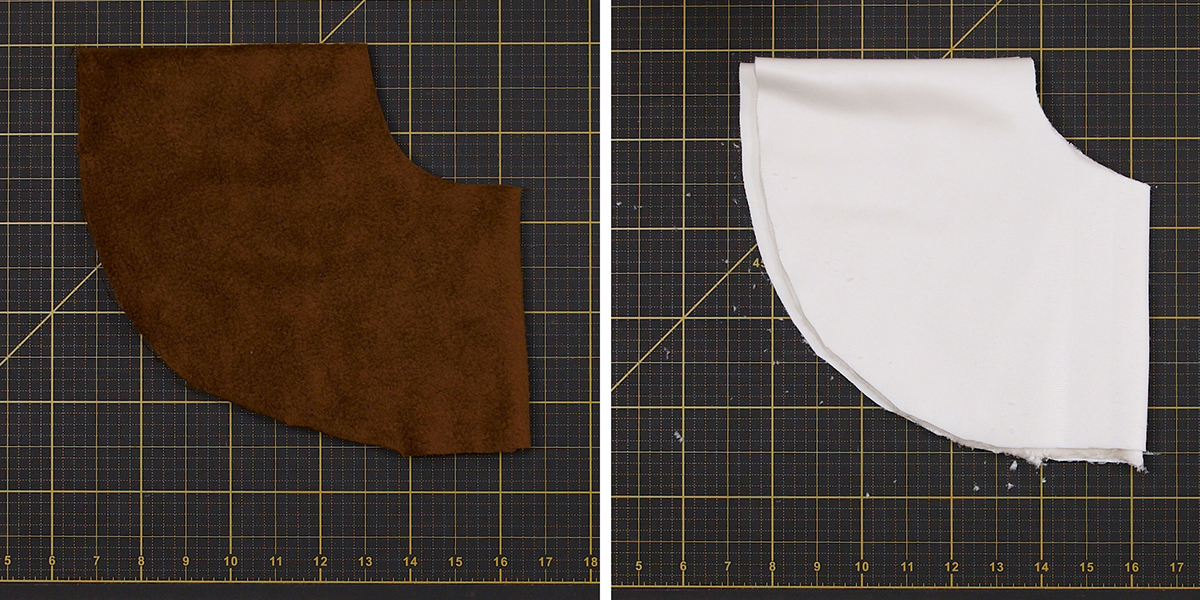
Cut two identical donut-shaped rings from your base fabric (tan or brown for dough). For the icing layer, use white or pastel felt or fleece and cut either one full circle for smooth frosting or a free-form drippy shape for a realistic piped-glaze look. Cut 15 to 30 felt rectangles for sprinkles using neon colors like pink, yellow, blue, and green.
Preparing Icing and Sprinkles
Lay the icing fabric right side up and arrange sprinkles randomly for a natural look. Pin all pieces first to test the layout before sewing. Secure each sprinkle with a machine sew using a tight zig-zag or straight stitch down the center, or hand sew with a whip stitch around all four edges. For a no-sew option, fabric glue works for kids’ projects but is less durable.
Sew the Icing Onto the Base
Place the right side of the icing face-down on the right side of one donut ring. Pin or spray-baste to prevent shifting, then sew around the outer edge of the icing using a zig-zag stitch (length 1, width 2.5) for stretchy fabrics or a straight stitch for felt. Backstitch at start and end for strength. This method attaches the icing securely while hiding raw edges inside the final seam.
Use the Burrito Method for Clean Seams
To sew the outer edge while leaving an opening for stuffing, use the burrito roll method. Place the two donut rings right sides together, then roll them like a burrito, aligning the half-inch seam lines while keeping the icing layer tucked inside. Unroll slightly to expose only the edge you’re sewing, then sew with a half-inch seam allowance, stopping 2 to 3 inches short of closing the circle.
Beginner Alternative Method
Sew the layers right sides out with a zig-zag stitch, which acts like a serged edge and finishes the seam in one step. This beginner-friendly approach still requires leaving an opening for stuffing.
Cut and Clip the Center Hole
On the unsewn side, trace the inner circle with a washable fabric marker and sew directly on the line. Cut out the center, leaving a half-inch seam allowance. Clip into the seam every half inch around the inner curve, being careful not to cut the stitches. Clipping releases tension so the edge lies flat when turned.
Turn and Shape Your Pillow
Reach through the center hole and pull the entire pillow right side out. Use a blunt tool like a chopstick wrapped in cloth to push out the outer and inner curves. Press seams flat with an iron on low heat, avoiding synthetic fabrics that might melt. The icing should now be perfectly centered on top with smooth, professional edges.
Stuff for Comfort and Fullness
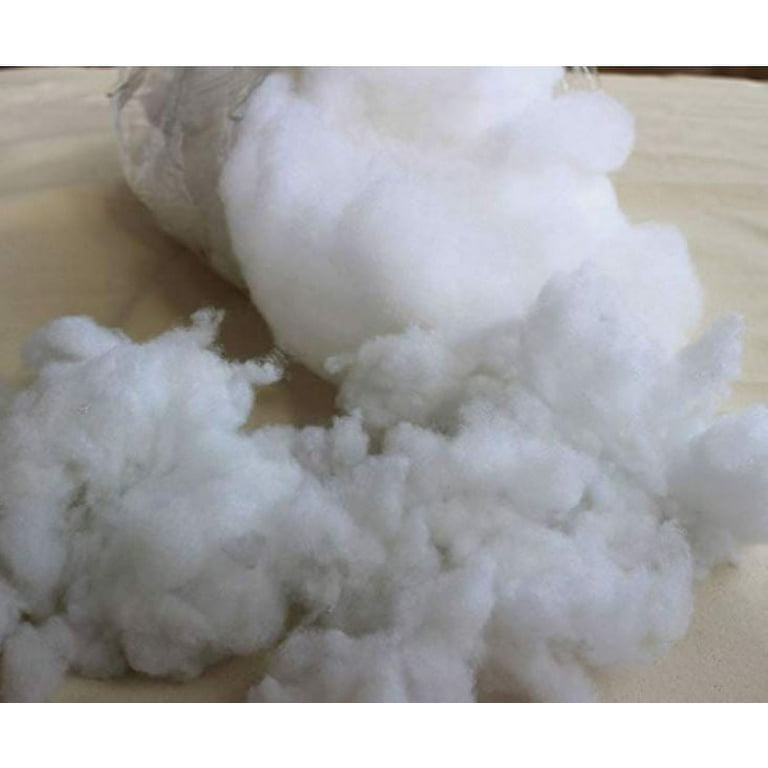
For decorative pillows, insert polyester fiberfill through the outer opening in small handfuls, distributing evenly. Compress with fingers, then add more to create a firm, plush finish. For therapeutic cushions, insert a pre-cut memory foam disc (14 to 16 inch diameter) and wrap in thin fiberfill for softness if desired. Ensure the insert fits snugly with no shifting inside.
Stuffing Pro Tips
Let kids help with stuffing. When they say it is full, compress and add more. This technique results in a pillow that holds its shape beautifully.
Close the Opening Seam
Hand-sew with a ladder stitch (invisible stitch) for the cleanest finish. Thread a needle with matching thread, fold raw edges inward, and stitch through the folds, pulling tight to close the gap. Leave a small opening, add final stuffing, then close completely. Machine sewing with a zig-zag stitch is possible but risks a visible seam or puckering on curves.
Add Final Decorative Touches
Now make it unique by hand-stitching additional pompoms across the icing or embroidering shine dots with metallic thread for a wet glaze effect. Add a name or date in cursive for a gift, and reinforce any loose sprinkles or snaps. Remember that asymmetry looks more realistic, so avoid perfect rows of sprinkles.
Upgrade for Therapeutic Use
Turn your DIY pillow into a pain-relief tool by using memory foam (2 to 3 inches thick) for pressure relief. Add a removable cover with zipper or Velcro for washing, and sew non-slip fabric to the bottom to prevent sliding on chairs. Choose breathable cotton-poly blend to reduce heat buildup and double-stitch all seams for durability under body weight.
Therapeutic Specifications
A proper therapeutic donut pillow should have an outer diameter of 14 to 16 inches, a center hole of 4 to 6 inches, and a thickness of 2 to 3 inches. This design reduces tailbone, hip, and lower back pain, making it ideal for postpartum, hemorrhoid, or sciatica sufferers.
Maintain and Care for Your Pillow
Spot clean with a damp cloth and mild soap. Air dry completely before reuse to prevent mold in fiberfill. Vacuum fiberfill occasionally to restore fluffiness. Machine wash only if using a removable cover with a zipper. Store in a dry, ventilated area and avoid damp basements.
Troubleshooting Common Issues
If layers misalign during sewing, pin or basting spray every 2 inches before sewing. If the pillow looks lopsided or lumpy, stuff slowly, pushing fill into edges first. If the inner hole puckers, clip the seam allowance every half inch. If a large pillow is hard to turn right-side out, use a long chopstick or loop turner and be patient.
Frequently Asked Questions About Making Donut Pillows
What is the best fabric for a decorative donut pillow?
Felt is ideal for decorative pillows because it does not fray and holds its shape well. Fleece provides a plush, stretchy option that is great for beginners, while cotton or minky adds texture and visual interest.
How long does it take to make a donut pillow?
Most projects take 1 to 4 hours depending on complexity and your experience level. Simple decorative pillows can be completed in about an hour, while therapeutic versions with memory foam may take longer.
Can I make a donut pillow without a sewing machine?
Yes, you can use fabric glue for sprinkles and edges. This no-sew option is accessible for children or non-sewers but is less durable than sewn versions.
What size donut pillow is best for therapeutic use?
The recommended size is 14 to 16 inches in outer diameter with a 4 to 6 inch center hole and 2 to 3 inches thickness. This provides proper support for tailbone relief.
How do I keep sprinkles from falling off?
Secure sprinkles by machine sewing with a tight zig-zag or straight stitch down the center, or hand sewing with a whip stitch around all four edges. Avoid fabric glue for items that will see heavy use.
Is a donut pillow safe for children?
Avoid loose beads, pompoms, or small parts that could pose choking hazards. Use fabric appliqués or Kam snaps instead, and supervise young children during play.
Key Takeaways for Making Donut Pillows at Home
Making a donut pillow at home is a rewarding project that combines creativity with practicality. Choose between a decorative pillow (with felt, fleece, and fiberfill) or a therapeutic cushion (with memory foam and ergonomic dimensions) based on your needs. Use the burrito method for clean seams and always clip curves to prevent puckering. Stuff firmly for lasting shape, and close the opening with a ladder stitch for a professional finish. With basic sewing skills and these techniques, you can create a custom pillow that is both beautiful and functional. Start gathering your materials and template, and enjoy the process of making your perfect homemade donut pillow.