
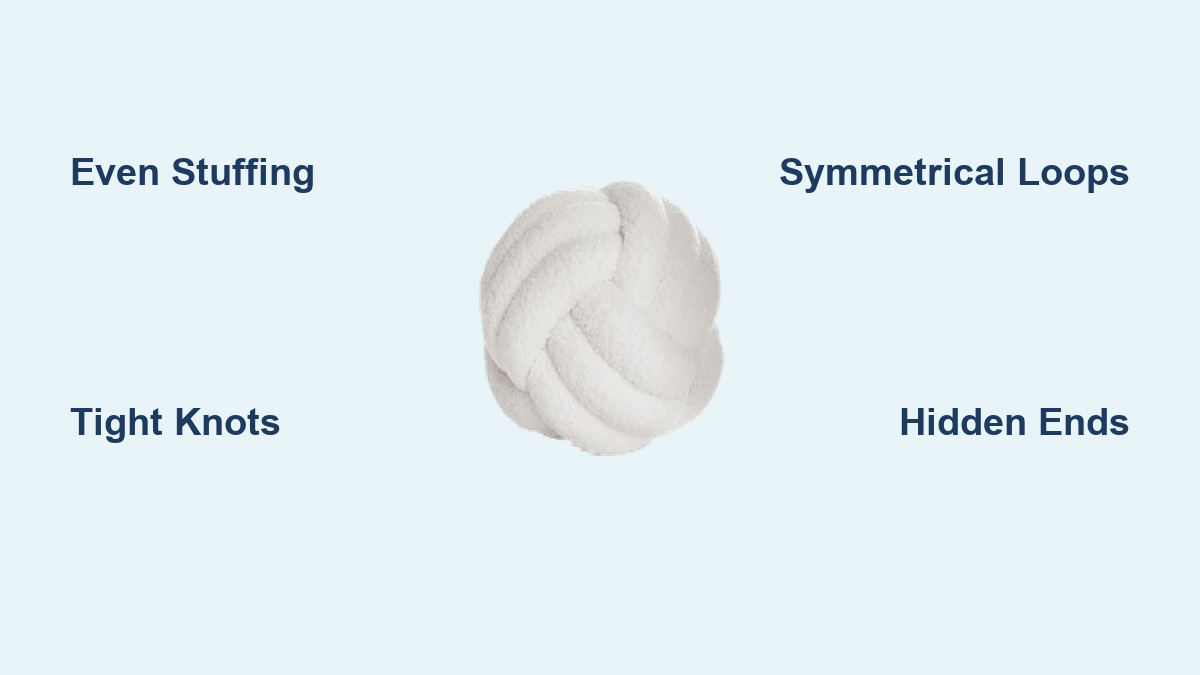
You’ve scrolled past them on Instagram, spotted them in sleek home décor photos, and maybe even squeezed one at a boutique. Knot pillows are those sculptural, cozy accents that look like art but feel like a warm hug. The best part? You don’t need a sewing degree or expensive equipment to make one. Learning how to tie a knot pillow transforms simple fabric or yarn into a statement piece that works as decor, lumbar support, or a thoughtful handmade gift.
This guide covers both the fabric sleeve method (sew, stuff, tie) and the tube yarn method (no-sew, wrap and cinch). You’ll find step-by-step instructions, pro tips for symmetry and firmness, troubleshooting advice, and creative variations to make your pillow truly unique.
Materials Needed for Your Knot Pillow Project
Before starting, gather your supplies. Having everything ready prevents mid-project interruptions and ensures smoother crafting.
For Fabric Sleeve Method
You will need stretchy fabric such as cotton knit, jersey, or fleece. Avoid woven fabrics that may burst when stuffed. You’ll also need polyester fiberfill for stuffing, a sewing machine with zigzag or stretch stitch capability, sharp scissors, a cardboard tube or dowel for turning and stuffing, and needle and thread for finishing.
For Tube Yarn Method
This no-sew approach requires only tube yarn in your preferred color and texture, plus scissors for the final trim. No stuffing or sewing machine needed.
Pro Tip: Pre-wash fabric before cutting to prevent shrinkage later. Have all materials staged in your workspace before beginning.
Cutting and Sewing the Fabric Tube

The foundation of a great knot pillow is a well-constructed tube. Rushing this step leads to lumpy or unstable results.
Measuring and Cutting Two Identical Strips
Cut two fabric strips, each measuring seven inches wide by fifty-four to sixty inches long. For larger, denser knots, extend the length up to one yard. Width can vary between six and nine inches depending on whether you want thinner or bulkier tubes.
Cut along the fabric grain for stability. If using full-width fabric (60 inches), you can cut one continuous strip without seams.
Sewing the Long Edge with Stretch Stitch
Fold each strip lengthwise with right sides together. Pin or clip the long edge to prevent shifting during sewing. Sew along the long edge using a quarter to three-eighths inch seam allowance with a zigzag or stretch stitch. This allows the tube to expand when stuffed. Backstitch at the start and end to reinforce the seam.
Sew one short end closed to seal that end. Leave the other short end open for turning and stuffing.
No-Sew Alternative: Use fabric glue or hot glue for a quicker seal. This works for decor-only pillows but is less durable for functional use.
Turning the Tube Right Side Out
Now flip the tube so the seam hides inside. This step requires patience but ensures a professional finish.
Using a Cardboard Tube or Dowel Method
Insert one end of the sewn sleeve into a rigid tube such as a cardboard roll, PVC pipe, or wooden dowel. Grab the fabric from the other end and pull it through, similar to turning a sock inside out. Once the fabric emerges, fold it back over the tube to invert the entire sleeve. Slide the fabric off the tube. The tube is now right side out with the hidden seam.
Drawstring Method Alternative
Tie a small button or fabric scrap to one end using thread. Use this as a pull tab to draw the tube through itself. Remove the scrap once the tube is fully turned.
Critical Check: Ensure the entire tube is turned with no raw edges showing externally.
Stuffing the Tube Evenly
A lumpy pillow ruins the final knot. Proper stuffing technique creates the firm yet flexible foundation needed for weaving.
Preparing Your Stuffing Tool
Use a dowel, mop handle, ruler, or stiff cardboard tube as a pusher rod. Optionally, tape two fabric tubes together to create a longer pusher. Cut polyester fiberfill into one-inch cubes. Pre-cutting prevents clumping and makes feeding easier.
Pushing Stuffing Down Gradually
Shirr the open end of the tube onto your pusher rod like sliding a sock onto your leg. Insert small clumps of fiberfill into the open end. Use the rod to push stuffing down the tube. Work slowly and check for even density, no gaps or lumps, and consistent firmness.
As you progress, the fabric will slide off the rod naturally. Continue feeding and pushing until the tube is fully and evenly stuffed. Repeat for the second tube.
Pro Tip: Do not over-stuff. The tube should remain flexible enough to knot easily. Too tight and weaving becomes difficult.
Tying the Basic Loop Knot
This is the heart of learning how to tie a knot pillow. The basic loop knot creates that signature infinity-style shape.
Forming Two Matching Loops
Lay the first stuffed tube horizontally on a flat surface. Near one end, form a loop about six to eight inches wide. Create a second loop right beside it, matching the first loop’s size.
Weaving the Free End Through
Take the loose end and weave it over, then under, then over, then under, passing through the center space between the two loops. Pull tight after each pass to secure the weave. Continue this over-under pattern until the entire length is interwoven.
Adjusting for Symmetry
Once fully woven, rotate the knot to balance tension. Gently pull loops to equal size. Tuck loose ends deep into the knot’s center. For a fuller look, use a three-loop knot with a longer tube (up to one yard).
Visual Cue: Think of tying shoelaces but in three dimensions. The over-under pattern creates the interlocking structure.
Advanced Monkey-Fist Knot Technique

For a tighter, ball-like finish, try this nautical-inspired knot. It requires practice but delivers a sculptural result.
Wrapping in Three Directions
Form a small loop with the tube end. Wrap the working end three times around the loop. Turn ninety degrees perpendicular and wrap three more times over the first set. Pass the end through the center. Wrap three times in a third direction, interlacing over and under. Pull the end through the top, emerging on the opposite side.
Tightening and Tucking
Gently pull all layers to tighten evenly. Adjust for roundness by squeezing and rotating. Tuck the tail inside the knot’s core for a clean finish.
Challenge: Keep tension even throughout. Practice first with rope or yarn before using your finished fabric tube.
Creating a Dual-Tube Layered Knot
Double the tubes mean double the visual impact. This technique creates a fuller, more defined knot.
Tying the First Tube
Start by tying the first stuffed tube into a basic loop knot. Leave all four ends loose for now.
Following the Same Path with Second Tube
Take the second tube and trace the first knot’s path exactly. Where the first goes over, the second goes over. Where the first goes under, the second goes under. This creates two parallel strands enhancing fullness and symmetry.
Securing All Four Ends
Once both tubes are woven, tuck all four loose ends into the knot. Secure with hot glue for quick finish, invisible ladder stitch for clean appearance, or deep tucking requiring no tools.
Result: A professional, gallery-ready knot pillow with enhanced volume.
No-Sew Tube Yarn Method
No sewing, no stuffing, no problem. This method uses thick knit tubing wrapped into a sculptural ball.
Building the Foundation Layer
Form a reverse U-shape with the tube yarn. Bring the yarn over itself to create a circular base. Add two more concentric layers around it. You now have three complete circles as your anchor.
Wrapping Horizontally for Core Structure
Wrap first front row horizontally. Move to back and wrap first back row right to left. Return to front for second front row. Wrap second back row around the back. Repeat for third back row, then third front row. This builds a cylindrical core.
Adding Vertical Columns for Grid Structure
Thread up and down through the bundle. Start with front column, threading through top hole. Pull from bottom hole for first back-side column. Bring to front for first front-side column. Repeat for second and third columns. The goal is a three-by-three grid creating geometric precision.
Securing and Shaping the Knot Ball
Begin cinching systematically. Locate the starting end. Find natural tie points where strands cross. Pull small increments across multiple spots, distributing tension evenly. Once firm, tuck the yarn end inside. Gently squeeze and rotate to round out the form until perfectly spherical.
Final Feel: Firm yet pliable, holds shape without stiffness.
Finishing and Customizing Your Pillow
The final steps elevate your project from craft project to polished piece.
Hiding All Loose Ends
Tuck raw edges deep into the knot. Use hot glue or invisible stitch to bind ends. Trim only if necessary, always concealing cuts inside.
Adjusting for Symmetry
Rotate and reshape the knot. Squeeze gently to even out stuffing. Fluff outer layers for fullness. Check from all angles. Symmetry is key to professional appearance.
Design Variations to Try
Make your knot pillow unique with these customization options. Mix bold prints with solid colors or textured knits. Combine contrasting fabrics like coral and grey. Try reversible fabric for a two-sided look. Scale sizes from mini (30-inch tube) for shelf decor to giant (two-yard tube plus extra stuffing) for floor pouf. Upcycle old leggings or t-shirts into tubes stuffed with fabric scraps for zero-waste crafting. Add plastic pellets or beans to stuffing for a weighted therapeutic version.
Troubleshooting Common Problems
Even experienced crafters encounter issues. Here are solutions for frequent challenges.
Uneven Stuffing
Cause: Big clumps or gaps during stuffing. Fix: Push stuffing in small batches and redistribute with fingers before proceeding further.
Twisted Tube
Cause: Fabric rotated during weaving. Fix: Keep consistent orientation throughout. Mark one side with chalk as a guide.
Loose or Lopsided Knot
Cause: Uneven tension during weaving. Fix: Pull each pass tight and even. Re-wrap sections if needed to correct balance.
Visible Seams or Ends
Cause: Poor concealment. Fix: Tuck ends deep inside the knot. Use matching thread color for invisibility.
Fabric Tearing
Cause: Non-stretch fabric or over-stuffing. Fix: Use knit fabric only. Reduce stuffing density if tears appear.
Frequently Asked Questions About Knot Pillows
What is the best fabric for making a knot pillow?
Stretchy cotton knit, jersey, or fleece works best. These fabrics expand when stuffed and hold up to knotting tension. Avoid woven fabrics that may burst.
How long does it take to make a knot pillow?
Experienced crafters complete a knot pillow in 30 to 60 minutes. First-timers should plan for one to two hours including practice and adjustments.
Can I make a knot pillow without sewing?
Yes. The tube yarn method requires no sewing. Alternatively, use fabric glue or hot glue to seal seams instead of sewing.
How do I keep my knot pillow looking its shape?
Stuff evenly and avoid over-stuffing. Tighten knots systematically during construction. Check symmetry regularly and adjust as needed.
Is a knot pillow washable?
Spot cleaning is recommended for both methods. Full washing may distort the shape, especially for the tube yarn version where structure depends on tension.
Key Takeaways for Tying Your Own Knot Pillow
Creating a knot pillow combines creativity with simple technique. The fabric sleeve method suits beginners wanting customizable colors and textures. The tube yarn method delivers a modern sculptural look without any sewing. Regardless of method, focus on even stuffing, consistent tension, and careful symmetry for professional results.
Start with the basic loop knot before attempting advanced techniques. Practice with inexpensive materials first. Most importantly, embrace the meditative rhythm of weaving once you get the pattern down.
Now that you know how to tie a knot pillow, gather your materials and start creating. Your perfect knot pillow is just a few steps away.