
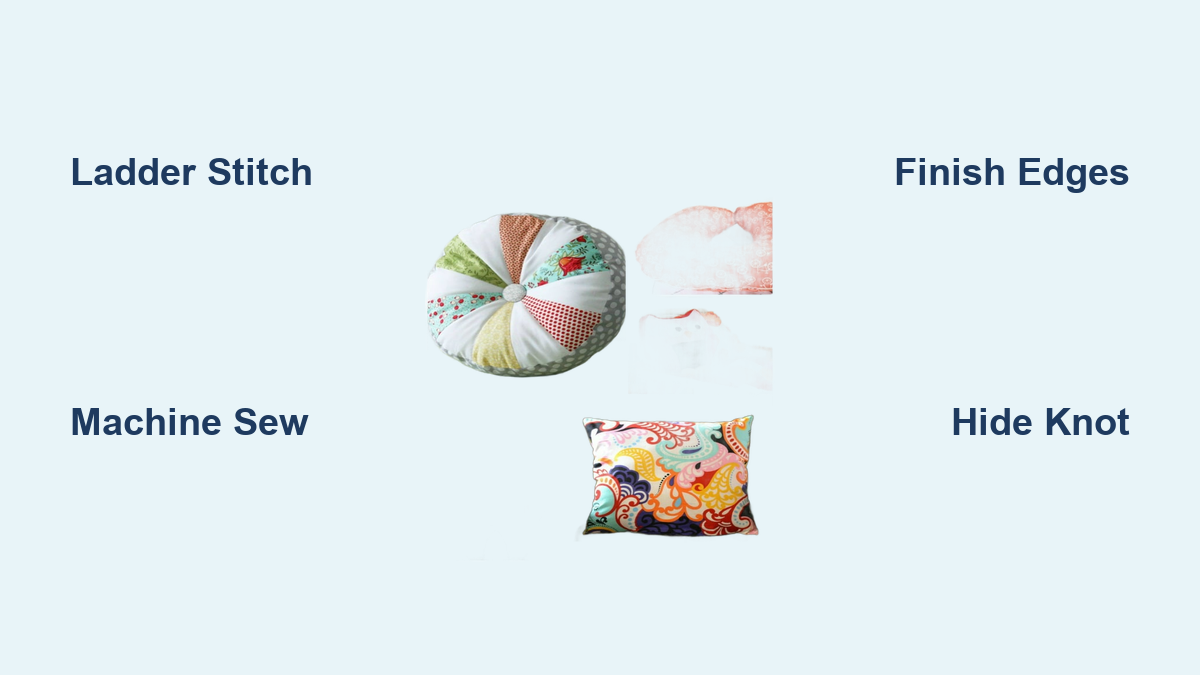
You’ve cut, stitched, and turned your pillow cover. Now comes the final step that separates amateur results from professional ones. How to close a pillow sewing project properly determines both durability and appearance. A poorly closed seam can gape open, show bulky stitches, or tear after minimal use. This guide walks you through two proven methods: the invisible ladder stitch for seamless elegance and machine sewing for strength and speed.
By the end, you’ll know exactly which technique suits your fabric, how to execute each method step by step, and pro tips used by crafters and upholsterers. Whether you’re making decorative throw pillows or washable cushion covers, you’ll achieve clean, lasting results.
Choose Between Hand-Sewing and Machine-Sewing
Before grabbing a needle or turning on your machine, decide which method fits your project goals.
Hand-Sewing Delivers Invisible Results
Choose hand-sewing when aesthetics matter most. The ladder stitch hides all thread within the fold, creating a seamless closure that looks factory-made. This method works best for throw pillows, decorative cushions, or heirloom-quality items where visible stitching would detract from the design. It’s ideal when the pillow form is inserted after sewing and you want zero visible thread on the surface.
Hand-sewing works particularly well with silk, satin, or lightweight fabrics that might show machine stitches. However, it requires more time and practice to master.
Machine-Sewing Provides Durability
Choose machine-sewing when strength and washability are priorities. This method secures the opening with a visible straight stitch, making it perfect for kids’ pillows, pet beds, or kitchen cushions that endure frequent use and laundering. Cotton, denim, and canvas benefit most from machine closure because these fabrics can handle the visible seam line and require the added strength.
Machine sewing is faster, taking about two minutes per pillow after practice, compared to five to eight minutes for hand-sewing.
Prepare the Pillow Opening for Closing
Proper preparation before closing ensures a smooth, professional finish.
Finish Raw Edges to Prevent Fraying
Unfinished fabric frays over time, especially cotton, linen, and muslin. Prevent this by serging the seam allowance, using a zig-zag stitch on your machine, or trimming with pinking shears. Always finish raw edges before turning the pillow right-side out. This step is non-negotiable if you plan to wash the pillow.
Fold Edges Inward by Half Inch
After stuffing the pillow, fold both sides of the opening inward by half inch. This matches the original seam allowance and creates a clean edge for stitching. Use your fingers or an iron to press the fold, then align edges so they butt together without overlapping. Ensure corners are fully stuffed and smooth before proceeding.
For heat-sensitive fabrics like silk or polyester, skip the iron and use finger-pressing instead to avoid damage.
Close With Ladder Stitch: Step by Step
The ladder stitch, also called blind or slipped stitch, creates the gold standard for invisible pillow closure.
Thread the Needle and Start
Use a number seven long darner or blind stitch needle. Thread with double-strand polyester or hand quilting thread and tie a double knot at the end. Insert the needle inside the fold of one side, being careful not to pierce the outer fabric. Pull the thread through so the knot stays hidden within the fold.
Alternate Sides Like a Ladder
Take a one to two millimeter bite of the folded edge on the opposite side, directly across from your first insertion point. Pull the thread taut to draw the edges together. Return to the first side and repeat the process. The stitch pattern resembles rungs on a ladder, which is where the name comes from.
Maintain stitch spacing of one-eighth to one-quarter inch apart. Keep tension even throughout. Too tight causes puckering, while too loose leaves visible gaps.
Lock and Hide the Final Knot
When you reach the end of the opening, pass the needle through the last loop twice to lock it. Push the needle into the stuffing rather than through fabric, then bring it out through a random spot on the pillow face. Gently pull until the knot disappears into the stuffing. Clip the thread close to the surface.
The result is a fully concealed knot with no visible stitching on the pillow surface.
Machine-Sew the Opening Closed

Machine sewing provides speed and strength for functional pillows.
Pin the Opening Properly
Insert a center pin first, facing left with the head to the left and point to the right. Pin outward from center, alternating sides every one to two inches. The folded edges should meet cleanly with no bulk or overlap.
Avoid pinning at the very edge where pins can jam the needle or interfere with the presser foot.
Sew With Consistent Seam Allowance
Start the stitch one-quarter inch before the opening. Use the presser foot edge as a guide for a three-eighths inch seam allowance. Sew slowly while applying firm pressure with your left hand to prevent the pillow from shooting out sideways. End the stitch one-quarter inch past the opening.
Backstitch three to five stitches at both the start and end for reinforcement. This overlapping ensures no gap remains in the closure.
Finish and Inspect
Clip all threads and remove pins. Re-fluff the stuffing if it was displaced during sewing. Smooth the fabric and check for any puckers or gaps in the seam. The outcome is a strong, durable seam ready for daily use.
Fabric-Specific Tips for Closing Pillows

Different fabrics require different approaches for the best results.
Cotton, Linen, and Muslin
Both hand and machine methods work well with these fabrics. Press folds crisply for clean edges. Finish with zig-zag stitching or a serger to prevent fraying.
Silk, Satin, and Polyester Blends
Hand-sewing is preferred for these delicate fabrics. Ironing can damage them, so use finger-pressing instead. Choose a fine needle and match thread color carefully for invisible results.
Denim, Canvas, and Upholstery Fabric
Machine-sewing is recommended because these heavy fabrics are too bulky for hand closure. Use a strong thread and heavy-duty needle. If you must hand-sew, use a thimble to protect your finger.
Stretchy or Knit Fabrics
Hand-sew with care, as machine sewing may pucker the edges. If using a machine, switch to stretch thread or a narrow zig-zag stitch.
Avoid Common Mistakes
Even experienced sewers make these errors. Don’t let them ruin your pillow project.
Overstuffing the Pillow
Too much stuffing bulges the seams and makes closure extremely difficult. Fill corners first, then tease stuffing evenly throughout. Leave slight give in the fill to prevent straining the closure.
Uneven Folding
When one side is folded more than the other, lumps appear along the seam. Use a basting line as a guide and align folds precisely before stitching.
Skipping Edge Finishing
Raw edges fray after washing, destroying your hard work. Always serge, zig-zag, or pink edges before turning.
Poor Tension in Ladder Stitch
Loose stitches create gaps. Tight stitches cause puckering. Practice on scrap fabric first and keep thread taut but never tight.
Not Backstitching on Machine Sewn Closures
Without backstitching, the seam can unravel during use. Always backstitch at both start and end points.
Reinforce Closures for Longevity
Extend your pillow’s life with smart reinforcement techniques.
Strengthening Hand-Sewn Closures
Use a double-threaded needle for added strength. Double-knot the thread before starting. Bury the final knot deep in the stuffing. Choose polyester thread for washable pillows to resist moisture and stretching.
Strengthening Machine-Sewn Closures
Use all-purpose polyester thread. Backstitch at both ends. For heavily used pillows, consider adding a second row of stitching for extra reinforcement.
When to Use Alternative Closures
Sometimes closing the opening isn’t the best approach.
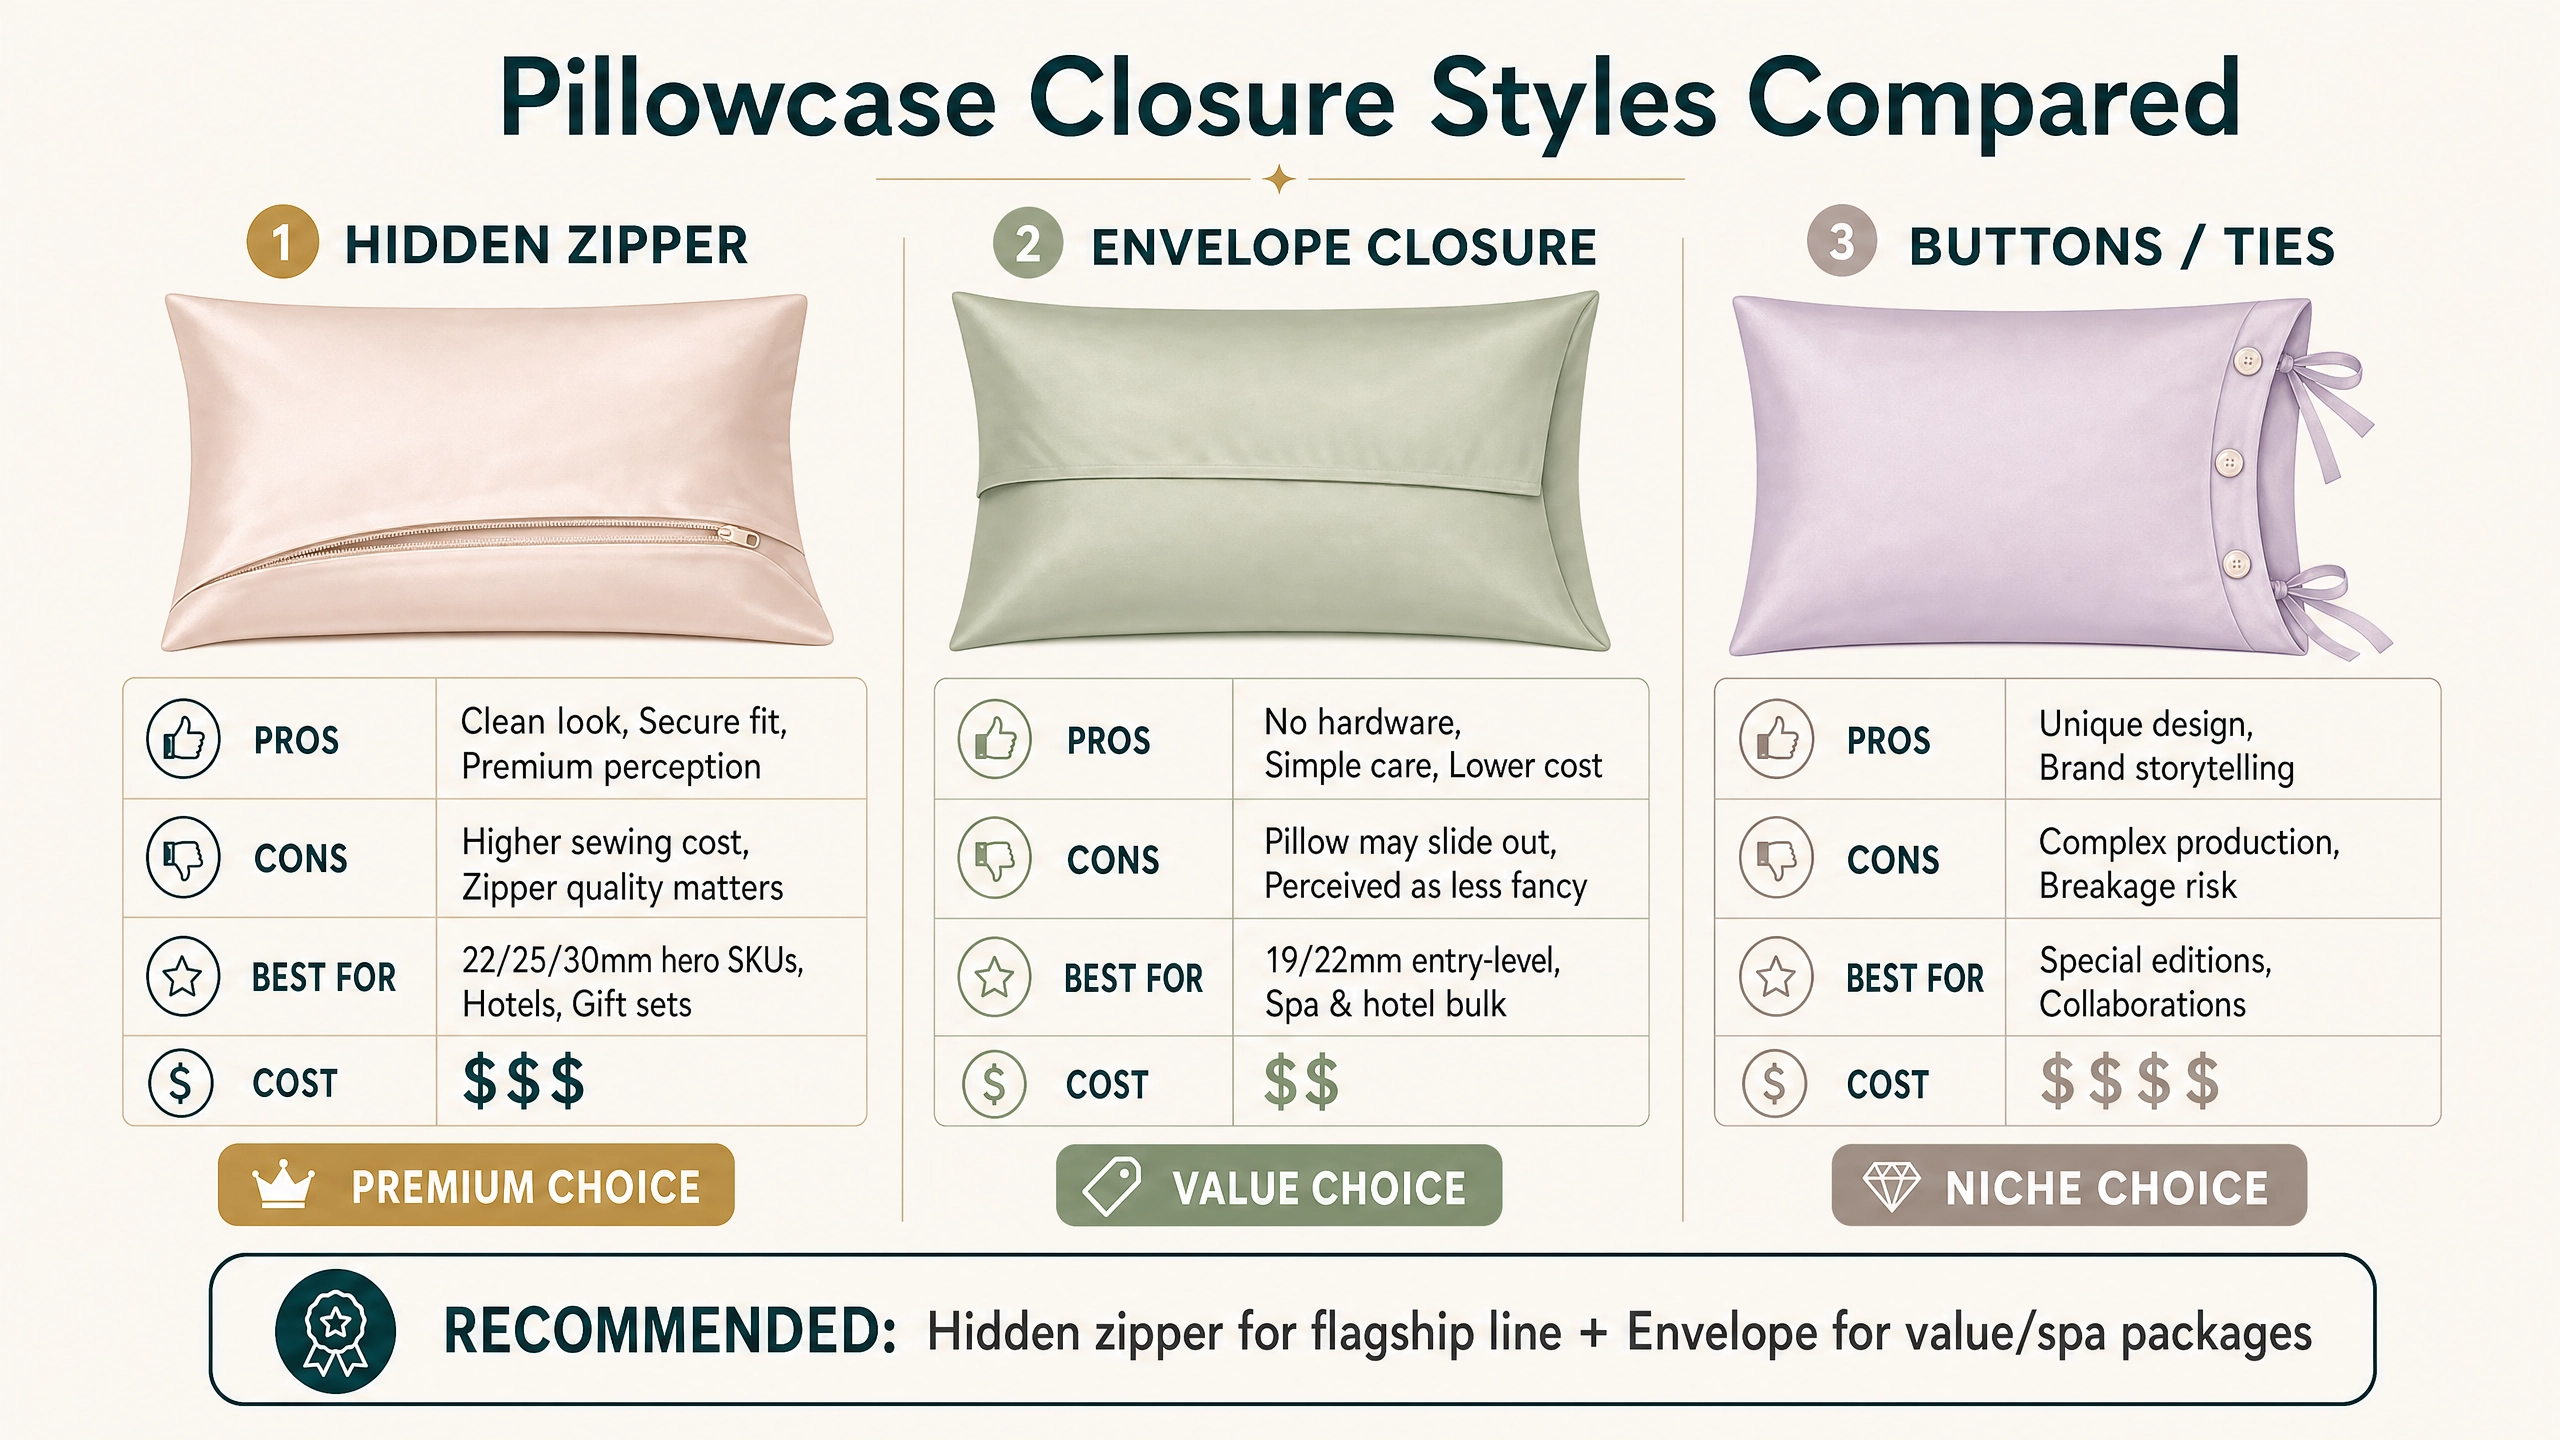
Zipper Closure
Add a zipper for pillows that need frequent washing or removable covers. This eliminates the need for hand or machine closure entirely and provides a professional, functional finish.
Envelope Back
Two overlapping panels create a closure without stitching. This works well for bed pillows and washable cushion covers. Sew the pillow like a standard project but leave one side open with overlapping flaps.
Pro Tips for Perfect Results
Master the details that separate good work from great work.
Use the Right Tools
A Clover leather thimble protects your finger during hand-sewing. Small sharp scissors trim thread cleanly. A chopstick or knitting needle shapes corners before closing. A tailor’s clapper or iron creates crisp folds.
Practice Before the Final Project
Try the ladder stitch on scrap fabric first. Use red thread on light fabric to see exactly where your stitches land. Sew two or three practice pillows to master both hand and machine techniques.
Insert Pillow Form Last
Always turn the cover, stuff it, then close the opening. Don’t sew the opening shut before inserting the form unless you’re using the machine method where the form goes in first.
Key Takeaways for Closing Pillow Sewing Projects
Remember these essential points for professional results every time.
Finish raw edges before turning to prevent fraying. Fold edges half inch inward and align precisely. Choose hand-sewing for invisible finishes on decorative pillows. Choose machine-sewing for durable, washable functional pillows. Use double-thread and hide knots in stuffing for hand-sewn closures. Pin from center outward and backstitch for machine-sewn closures. Practice on scrap fabric before working on final pieces.
Frequently Asked Questions About How to Close a Pillow Sewing
What is the best stitch for closing a pillow invisibly?
The ladder stitch, also called blind stitch or slip stitch, creates invisible closures. It hides all thread within the folded edge, leaving no visible stitching on the pillow surface. This technique requires practice but produces professional, gallery-quality results.
Can I machine-sew a pillow closed instead of hand-sewing?
Yes, machine-sewing works well for functional pillows that need durability and washability. Use a straight stitch with a three-eighths inch seam allowance. Always backstitch at the start and end to prevent unraveling. This method is faster than hand-sewing, taking about two minutes per pillow.
How do I hide the knot when hand-sewing a pillow closed?
Pass the needle through the last loop twice to create a locked knot. Push the needle into the stuffing rather than through fabric, then bring it out through a random spot on the pillow face. Pull gently until the knot disappears into the stuffing, then clip the thread short.
What thread should I use for closing a pillow?
Use polyester thread for washable pillows because it resists moisture and stretching. Dual Duty Plus hand quilting thread works well for hand-sewing. Match the thread color to your fabric for invisible results, or use contrasting thread for practice to see stitch placement.
How do I prevent my machine-sewn pillow from shooting out?
Apply firm pressure with your left hand toward the machine to stabilize the pillow while sewing. Go slowly and keep the fabric aligned with the presser foot edge. Start and end the seam one-quarter inch beyond the opening and backstitch to secure the ends.
Can I close a pillow without sewing at all?
Yes, consider a zipper closure for removable, washable covers. An envelope back with overlapping panels also eliminates the need for stitching the opening. These alternatives work well for pillows that need frequent cleaning.