
You’ve seen them on Instagram, in handmade shops, and tucked into nursery corners. Adorable crocheted cat pillows that double as decor and cuddle buddies. Whether you’re a beginner or ready for a fun intermediate challenge, how to crochet a cat pillow is easier than you think. With the right yarn, hook, and clear steps, you can make a soft, huggable feline friend in under 10 hours.
This guide covers four distinct methods, from quick appliqué covers to fully stuffed 3D amigurumi. We’ll walk you through materials, construction, facial details, and pro tips so your pillow turns out perfect. No fluff, no jargon. Just clear, actionable steps.
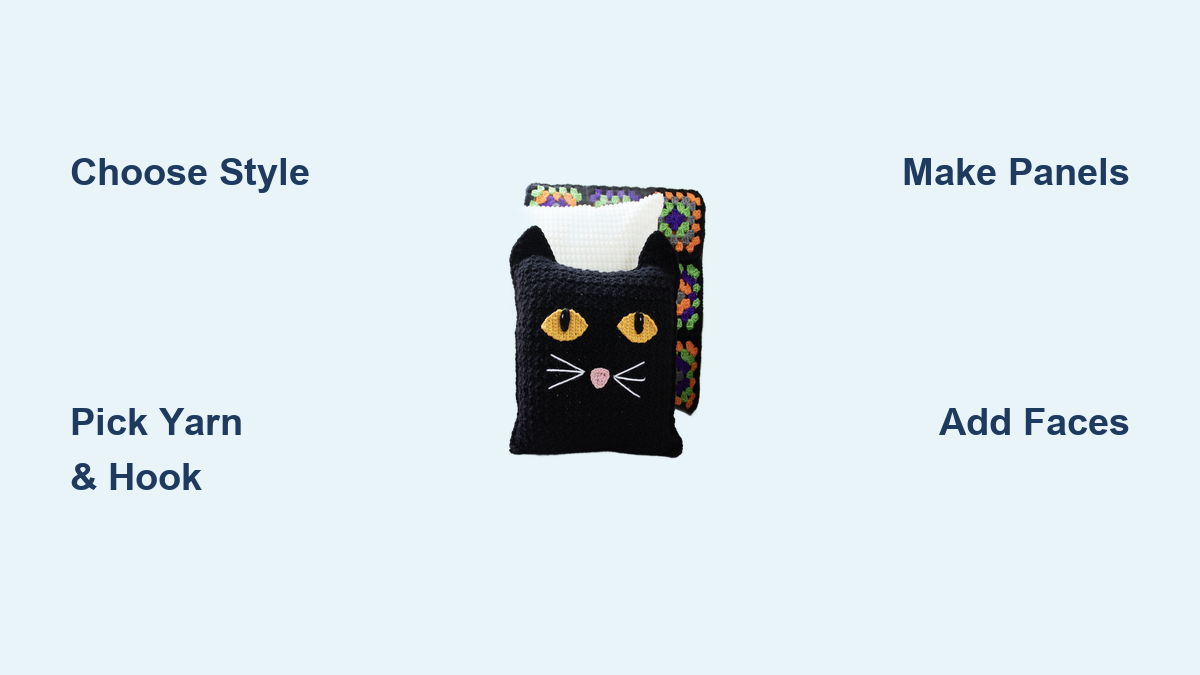
Choose Your Cat Pillow Style
Appliqué Pillow Cover (Beginner)
Perfect for first-time crocheters, this method uses a large granny square as the base. A flat cat design is crocheted separately, then sewn on. The front and back squares are joined with a single crochet seam, leaving an opening for a pillow insert.
This style works best for beginners, quick gifts, and reversible pillows. You’ll need worsted or bulky weight yarn, and the project takes about 3 to 5 hours to complete.
Use variegated yarn for the base to add subtle color without changing skeins.
3D Amigurumi Cat Pillow (Intermediate)
This full-bodied cat is crocheted in the round, stuffed, and closed at the bottom. It’s not just a pillow. It’s a plush toy you can hug, display, or gift.
This style suits intermediate crocheters, kids’ toys, and statement decor. Use jumbo or bulky yarn like Lion Brand Go For Faux, and plan for 6 to 10 hours of crocheting.
Start stuffing around Round 36 to keep the body smooth and evenly filled.
Two-Panel Seamed Cuddler (Easy)
Also known as the “Dapper Cat” style, this uses two nearly identical panels. One has built-in 3D ears. After crocheting, you seam them with mattress stitch, stuff, and close.
This style creates soft, modern huggable pillows. You’ll use jumbo #7 yarn, and the project takes under 10 hours. Plan to use 5 skeins total for this method.
Do not fasten off after the front panel. Use the tail to seam the top edge for a cleaner finish.
Tapestry Crochet (Graphghan) Pillow (Intermediate)
For pixel-art lovers, this flat decorative pillow uses colorwork single crochet to create a cat face. It’s not stuffed, making it ideal for wall hangings or throw pillows.
This style works best for display pieces and custom designs. The grid size is typically 80 by 90 stitches, and the project takes 10 or more hours to complete.
Left-handed crocheters should reverse the rows or start from the opposite side.
Gather Your Materials

Pick the Right Yarn
For jumbo projects like 3D cats or cuddlers, Lion Brand Go For Faux Thick and Quick (#7 Jumbo) is the top choice. Each skein is 120 grams with 24 yards, made of 100 percent polyester with no shedding. Use 4 to 5 skeins for a full pillow. The color “Baked Alaska” gives a soft fur look.
The halo effect fills gaps, hides mistakes, and creates a plush texture that’s hard to beat.
For beginners and appliqué projects, cotton worsted weight (#4) with a 5.0 to 5.5 mm hook offers durability and washability. Bernat Blanket Yarn (#6 Bulky) provides an ultra-soft, cozy finish ideal for solid-color bodies.
For facial details, use black yarn like Lion Brand Feels Like Butta. Double the strand for bold stripes or whiskers. Light blue works well for striped tails or bowties.
Choose the Correct Hook
Using the right hook size matters enormously with jumbo yarn.
For jumbo yarn like Go For Faux, you need a Q/15.00 mm hook. This is mandatory for smooth stitching. For worsted weight, a 4.00 to 5.50 mm hook is standard. Use 4.00 mm for facial details like eyes and nose, where fine control matters. Use 5.50 mm for ears and tail to match body tension.
Using smaller hooks with jumbo yarn causes hand strain and uneven tension. Don’t do it.
Must-Have Tools
You need several essential tools beyond yarn and hooks. Sharp scissors make clean cuts. A tapestry needle handles sewing parts and weaving ends. Stitch markers or pins mark ear and tail spots, which is crucial when working with fuzzy yarn. A measuring tape checks panel size and symmetry.
For stuffing, get a 16 oz bag of polyfil. Add it in large clumps for a soft, huggable feel. Don’t overstuff the tail. Let it lie flat naturally.
An embroidery needle helps secure small features like eyes and whiskers.
Build the Pillow Base
Make a Granny Square (Appliqué Method)
Create two 18 by 18 inch squares. One will have the cat appliqué, and one stays plain.
For Round 1, chain 4 and join to form a ring. Chain 3 (counts as first double crochet), then work 2 dc, ch 2, and repeat 3 more times. Slip stitch to the top of ch-3 to create 4 clusters.
For subsequent rounds, chain 3, work 2 dc in the same ch-2 space, then 3 dc in each side. At corners, work 2 dc, ch 2, 2 dc. Join with slip stitch each round.
Add a border by working one round of loose single crochets around the entire square. Weave in ends securely.
Each square should be about 18 inches. If smaller, add another round.
Crochet the Two-Panel Cuddler
The front panel measures 12 inches by 14 inches. Start with Row 1: chain 13, turn. Row 2: chain 1, 12 sc across, turn. Row 3: chain 2 (counts as st), 1 sc in same st, sc to last st, inc in last st, turn (14 sts). Rows 4 through 7: sc across, turn (14). Row 8: 1 sc, dec, 8 sc, dec, 1 sc, turn (12). Rows 9 through 11: sc across, turn (12). Row 12: 1 sc, dec, 6 sc, dec, 1 sc, turn (10). Rows 13 through 14: sc across, turn (10). Row 15: 1 sc, dec, 4 sc, dec, 1 sc, turn (8). Rows 16 through 17: sc across, turn (8). Row 18: chain 2, sl st into same st, sc into first st, 6 sc across, chain 2, sl st into same st, sc in last st.
The ears form during Row 18. The chain-2 and slip stitch loops create upright 3D ears.
Do not fasten off after Row 18. Instead, use the tail to slip stitch down one side, across the bottom, and up the other side. Stop just below the right ear.
For the back panel, repeat Rows 1 through 17. On Row 18, chain 1 and sc across without making ears. Fasten off and weave in the end.
Each panel uses nearly 2 full skeins. A fifth skein is strongly advised.
Craft the Cat Appliqué (Beginner Method)

Body and Tail
Chain 24. Row 1: work 2 sc in each of the next 13 stitches, then 1 sc in each of the remaining 10 stitches. This creates 27 stitches and forms a curled tail shape. Rows 2 through 7: chain 1, turn, sc in each stitch across.
Head and Ears
Decrease at the ends of rows using sc2tog to shape the head. For ears, chain 3, slip stitch back into the same stitch. Slip stitch in the next 2 stitches. Sc in the same stitch, chain 3, slip stitch into the same stitch to form the ear tip.
Make both ears identical for symmetry.
Assemble the Pillow
Join Panels with Mattress Stitch
Thread a tapestry needle with leftover yarn from the front panel. Align front and back with right sides facing out. Start seaming at the top edge, working around ears so they stay free. Continue down one side, across the bottom, and up the other side. Stop halfway and insert polyfil in large clumps. Resume seaming until closed. Fasten off and weave in the end.
Mattress stitch is nearly invisible and stretchy, perfect for plush pillows.
Attach Appliqué (Cover Method)
Pin the cat design to the center of the front square. Use the long tail from the appliqué to sew it on with small, tight stitches. Secure eyes and nose after attaching the appliqué. Join both panels with single crochet in back loop only. Leave the top open for the pillow insert.
This makes the pillow reversible when not stuffed.
Add Facial Details
Eyes (Choose One Method)
For crocheted eyes (safe for kids), use a 4.00 mm hook and black yarn. Round 1: magic ring, 6 sc. Round 2: 2 sc in each st (12). Fasten off and leave a tail for sewing.
For pupils, use the same method with 6 sc in Round 1, then attach centrally over the eyes.
Placement matters. Position eyes one-quarter down from the top, centered horizontally.
Embroidered eyes use half double crochet in a magic circle, then sewn on. This is safer than plastic eyes for young children.
Avoid doll eyes if the pillow is for children. They’re a choking hazard.
Nose Options
For a crocheted 3D nose, chain 6. Row 1: chain 1, turn, 5 sc back across. Row 2: chain 1, turn, skip first, 4 sc. Row 3: chain 1, turn, skip first, 3 sc. Row 4: chain 1, turn, skip first, 2 sc. Row 5: chain 1, turn, sc2tog. Fasten off and sew below eyes.
For an embroidered flat nose, use cross-stitch with black yarn. Center under the eyes. Knot ends on the back instead of weaving. This allows adjustment.
Keep stitches loose. Tight ones disappear in fuzzy yarn.
Mouth and Whiskers
For the mouth, use light blue yarn. Curve 3 to 5 sc from the nose outward, slightly upturned for a happy look. Weave in ends into surrounding fabric.
For whiskers, use double strand of black yarn. Insert a tapestry needle from the back near the nose, bring it out on the side. Repeat 3 times per side. Make one whisker per side slightly longer. Knot on the back and weave in ends.
Work loosely. Tight whiskers vanish into thick fur.
Make Appendages
Ears (Amigurumi Version)
Round 1: magic ring, 6 sc. Round 2: work 1 sc, inc around (9). Round 3: work 2 sc, inc around (12). Flip so the piece cups inward. Round 4: work 3 sc, inc around (15). Round 5: work 4 sc, inc around (18). Round 6: work 5 sc, inc around (21). Rounds 7 through 10: sc in each st (21). Lightly stuff and whip-stitch closed.
Make two identical ears and attach to the head using matching yarn.
Striped Tail
Round 1: magic ring, 6 sc in base color. Round 2: 2 sc in each st (12). Round 3: sc in each. Round 4: 1 sc plus inc in ch-1 space, then switch to light blue on the last st. Rounds 5 through 6: sc in base color. Rounds 7 through 8: light blue. Rounds 9 through 12: back to base color.
Shape the tail by working 7 sc, then 2 sc in each of next 3, 6 sc, and sc2tog on the last 2. Stuff lightly and sew to the body with a bend downward. Add extra stuffing at the base to emphasize the curl.
Final Touches and Safety
Weave in All Ends
Use a tapestry needle to thread tails through back loops. Knot securely and trim close. This prevents unraveling over time.
Inspect for Weak Seams
Check ears, tail, and eyes. Reinforce with extra stitches if needed. This is especially important for kids’ toys.
Care Instructions
Spot clean only with a damp cloth and mild soap. Air dry flat. Do not machine wash. Fluff the fur with a wide-tooth comb if matted. Check seams annually for wear.
Customize Your Cat Pillow
Color Variations
Use variegated yarn for a marled effect. Try gray, ginger, or black cat colorways. Add a bowtie with contrasting yarn for extra personality.
Design Swaps
Replace the cat with a dog, bunny, or heart. Use the same base for seasonal themes like pumpkins or snowmen.
Size Adjustments
Make it smaller by using worsted weight yarn with a 5.5 mm hook. Make it larger by doubling worsted weight or going up a hook size.
Frequently Asked Questions About How to Crochet a Cat Pillow
How long does it take to crochet a cat pillow?
The time varies by method. An appliqué pillow cover takes 3 to 5 hours. A 3D amigurumi pillow takes 6 to 10 hours. A two-panel cuddler takes under 10 hours. Tapestry crochet methods take 10 or more hours.
What yarn is best for a soft cat pillow?
Lion Brand Go For Faux Thick and Quick (#7 Jumbo) is the best choice. It’s 100 percent polyester with a faux fur texture. The halo hides stitches and creates an incredibly soft feel. It doesn’t shed, and it fills gaps well.
Is a crocheted cat pillow safe for children?
Yes, if made correctly. Use embroidered facial features instead of plastic doll eyes, which pose choking hazards. Secure all ends tightly and check seams regularly. The soft polyester filling is safe for kids.
Can I wash my crocheted cat pillow?
Spot clean only. Use a damp cloth with mild soap and air dry flat. Do not machine wash or dry, as this can damage the stitches and filling. Fluff the fur gently with a wide-tooth comb if it becomes matted.
Do I need to stuff the cat pillow?
It depends on the method. Appliqué covers use a pillow insert. 3D amigurumi and two-panel cuddlers get direct stuffing. Tapestry crochet pillows are not stuffed and work as flat decorative pieces.
Can I sell items I make using this pattern?
Yes, you can make and sell finished pillows. Credit the original designer if sharing online. This applies to personal use and commercial sales.
Key Takeaways for Your Crochet Cat Pillow Project
Four distinct methods exist, each suited to different skill levels. The appliqué method works best for beginners and takes 3 to 5 hours. The 3D amigurumi method creates a huggable plush toy in 6 to 10 hours. The two-panel cuddler produces soft, modern pillows with integrated ears. The tapestry method makes decorative pixel-art pieces.
Materials matter enormously. Use the correct hook size for your yarn. A Q/15.00 mm hook is essential for jumbo yarn. Don’t try to force smaller hooks, or you’ll cause hand strain and uneven tension. Four to 5 skeins of Go For Faux create a full, plush pillow.
Facial features determine safety and appeal. Embroidered eyes and noses are child-safe and work well with fuzzy yarn. Keep stitches loose so they show up against the plush texture. Add whiskers with double-strand yarn for durability.
Now grab your hook, pick your yarn, and start crocheting a cat pillow that’s soft, safe, and totally yours. Whether it ends up on a couch, in a child’s bed, or as a handmade gift, it’s sure to be loved.