
Creating a custom throw pillow by hand feels infinitely more rewarding than buying one off the shelf. When you sew a pillow with a sewing machine, you control every detail from fabric choice to fullness, and you develop real sewing skills that transfer to countless other projects. This guide walks you through each step from fabric selection through final closure, so you can complete a professional-looking pillow in under an hour.
Choose the Right Fabric for Your Pillow Project
Selecting appropriate fabric makes or breaks your pillow-making experience. Beginners should stick with stable, forgiving materials that cut cleanly and sew smoothly without shifting under the needle.
Best Fabrics for First-Time Pillow Sewers
Cotton ranks as the top choice for beginners. It comes in endless prints, handles like a dream, and requires no special techniques. Muslin and canvas offer similar workability with added durability for high-use pillows. Fleece and minky provide irresistible softness for cozy throws, though these slippery fabrics demand extra pins or fabric clips to prevent shifting during sewing.
Avoid velvet, chenille, and knit fabrics until you have several projects under your belt. These materials stretch, slip, and pucker easily, turning a simple project into a frustrating battle.
Pre-Wash and Press Your Fabric First
Always wash and dry your fabric before cutting. This removes manufacturing chemicals and prevents shrinkage that would distort your finished pillow. Tumble dry then iron thoroughly to eliminate every wrinkle. Wrinkled fabric leads to crooked cuts and uneven seams.
If your fabric has a directional pattern or stripes, lay both pieces face up and verify they align identically before cutting. Mark the bottom edge of each piece with a pin to maintain orientation throughout assembly.
Cut Fabric to Exact Pillow Dimensions

Precise cutting determines how professional your finished pillow looks. Standard throw pillow sizes include 16×16 inches, 18×18 inches, 20×20 inches, and 24×24 inches.
Calculate Correct Cut Size
Add one-half inch seam allowance on all sides. This means cutting your fabric one inch larger than your desired finished size in each dimension. For an 18×18 inch finished pillow, cut two pieces at 19×19 inches. For a 16×16 inch pillow, cut 17×17 inch pieces.
Use a rotary cutter with a self-healing mat and clear grid ruler for perfectly straight edges. If using scissors instead, measure carefully with a ruler and mark cutting lines with chalk before proceeding.
Cut Two Matching Pieces
Lay your fabric flat with the wrong side facing down. Place your ruler or template to mark the cutting lines, then cut two identical squares or rectangles. Label one piece as the bottom with a pin so you remember which is which during assembly.
Pin and Prepare Pieces for Sewing
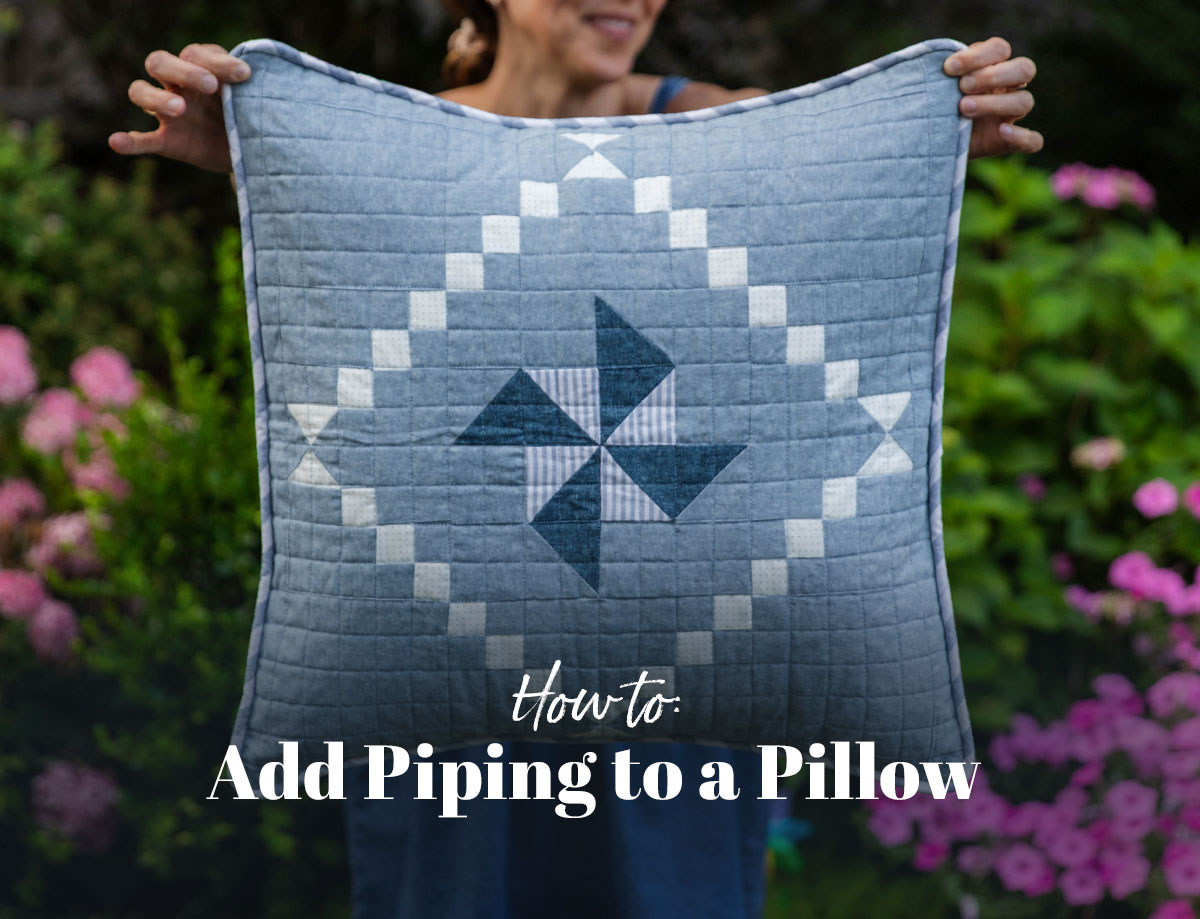
Proper pinning prevents the fabric layers from shifting while you sew, which eliminates puckered seams and misaligned corners.
Position Fabric Right Sides Together
Place one fabric piece right side up on your work surface. Lay the second piece directly on top, right side down. This orientation hides all seams inside the pillow when turned right side out. Align all edges precisely and smooth away any wrinkles with your hands.
Pin Around All Four Sides
Insert pins every 1.5 to 4 inches around the entire perimeter. This holds the layers securely and prevents shifting during sewing. Leave a 3-inch gap along the bottom edge for turning and stuffing. Mark this opening with contrasting pins or chalk so you do not accidentally sew over it.
Fabric clips work better than pins for thick materials like minky or velvet. These delicate fabrics can be damaged by pin holes, and clips hold them securely without puncturing.
Sew the Pillow Cover with Your Machine
Set your sewing machine to a medium stitch length of 2.5 millimeters using all-purpose polyester or cotton thread. Choose a matching color for invisible seams or contrasting thread for decorative topstitching.
Stitch Around the Perimeter
Begin sewing at one end of the top edge, maintaining a consistent one-half inch seam allowance. Use your machine’s seam guide or place tape on the bed as a visual guide. Sew forward a few stitches, then backstitch to lock the thread in place. Continue around all four sides, backstitching again at each corner before pivoting.
Pivot Properly at Each Corner
Approach corners with precision. Stop sewing when you reach one-half inch from the corner edge. Lower the needle into the fabric to hold it in place. Lift the presser foot, rotate the fabric ninety degrees, then lower the presser foot and continue sewing. Never lift the needle before pivoting, or the stitch will not hold.
Clip Corners and Trim Excess Fabric
After sewing, you must remove excess bulk from corners or they will appear rounded and puffy when turned.
Cut Diagonally at Each Corner
Trim the fabric at each corner diagonally, cutting very close to the stitching line but not through the thread. This clipping allows the fabric to fold cleanly, creating crisp ninety-degree corners when turned. Skipping this step produces the dreaded bulky, rounded corner that ruins an otherwise perfect pillow.
For very thick fabrics like denim or upholstery, you can also trim the seam allowances themselves to one-quarter inch to reduce bulk. Avoid trimming lightweight fabrics, as they may tear.
Turn Right Side Out and Press
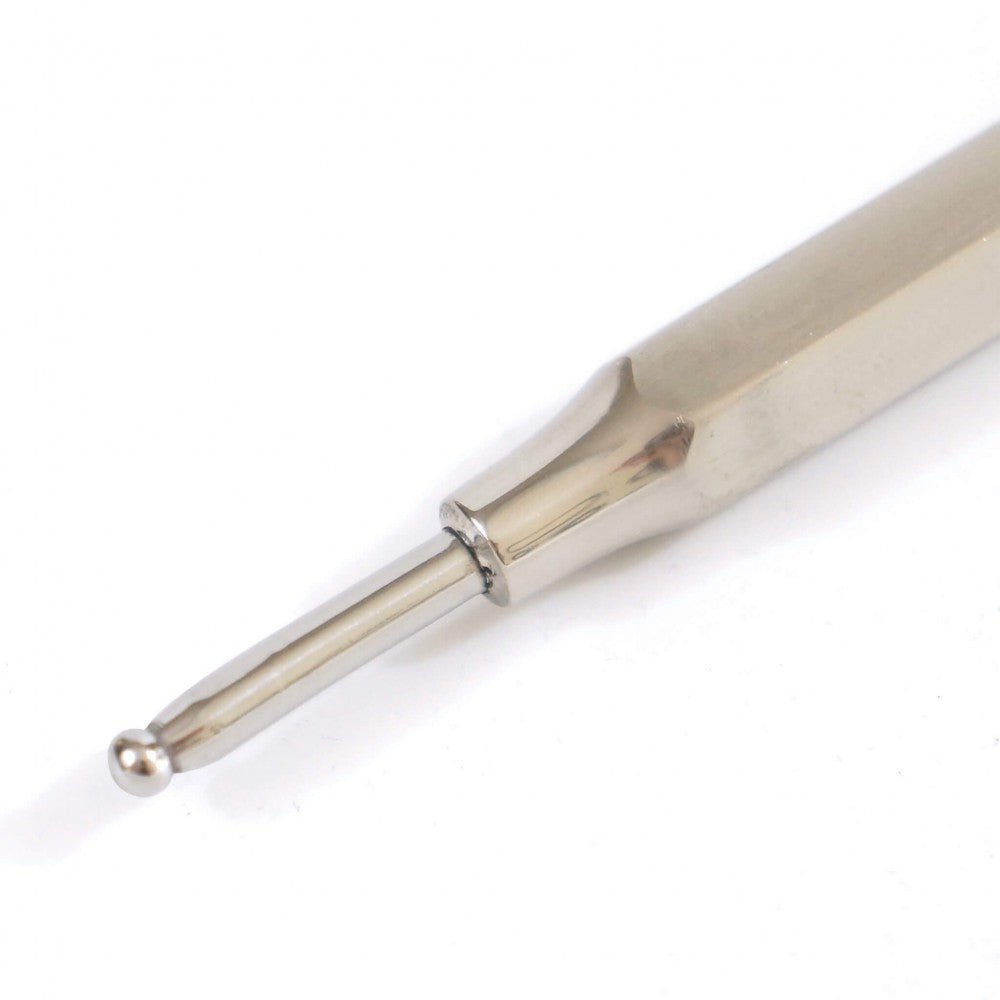
Reach into the opening and pull the entire cover through to the outside. Use a chopstick, knitting needle, or wooden point turner to push out each corner completely. Work slowly and carefully to avoid poking through the fabric.
Press All Edges Flat
Iron the entire pillow cover to set the stitches and create smooth edges. Press the seams flat first, then focus on the opening. Fold under one-half inch of raw edge on both sides of the opening and press with the iron. This creates clean, even edges ready for closing.
Skipping this step produces a homemade-looking pillow. Pressing makes a dramatic difference in the final appearance.
Insert Pillow Form or Stuff with Fiberfill
Two main options exist for filling your pillow: pre-made inserts or hand-stuffing with fiberfill.
Use a Pre-Made Insert for Perfect Results
Purchase a polyester or down insert in your pillow’s finished size. Slightly oversized inserts, such as an 18.5-inch insert for an 18-inch cover, create a plump, full appearance. Fold the insert diagonally and slide it through the opening. Push it firmly into each corner until the cover is taut and smooth.
Stuff by Hand with Polyester Fiberfill
If using fiberfill, start by pushing small handfuls into the farthest corners using a chopstick or dowel. Stuff the near corners next, then gradually fill the center one handful at a time. Fluff and redistribute after each addition to avoid lumps. Aim for plush, not rock-hard, firmness. Remember that fiberfill compresses over time, so slightly overstuffing now settles into ideal fullness later.
Close the Opening Seam
Choose between invisible hand stitching or quick machine closure based on your skill level and intended use.
Hand Sew with Ladder Stitch for Invisible Finish
Thread a hand needle with two strands of matching thread and tie a secure knot. Insert the needle from inside the pillow at one folded edge, bringing it out at the fold. Cross to the opposite side and take an one-eighth inch stitch into the fold. Return to the first side, stitching straight across to form ladder rungs. Pull the thread taut after each stitch to draw the edges together. Continue until the gap closes, then pass the needle through the last loop to knot and bury the thread end.
This technique creates a nearly invisible seam perfect for display pillows. Practice on scrap fabric first, as beginners often find it tricky initially.
Machine Stitch the Gap for Quick Closure
Push stuffing away from the opening, fold in the pressed edges, and pin shut. Sew with a one-quarter inch seam allowance, backstitching at both start and end. This method leaves a slight ridge but works well for removable covers that will be washed frequently.
Troubleshoot Common Pillow-Making Problems
Even careful sewists encounter issues. Here is how to fix the most frequent problems.
Fix Bulky or Rounded Corners
This problem stems from insufficient corner clipping. Unpick the corner seam if possible, then trim the excess fabric diagonally very close to the stitching line. Re-secure and try again.
Resolve Lumpy Stuffing
Clumped fiberfill creates uncomfortable lumps. Prevent this by teasing apart the fiberfill before inserting. After stuffing, squeeze and shake the pillow to redistribute filling evenly.
Address Gap Too Small to Stuff
If your opening measures less than 2 inches, use a funnel to insert fiberfill or fold the insert diagonally to fit through. Consider switching to hand-stitch closure if the gap remains too small.
Prevent Stitches from Popping
Weak thread or incorrect machine tension causes stitches to fail. Use quality polyester thread, adjust your tension settings, and always backstitch at seam beginnings and endings.
Frequently Asked Questions About Sewing a Pillow
What is the best fabric for a beginner sewing pillows?
Cotton, muslin, and canvas are the most beginner-friendly options. These stable fabrics cut cleanly, do not slip under the needle, and require no special techniques. Fleece works well for soft, cozy pillows but needs extra pins to prevent shifting.
How much bigger should the pillow insert be than the cover?
Use an insert that is one-half inch larger than your finished cover dimensions. For an 18×18 inch cover, use an 18.5×18.5 inch insert. This creates a plump, full appearance rather than a flat, saggy look.
Can I wash a hand-sewn pillow?
It depends on the filling. Pillows with removable covers wash easily. Pillows stuffed with polyester fiberfill can be machine washed if the cover is removable. Foam and down inserts typically require spot cleaning or dry cleaning.
What stitch length should I use for sewing pillow fabric?
A medium stitch length of 2.5 millimeters works well for most pillow fabrics. Use slightly longer stitches at 3.0 millimeters for thick fabrics like velvet or chenille to prevent puckering.
How do I make my corners look sharp and professional?
Achieve crisp corners through three steps. First, clip the excess fabric diagonally at each corner after sewing but before turning. Second, use a point turner to push corners out fully. Third, press thoroughly with an iron after turning to set the shape.
Key Takeaways for Sewing Your First Pillow
Sewing a pillow with a sewing machine is an achievable project that builds foundational skills applicable to countless future creations. Choose beginner-friendly cotton fabric, cut precisely with a one-half inch seam allowance, and always press your work at every stage. Clip your corners diagonally, turn with a point turner, and stuff firmly before closing with either invisible ladder stitch or quick machine stitching. With these techniques mastered, you can customize pillows for every room in your home, experiment with fabrics and embellishments, and tackle more advanced sewing projects with confidence.