
You’re not alone if your pillow keeps creeping toward the headboard every night. How to stop pillow from sliding up is a surprisingly common concern, especially for back and stomach sleepers who naturally push their pillows backward during rest. The issue stems from a mix of design gaps, slippery materials, and subtle body movements, each contributing to that frustrating morning shift. Over time, this displacement disrupts sleep quality, forces frequent readjustments, and can even affect spinal alignment. The good news is that simple, low-cost fixes like filling mattress gaps, increasing friction, or securing the pillowcase can eliminate the problem entirely. In this guide, you’ll learn proven, step-by-step solutions tailored to your bed setup, pillow type, and sleep style.
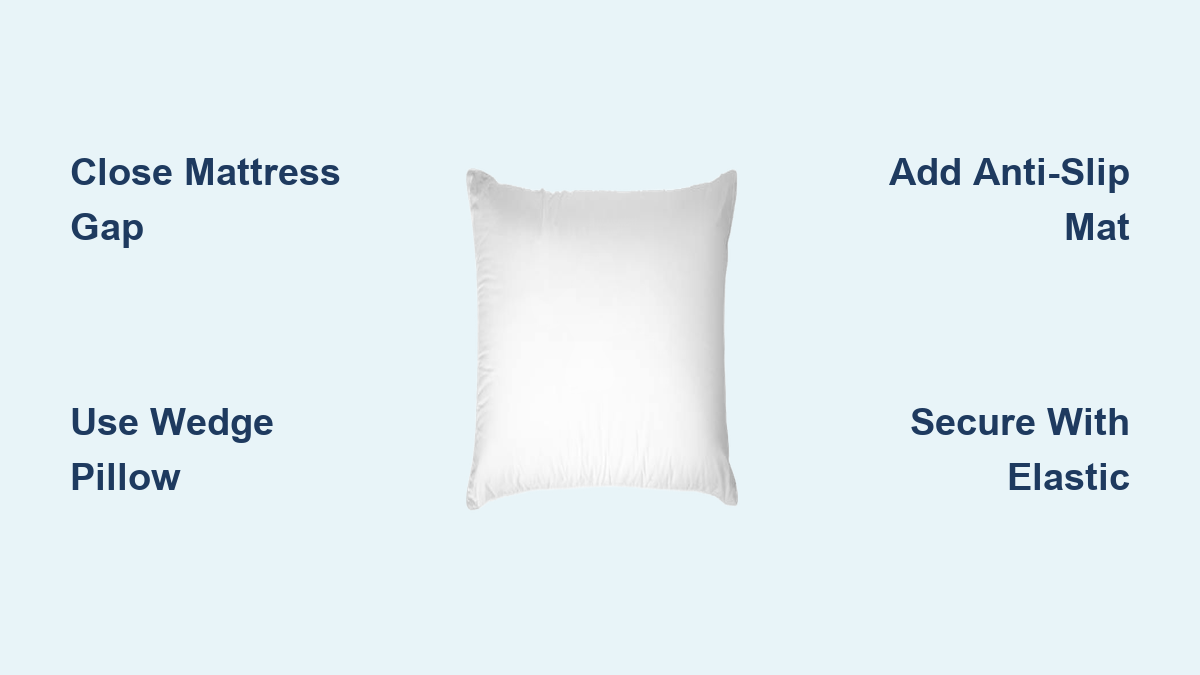
Close the Mattress-Headboard Gap
The most common cause of upward pillow movement is the gap between your mattress and headboard. This space exists to make sheet changing easier, but it becomes a trap where pillows gradually slide out of place during the night.
Push Mattress Against Headboard
Manually slide the mattress flush against the headboard each night. This simple act closes the gap and stops pillows from slipping into the void. Check weekly, as beds often drift over time, especially on hardwood or tile floors.
Anchor the Bed Frame
If your bed regularly moves, secure it in place using these methods:
• Use non-slip pads under bed legs
• Attach anti-slip furniture grips to the base
• For permanent stability, anchor the frame to the wall with brackets
This prevents overall bed shift, maintains consistent mattress positioning, and reduces pillow displacement over time.
Use a Wedge Pillow or Gap Filler

When closing the gap isn’t enough, fill it directly. A solid insert stops pillows from migrating upward by creating a continuous sleeping surface.
Insert a Memory Foam Wedge
Place a wedge pillow (30 to 45 degree incline) between the mattress and headboard. Made from dense memory foam, it blocks pillow movement, supports upper body elevation, and helps with acid reflux and snoring. Choose sizes matching your bed (twin to king). Brands like MedCline and Linenspa offer durable options in the $25 to $80 range.
Try the Pool Noodle Hack
For a budget fix, follow these steps:
-
Cut a foam pool noodle in half lengthwise
-
Slide the curved side under the fitted sheet at the head of the bed
-
The noodle fills the gap, resists compression, and costs under $10
Users consistently report this method as cheap and effective for eliminating pillow drift.
Roll a Towel or Yoga Mat
No noodle? Use a tightly rolled towel or cut yoga mat instead. Place it under the top edge of the fitted sheet to secure the pillow’s back edge. This option is easy to wash and replace, making it ideal for renters or temporary setups.
Increase Surface Friction
Slippery fabrics like silk and satin reduce grip, making pillow movement inevitable. Boost traction between layers to keep everything in place.
Add Anti-Slip Gripper Mats
Place a rubber cushion gripper between the pillow and sheet. Cut it to fit pillow size (18 by 28 inches standard). These mats are thin, soft, invisible under sheets, and washable. They create silent, effective grip and work especially well with satin or silk pillowcases.
Use Non-Slip Shelf Liner
Adhesive-backed rubber shelf liner offers similar traction. Cut a strip and place it under the pillow for durable, long-term grip. Replace every 6 to 12 months as it wears. Avoid thick versions that may feel uncomfortable against your head.
Upgrade Your Pillowcase Design
The right pillowcase can prevent slippage without sacrificing comfort, especially if you use silk for hair and skin benefits.
Try the Double-Layer Pillowcase
Use a cotton inner case beneath your silk or satin outer. Cotton grips the mattress while silk stays smooth against skin, giving you the best of both worlds. Simply insert your pillow into a plain cotton case, then slip the decorative one over it.
Sew in Elastic Bands
Add elastic straps to the bottom corners of your pillowcase. Stretch bands around the mattress to anchor the pillow like a fitted sheet. This allows easy removal for washing. Use 6 to 8 inch elastic pieces sewn into each corner, adjustable and discreet.
Secure with Safety Pins
For a quick fix, attach small safety pins to the inner corners of the case and fasten them directly to the pillow insert. This prevents the case from sliding independently. Use small, covered pins and test for comfort before sleeping. Avoid if you’re sensitive to pressure points.
Permanently Attach Pillow to Sheet
For maximum stability, eliminate movement at the source by securing the pillow directly to your bedding.
Sew Pillowcase to Fitted Sheet
Sew the open end of the pillowcase directly to the top edge of your fitted sheet. This ensures the pillow stays fixed with no shifting or readjusting needed. It’s best for guest rooms, minimalist setups, and users who don’t change pillows often. The tradeoff is that you can’t swap pillowcases freely, and this method requires basic sewing skill.
Use the Over-the-Pillow Sheet Method
Tuck the pillow under the sheet by following these steps:
-
Place pillow on mattress
-
Drape the top edge of the fitted sheet over it
-
Tuck sides and corners normally
This sandwiches the pillow between sheet and mattress with no tools needed. Just ensure a tighter fit for the best results.
Install a Pillow Retention Strap
Create a custom anchor system using common household items.
Build a Belt-Through Strap
Cut two small slits near the closed end of the pillowcase. Thread a belt, rope, or adjustable strap through and pull it under the mattress. Tighten and flip the open end over to hide the strap. It releases easily for cleaning.
Use Zip Ties or Cord Locks
For a semi-permanent version, attach plastic zip ties or bungee cords from pillowcase corners to the bed frame. Use cord locks to adjust tension. This method works well for platform beds without headboards.
Add a Physical Barrier
No headboard? No problem. Create a backstop to block upward movement entirely.
Position Bed Against Wall
Move the bed so the head rests flush against the wall. This stops pillows from sliding further and provides psychological comfort. Ensure at least 2 inches clearance for airflow and wall protection.
Install a DIY Headboard
Lack a headboard? Add one using these steps:
-
Cut MDF or plywood to bed width
-
Stand it behind the mattress
-
Secure with zip ties or L-brackets
Paint or cover with fabric for aesthetics. A $20 fix provides lasting results.
Attach an Upholstered Panel
Use a freestanding or wall-mounted headboard. Upholstered versions add softness and style while acting as a full barrier. Easy to install with mounting hardware.
Upgrade to an Adjustable Bed Base
For a premium, long-term solution, invest in an adjustable foundation.
Use Head Elevation Feature
Slightly raise the upper body (10 to 15 degrees). Gravity pulls the pillow downward, not up. This reduces snoring and acid reflux while built-in headrests prevent slippage. Models from Zinus, Tempur-Pedic, and Reverie offer programmable positions.
Benefit from Built-In Retention
Higher-end bases include non-slip mattress retainers, raised back panels, and remote-controlled positioning. While costing $1,000 or more, they solve multiple sleep issues at once.
Choose a Heavier or Textured Pillow
Weight and texture matter. Light pillows move easily while heavy ones resist displacement.
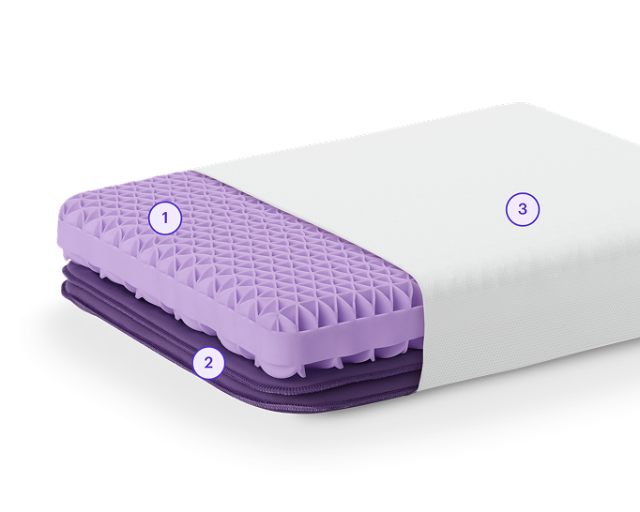
Try the Purple Pillow
Weighing 10 pounds, this grid-foam pillow stays in place due to inertia. It’s self-ventilating, hypoallergenic, and resists compression over time. A top choice for chronic sliders.
Opt for Memory Foam or Contoured Pillows
King-size memory foam pillows weigh approximately 4 pounds, which is four times heavier than down (about 14 ounces). Benefits include better stability, neck and spine support, and textured surfaces that increase grip. Avoid ultra-light down or microfiber unless secured.
Match Solutions to Your Sleep Position
Your sleeping posture influences how and why your pillow moves.
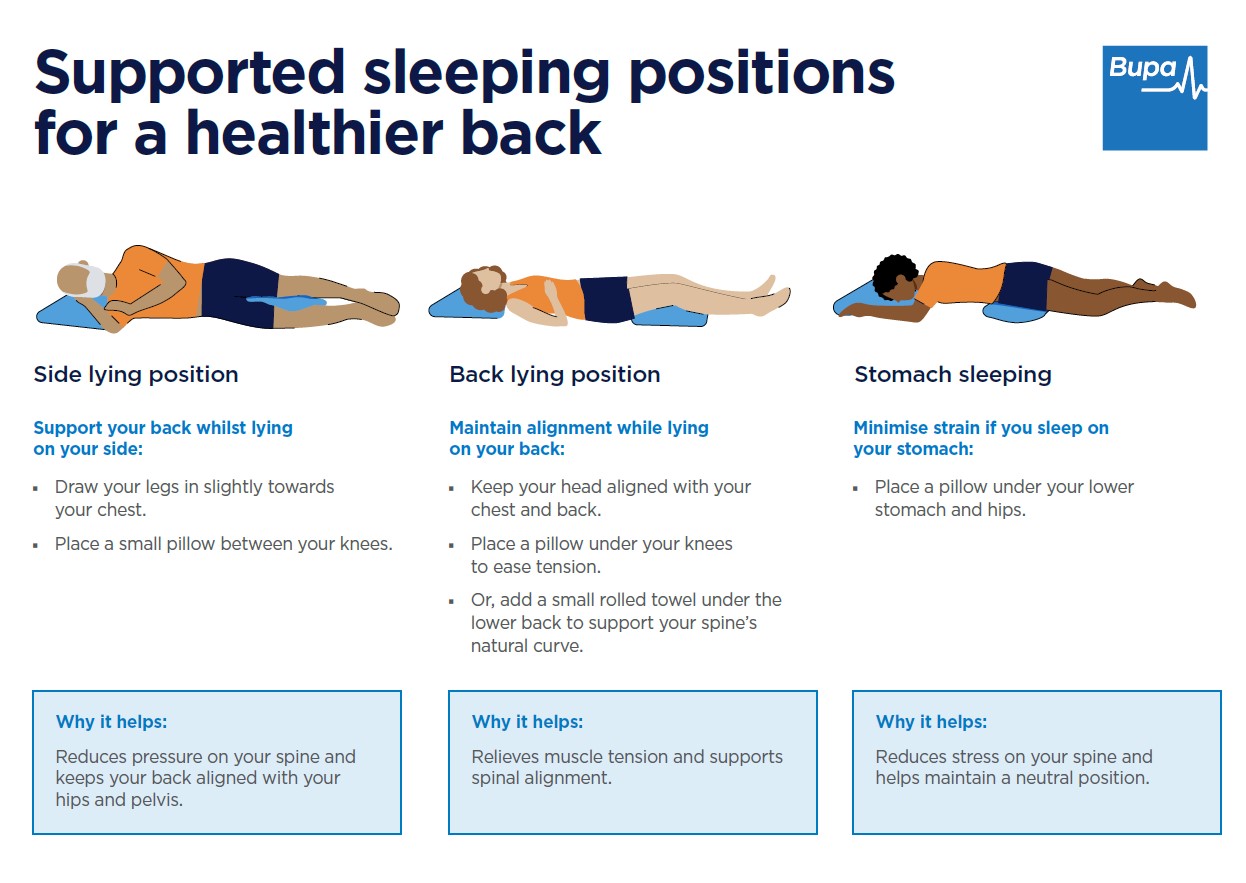
Back Sleepers: Prevent Neck Roll and Drift
Back sleepers push pillows upward due to flat head movement. Best fixes include using a wedge pillow to fill the gap, contoured memory foam for neck support, and adding an anti-slip mat beneath. Stabilize the entire head-to-spine line.
Side Sleepers: Stop Lateral Shift
Side sleepers shift side-to-side rather than upward. Solutions include using higher-profile pillows for alignment, adding elastic bands to the case, and choosing heavier pillows to resist turning forces. This prevents morning shoulder strain.
Stomach Sleepers: Counter Forward Head Motion
Stomach sleeping creates forward leverage that pushes the pillow up. Ideal strategies include using a low-profile pillow to reduce movement, securing the case with pins or sewing, and keeping the mattress tight against the headboard. Minimize displacement caused by natural head drift.
Fix Sliding by Pillowcase Material
Different fabrics require different fixes for optimal results.
Silk Pillowcases: Keep Benefits, Add Grip
Silk reduces hair frizz and facial wrinkles but slides easily. Solutions include using a double-layer case (cotton under silk), adding an anti-slip gripper mat under the pillow, and using elastic bands on case corners. This maintains smooth glide for skin while preventing movement.
Satin Pillowcases: Combat Slipperiness
Satin behaves like silk. Use a rubber shelf liner under the pillow, textured sheets (flannel or microfiber), and a wedge pillow as a backstop. These options are invisible, washable, and effective.
Microfiber or Polyester: Enhance Existing Grip
These materials have moderate friction but can still slide. Boost traction with a textured mattress protector, flannel or cotton sheets, or a non-slip pad if movement persists. Ideal for budget-friendly bedding setups.
Try Alternative DIY Fixes
Innovative, low-cost methods from real users provide additional options.
Use Upholstery Twist Pins
Also called upholsterer’s tacks, insert these into pillow corners and twist to lock in place. They’re reusable, nearly invisible, and cost under $5. Great for temporary or rental beds.
Stack Pillows Strategically
Place a second pillow behind the primary one. This acts as a backstop and prevents upward movement. Use a firmer pillow in back for the best results. Simple, no modifications needed.
Apply Double-Sided Tape (Short-Term)
Use fabric-safe, removable tape to attach the pillow to the sheet or mattress. Avoid residue-heavy versions. Best for testing before committing to permanent fixes. Not long-term due to wear and lint buildup.
Choose the Right Solution for Your Situation
Match your fix to your bed, budget, and habits.
| Scenario | Recommended Fix |
|---|---|
| Silk pillowcase | Double-layer case plus gripper mat |
| Mattress gap | Wedge pillow or pool noodle |
| No headboard | DIY MDF barrier or retention strap |
| Frequent movement | Heavy pillow (e.g., Purple) |
| Back or stomach sleeper | Wedge plus mattress positioning |
| Budget fix | Pool noodle or shelf liner |
| Premium solution | Adjustable bed base |
| DIY lover | Elastic bands or strap method |
Maintain Long-Term Pillow Stability
Prevent future sliding with regular care and attention.
Inspect Weekly
Check mattress position, elastic band tightness, and condition of gripper mats. Re-secure or replace components as needed to maintain effectiveness.
Wash Grips Regularly
Dirt and oils reduce friction. Clean rubber mats monthly with mild soap and air dry completely before reapplying. This maintains optimal grip over time.
Replace Worn Pillows
Flattened or lumpy pillows shift more easily. Replace every 1 to 2 years for optimal support and stability. A fresh pillow performs better and stays in place more reliably.
Key Takeaways for Stopping Pillow Sliding
The best way to stop your pillow from sliding up combines gap elimination, friction enhancement, and physical retention. Whether you choose a $5 pool noodle or a $2,000 adjustable base, the goal remains the same: uninterrupted sleep on a stable, comfortable surface. By matching the solution to your sleep style and bed setup, you’ll wake up with your pillow exactly where it should be, under your head. Start with the simplest fix that matches your situation and upgrade only if needed. Sweet dreams await once your pillow stays put.
Frequently Asked Questions About Stopping Pillow Sliding
Why does my pillow keep sliding up no matter what I do?
The most likely cause is a gap between your mattress and headboard, combined with slippery pillowcase materials like silk or satin. Body movement during sleep pushes the pillow into that gap, and smooth fabrics provide no resistance. Address both the structural gap and the friction problem for lasting results.
Does a heavier pillow really help prevent sliding?
Yes. Heavier pillows resist movement due to inertia. A 10-pound pillow like the Purple Pillow stays in place far better than a lightweight down pillow. Memory foam pillows (around 4 pounds for a king size) also provide significantly more stability than lighter alternatives.
Can I use the pool noodle hack with any bed size?
The pool noodle method works with any bed size, but you’ll need to adjust the length accordingly. Cut the noodle to span the width of your bed and place it under the fitted sheet at the head of the bed. It creates a bumpers that prevents pillows from sliding into the mattress-headboard gap.
What’s the quickest temporary fix for pillow sliding?
The fastest solution is to push your mattress flush against the headboard before bed. For a slightly more permanent quick fix, place a rubber shelf liner or anti-slip gripper mat under your pillow. Both take seconds to implement and require no tools or modifications.
Are safety pins safe to use on pillowcases?
Safety pins work but require caution. Use small, covered pins and attach them to the inner corners of the pillowcase, fastening directly to the pillow insert. Test for comfort before sleeping and avoid if you’re sensitive to pressure points. Some users prefer elastic bands as a safer alternative.
How often should I replace anti-slip mats?
Replace rubber anti-slip mats every 6 to 12 months, or sooner if they show signs of wear, flattening, or reduced grip. Wash them monthly to remove oils and dirt that compromise their effectiveness. Worn mats provide less friction and will fail to prevent sliding.